
SidecarTridge Soufflè Keyboard Emulator Quickstart
This quickstart covers the first steps for the SidecarTridge Soufflè Keyboard Emulator on Atari Mega ST and Atari Mega STE systems. It focuses on the minimum path from connecting the device to first configuration and operating-mode selection.
If you want the full reference for Bluetooth pairing, keyboard layout selection, advanced networking, troubleshooting, and firmware updates, continue later with the full keyboard emulator documentation.
Before You Start
Soufflè is the external keyboard-emulator dongle for:
- Atari Mega ST
- Atari Mega STE
It connects to the machine in place of the original keyboard through its 1 m coiled RJ11 6P4C cable, so there is nothing to open and no motherboard work.
If your machine is a regular Atari ST or STE with the internal 7-pin keyboard connector, the right product is the internal Croissant board. See the Croissant quickstart instead. The Atari TT works in theory, but that combination is use-at-your-own-risk.
What You Need
Before you begin, prepare:
- the Soufflè dongle with its coiled RJ11 6P4C cable
- a micro-USB cable for first-time configuration and firmware updates
- your USB input devices, or a Bluetooth keyboard, mouse or gamepad
- a small Phillips screwdriver (only needed later if you ever update the firmware)
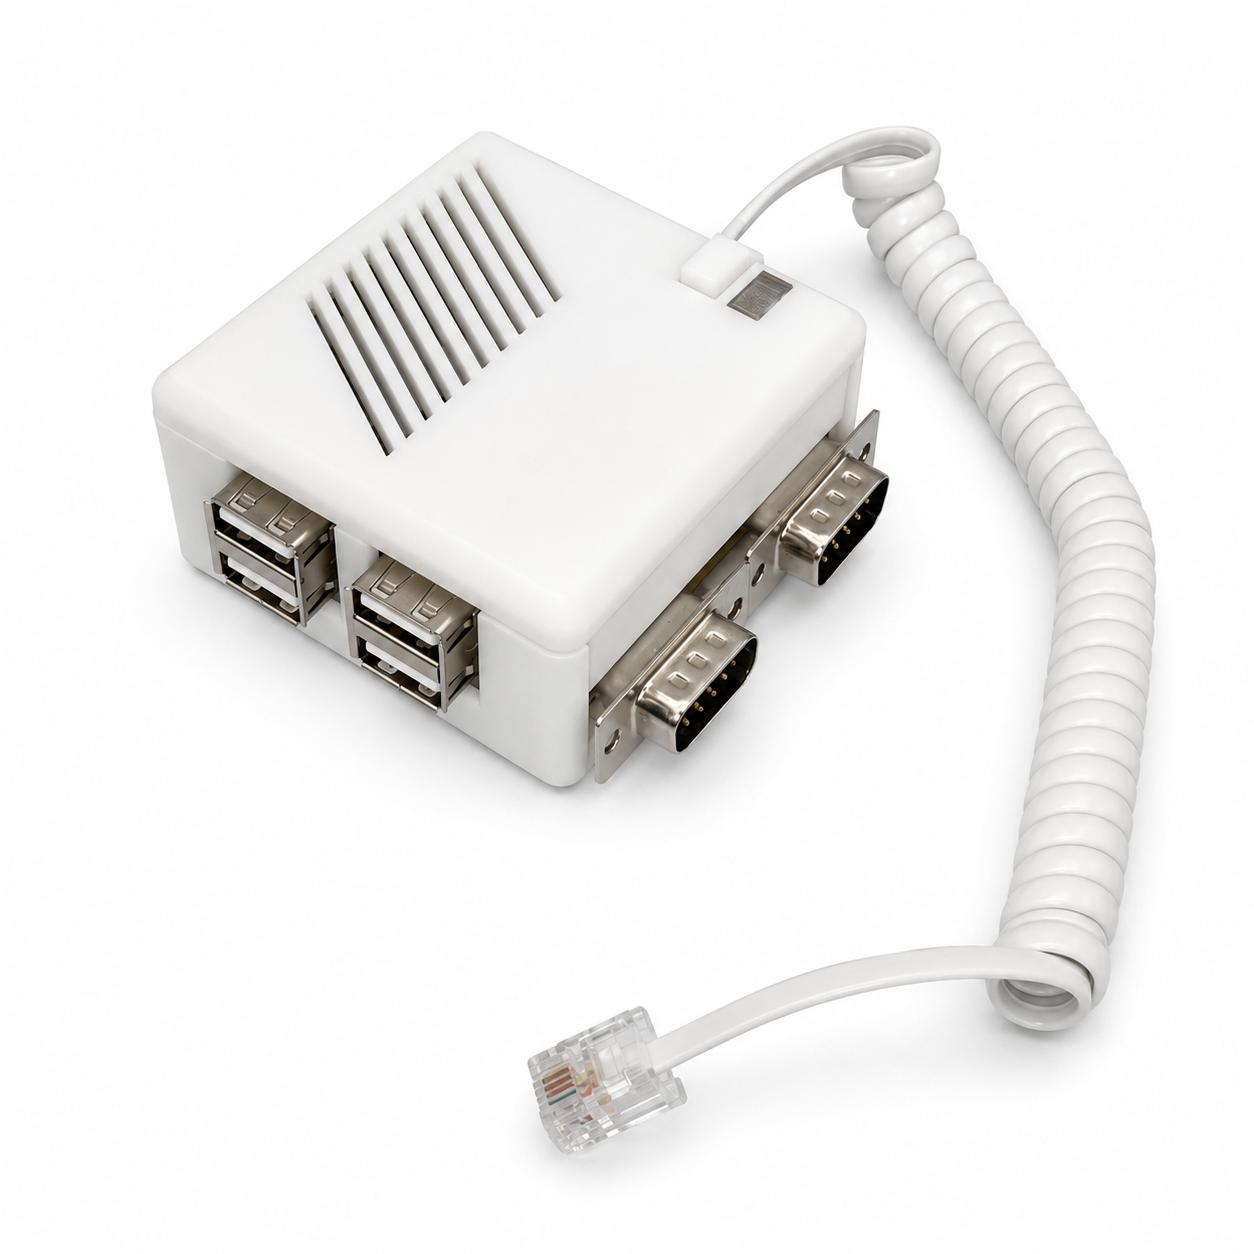
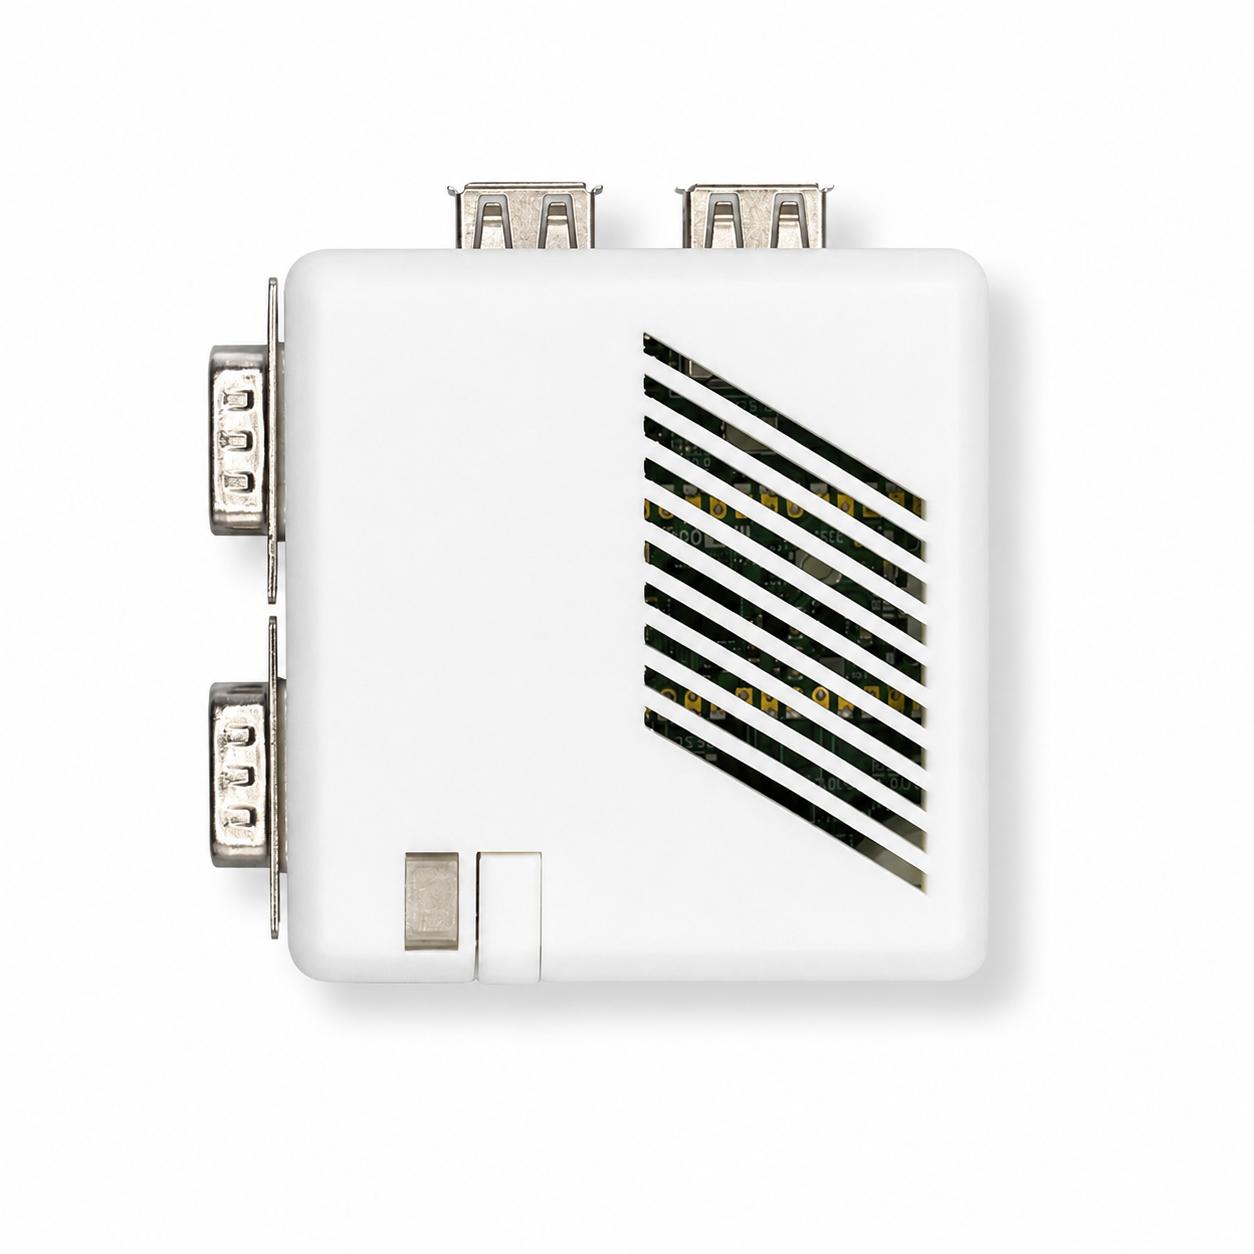
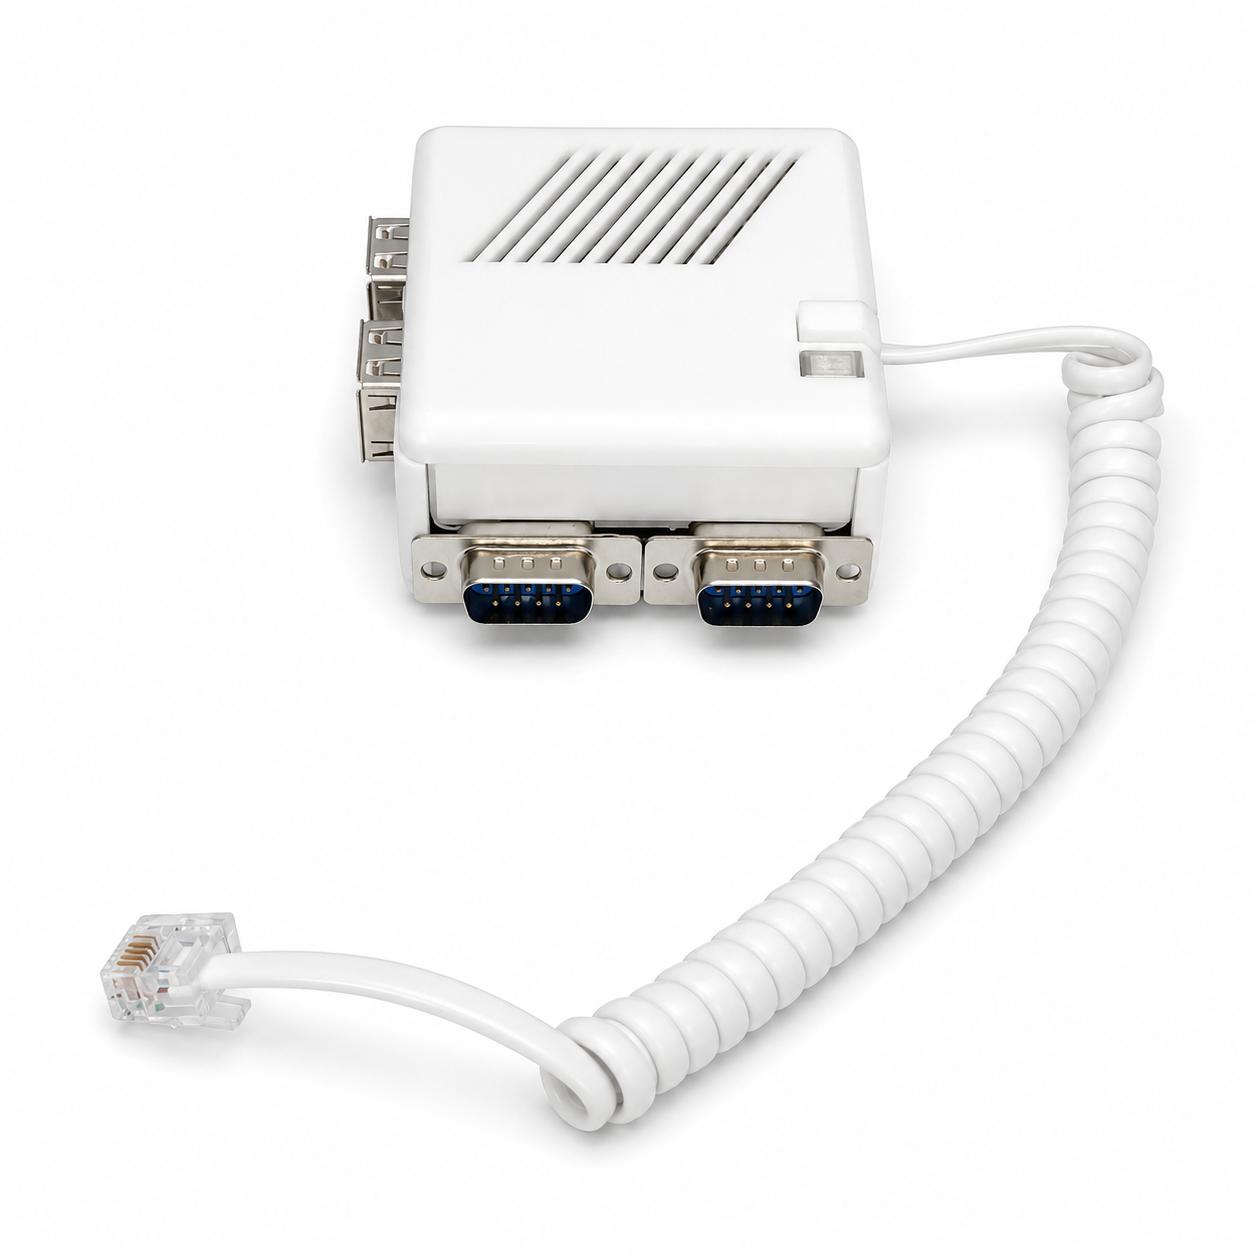
Step 1: Inspect the Device
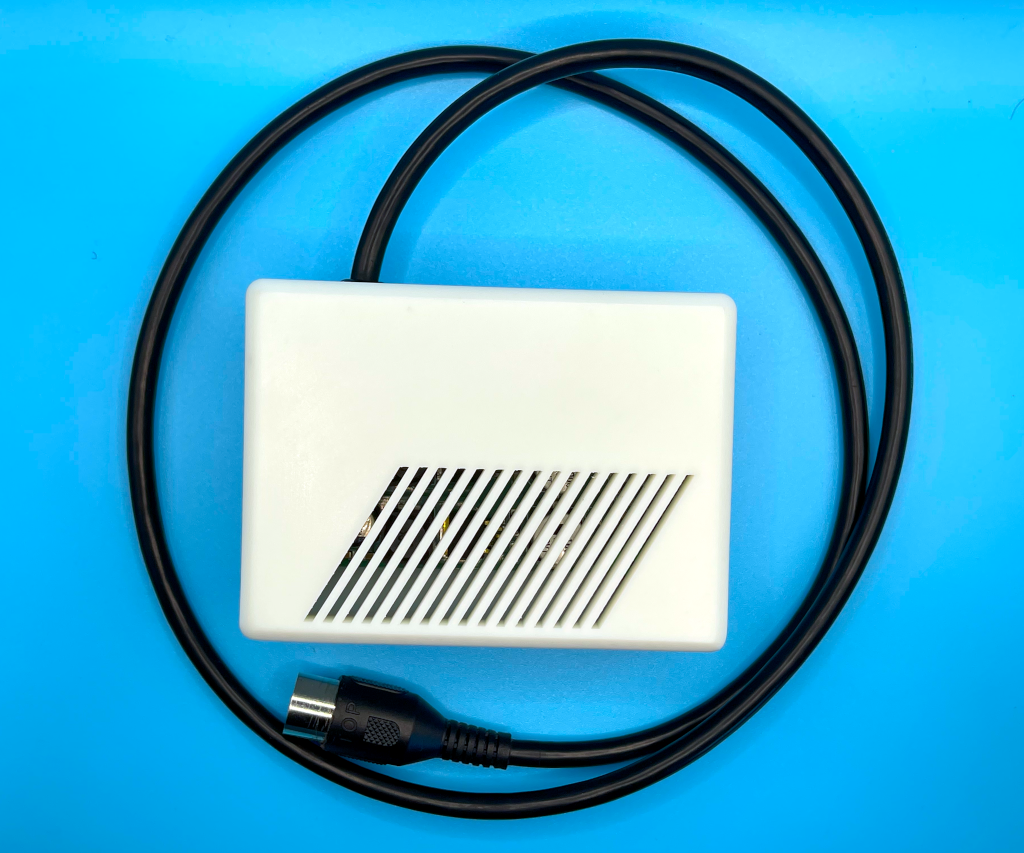
Before connecting anything, inspect the Soufflè dongle and make sure:
- the enclosure has no visible damage
- the DB9 and USB connectors are not bent
- the coiled cable and its RJ11 plug are intact
If anything looks damaged, stop here and contact support before use.
Step 2: Connect Soufflè to the Atari
Installation is simple. Plug the coiled RJ11 6P4C cable into the keyboard connector of the Mega ST or Mega STE. That is the whole hardware installation, with no opening the machine.
When the device is connected and the Atari is powered on:
- a red LED is visible through the top grille and stays lit
- next to the button there is a small window that shows the current operating mode: green for Bluetooth and amber for USB
A short series of keyboard click sounds means the device is powered but not yet configured.
Step 3: Enter Configuration Mode
Press the button on the case to enter configuration mode. The expected LED pattern is:
- Green LED: blinking
- Amber LED: steady on
This means the firmware is running and the device is in its configuration state, broadcasting its own Wi-Fi network.
Important: power Soufflè over micro-USB for this step. When the device is powered from the Atari Mega, the computer may not provide enough current for the Wi-Fi chip to scan for networks. For the configuration step it is strongly recommended to disconnect Soufflè from the Atari Mega and power it through the micro-USB connector while you set it up. Once configured, you can connect it back to the Atari for normal use.
Step 4: Connect to Wi-Fi and Open the Configuration Page
On first setup, Soufflè exposes its own Wi-Fi network. From a phone, tablet or computer, connect to the network named:
souffle-UUID
Default password:
sidecart
Then open the configuration page in your browser:
If the home page loads, the device is working correctly and you can continue.
Step 5: Choose the Operating Mode
In the web interface, choose how Soufflè should work:
- USB mode: use the USB keyboards, mice or gamepads plugged into the built-in hub
- Bluetooth mode: pair a Bluetooth keyboard, mouse or supported gamepad
Your original Atari mouse and joysticks stay available on the native DB9 outputs in USB mode. Future firmware versions may support the DB9 outputs in Bluetooth mode. Save the selected mode in the web interface and Soufflè keeps using it on future power-ons until you change it again. The mode window next to the button reflects the choice: green for Bluetooth, amber for USB.
For Bluetooth pairing, keyboard layouts, mouse speed and daily operation, continue with the user guide.
Updating the Firmware (Optional)
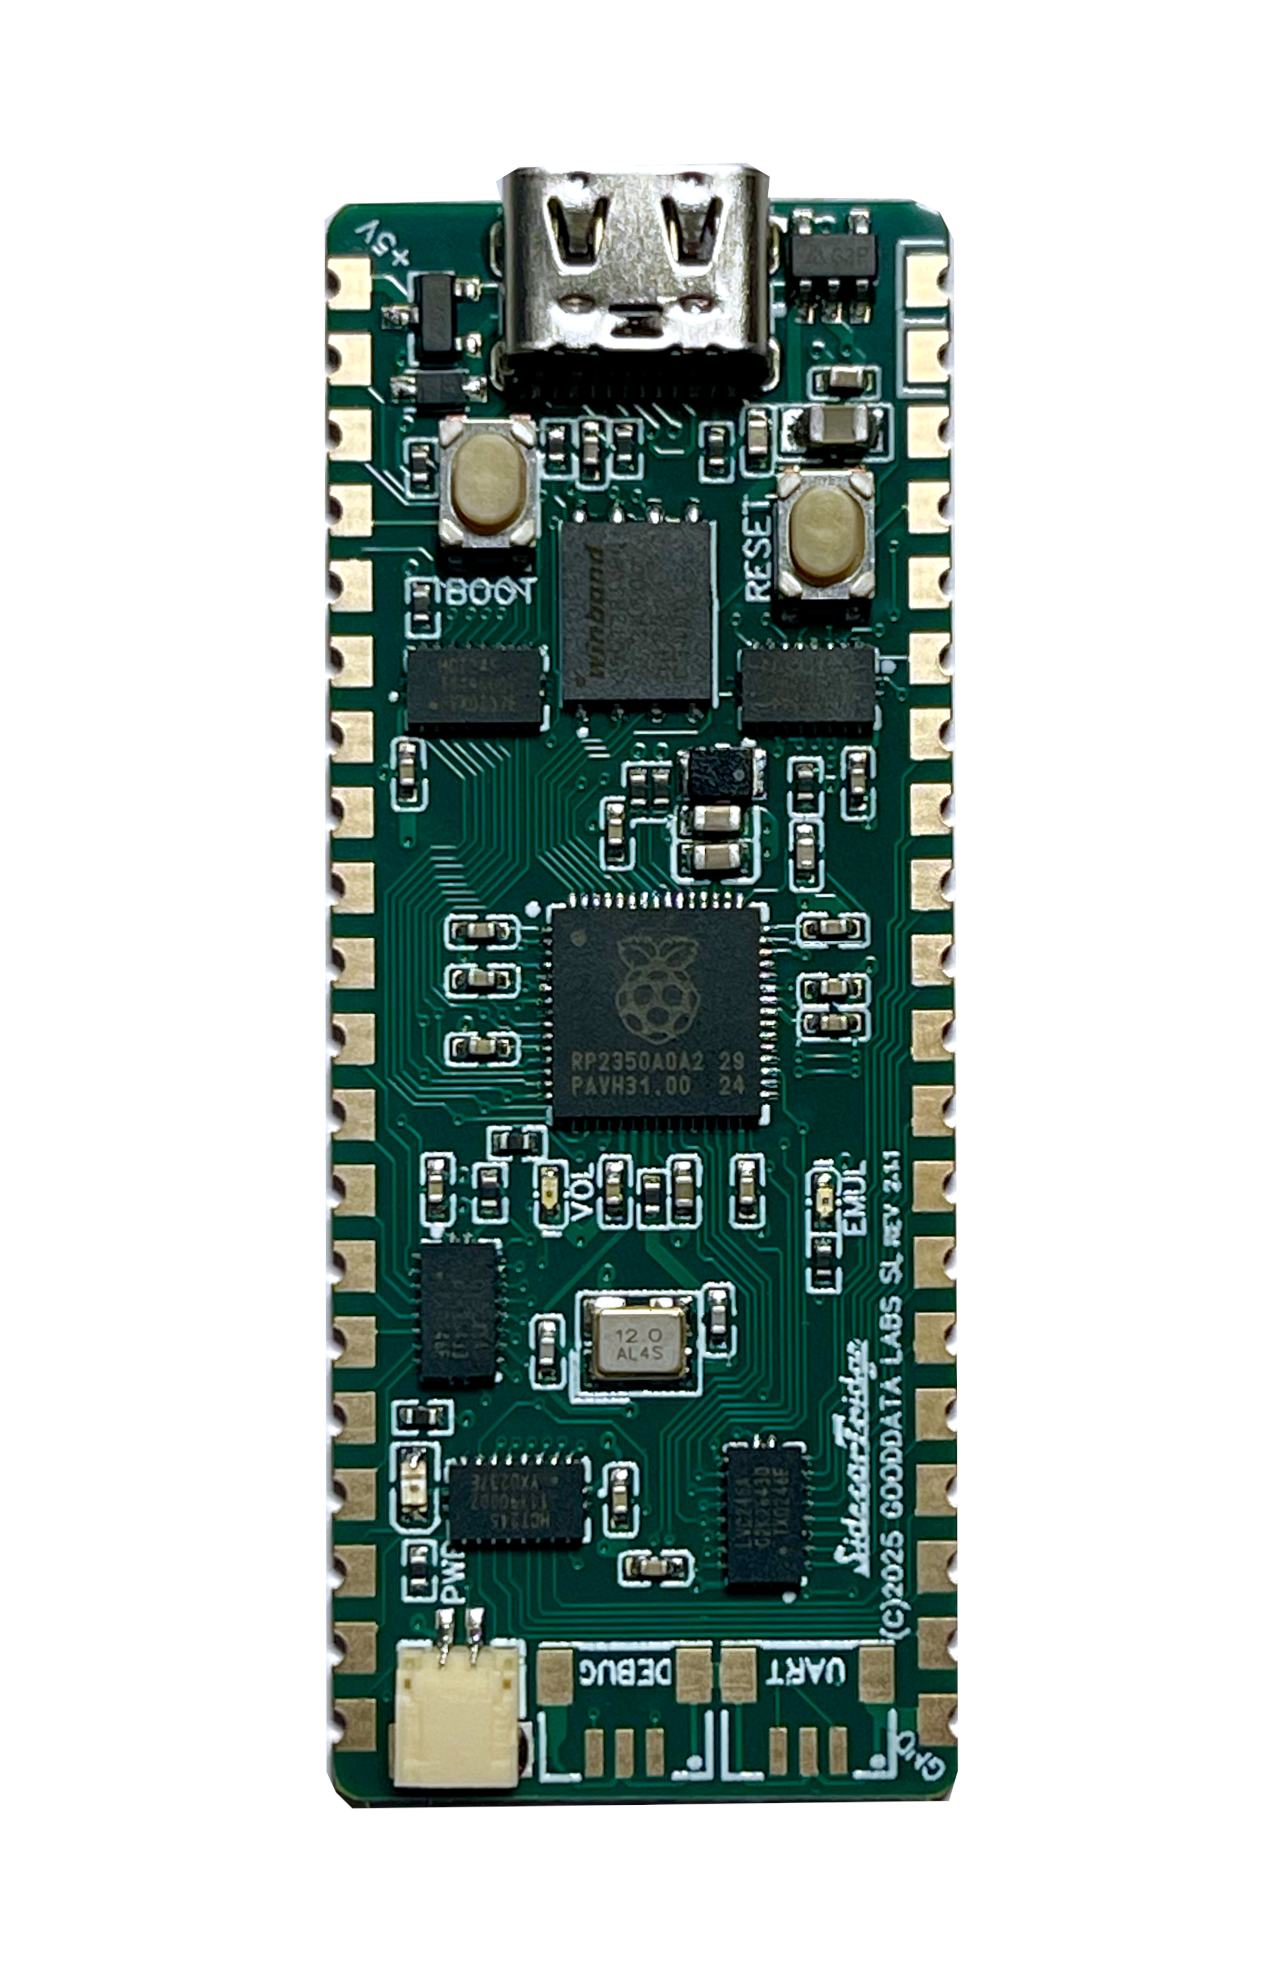
Firmware updates are installed through the on-board micro-USB connector. To put the RP2350 into BOOTSEL mode you need to reach the internal button, so the case has to be opened first:
- Unscrew the four screws on the underside of the case.
- Open the enclosure to access the BOOTSEL button.
- Follow the firmware update guide to flash the new version.
What’s Next?
This quickstart only covers the essential first setup. For the rest of the workflow, continue with the full documentation:
- User Guide for USB mode, Bluetooth mode, pairing and daily operation
- Compatibility for tested input devices and limits
- Firmware Update to install newer firmware versions
- Troubleshooting if the LED behaviour, configuration or connection does not look right
Need Help?
Check the keyboard emulator troubleshooting page, or visit our contact page if you need help with setup.