
SidecarTridge Croissant Keyboard Emulator Quickstart
This quickstart covers the first steps for the SidecarTridge Croissant Keyboard Emulator on Atari ST and Atari STe systems. It focuses on the minimum path from compatibility check to first power-on, internal installation, and basic mode selection.
If you want the full reference for Bluetooth pairing, keyboard layout selection, advanced networking, troubleshooting, and firmware updates, continue later with the full Croissant documentation.
Before You Buy
Croissant is the internal keyboard-emulator board for:
- Atari ST
- Atari STe
Your machine must have:
- an internal power supply
- the 7-pin internal keyboard connector
Croissant is not compatible with the well-known short ST motherboards C070115 and C070243. Those machines use an 18-pin keyboard connector and are easy to recognize because they use an external power supply.
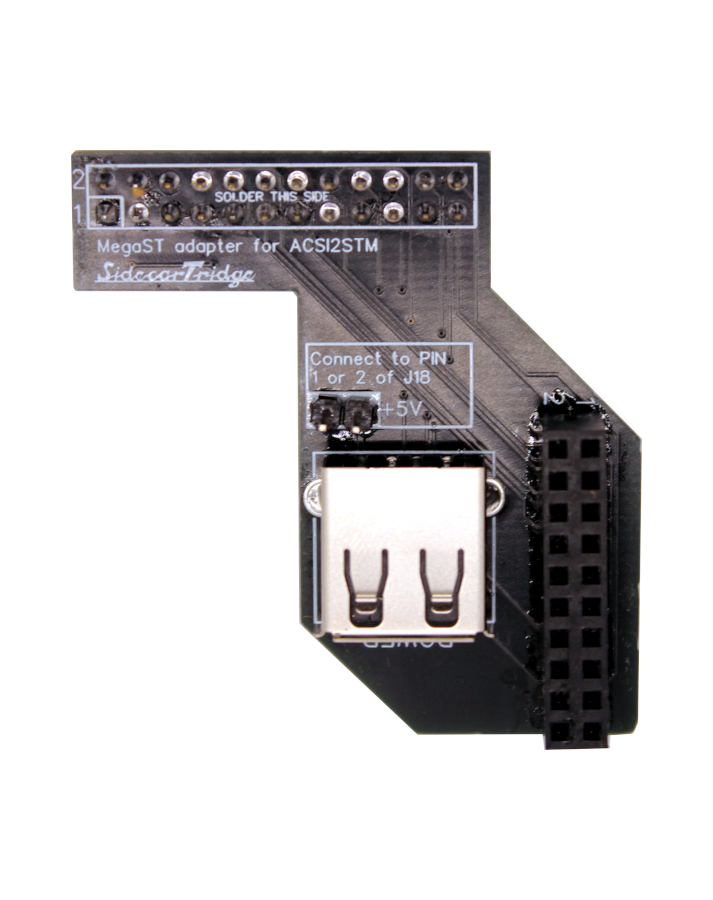
If you need the external dongle version for Atari Mega ST / Mega STe, see the Soufflè variant in the keyboard emulator documentation.
What You Need
Before you begin, prepare:
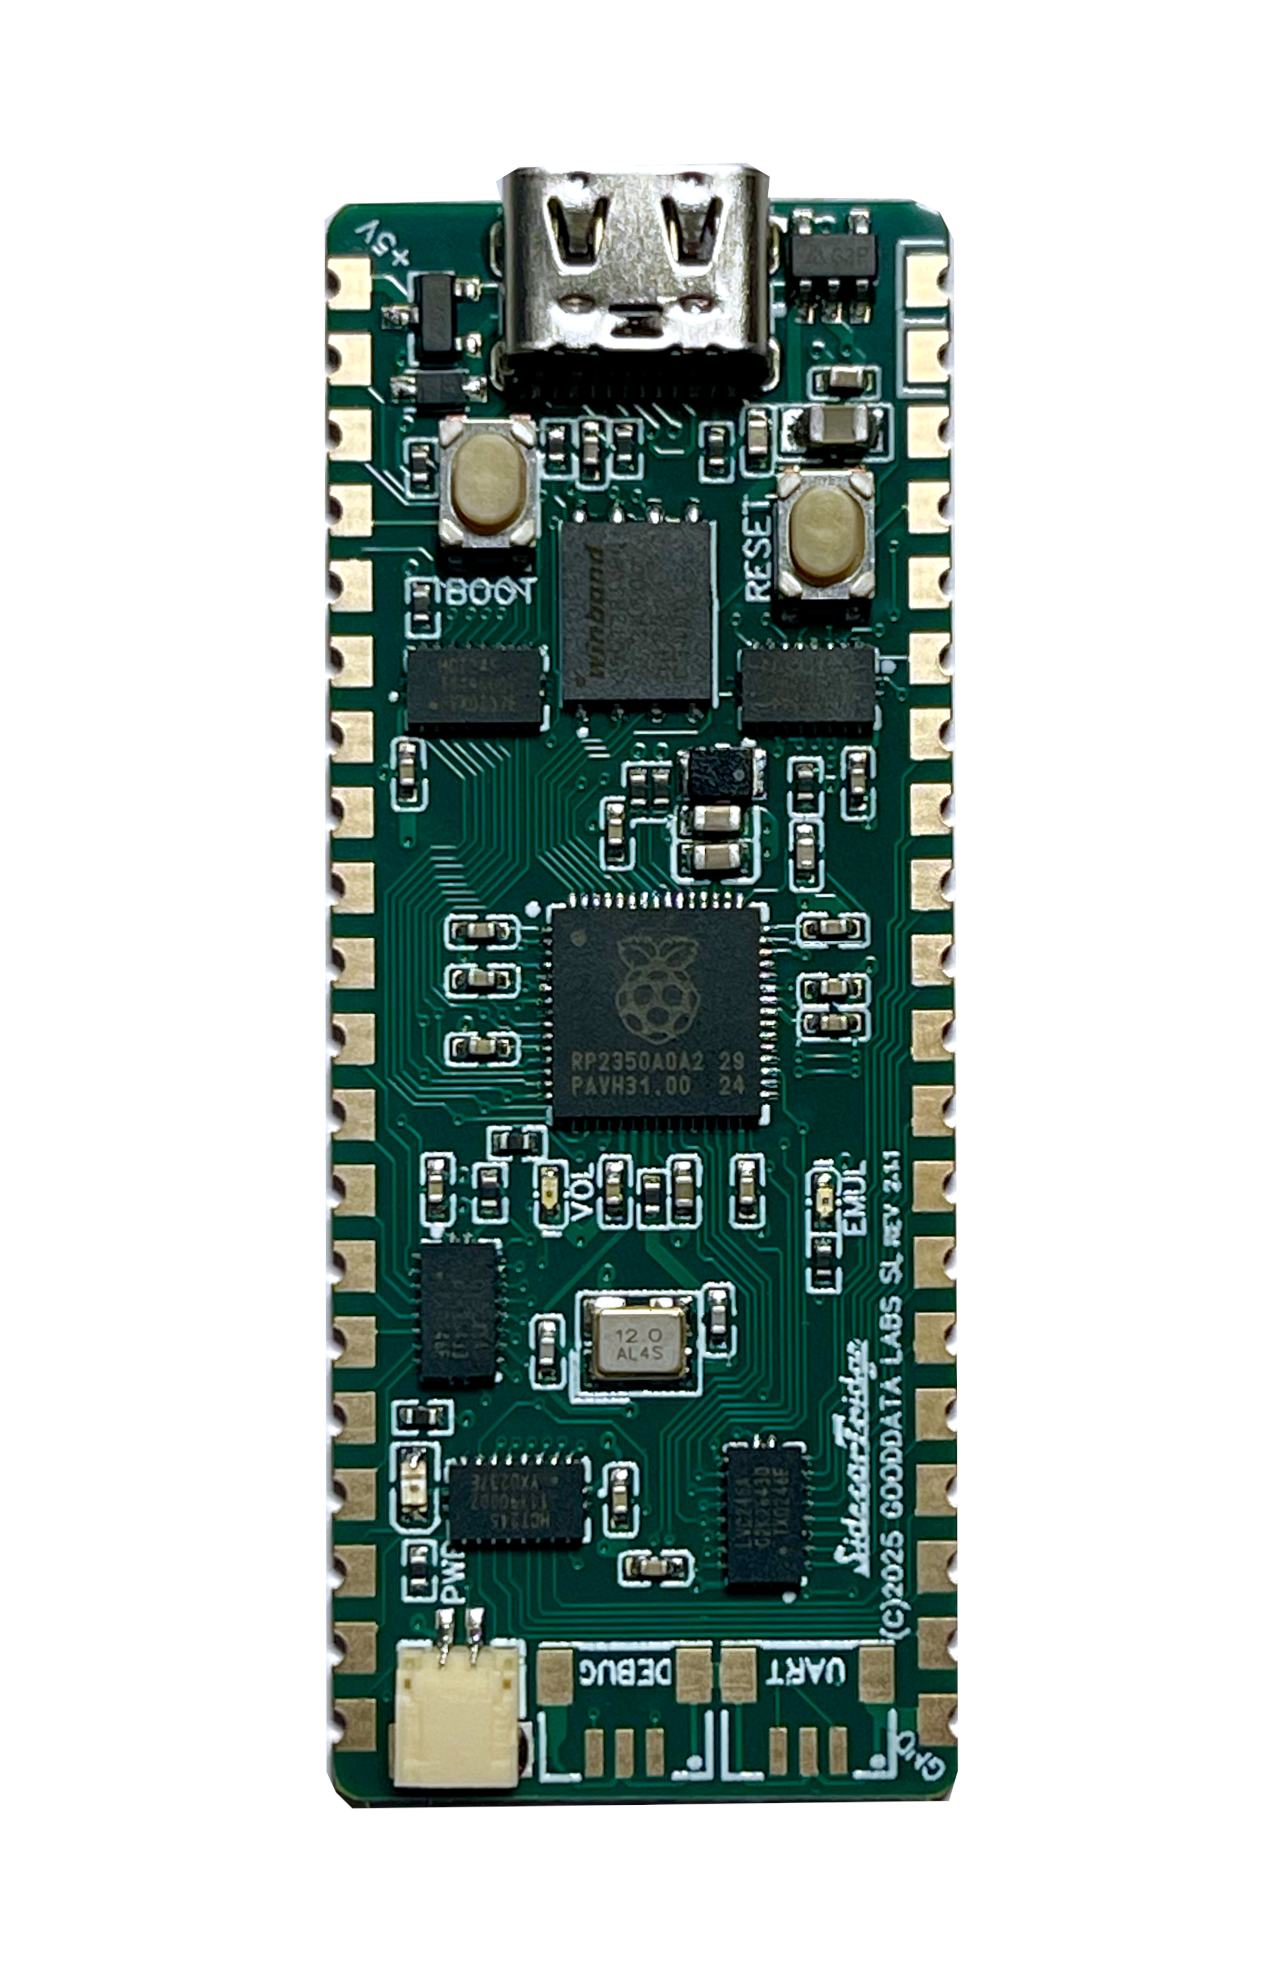
- the Croissant board
- a micro-USB cable for first-time setup and firmware updates
- a Phillips screwdriver
- an anti-static wrist strap if available
The micro-USB cable is not required for normal day-to-day operation, but it is useful for the initial setup before the board is installed inside the computer.

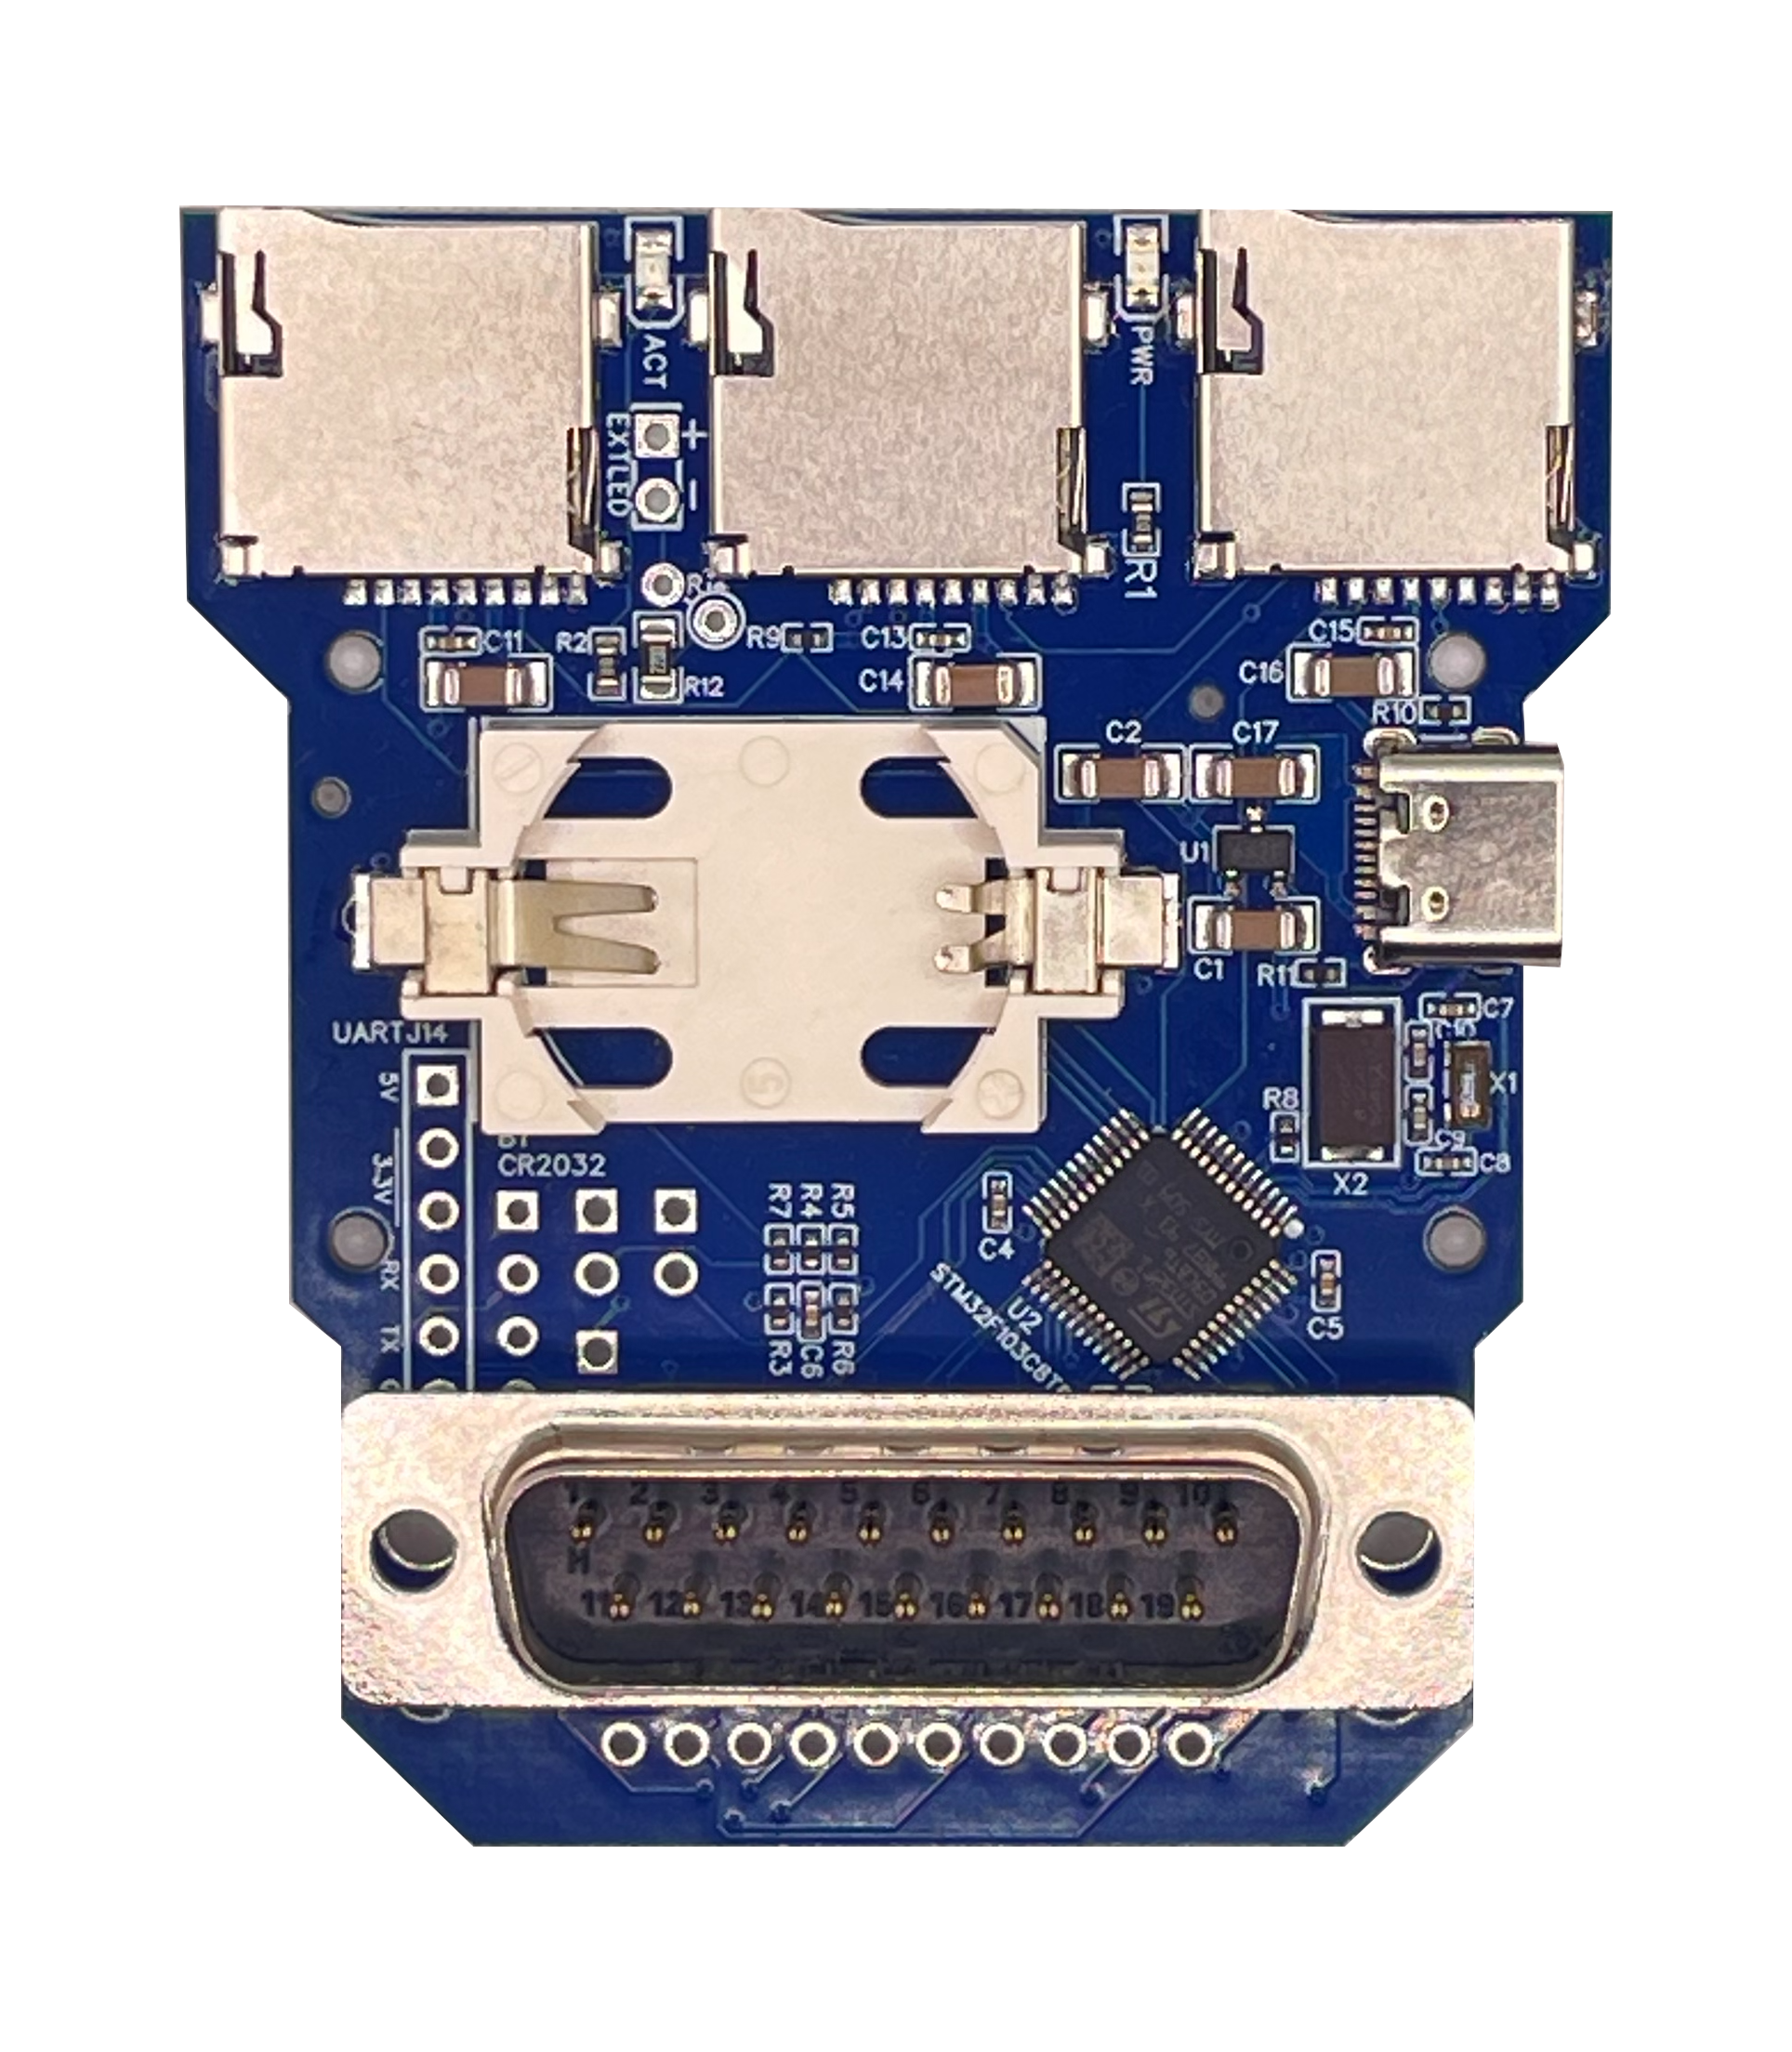
Step 1: Inspect the Board
Before opening the computer, inspect the Croissant board and make sure:
- the connectors are not bent
- the board has no visible damage
- there are no loose parts
If anything looks damaged, stop here and contact support before installation.
Step 2: First Power-On and Initial Configuration
The recommended first step is to power the board through micro-USB before installing it inside the Atari.
When powered for the first time, the expected LED pattern is:
- Green LED: blinking
- Orange LED: steady on
This means the firmware is running and the device is in its initial configuration state.
On first setup, Croissant exposes its own Wi-Fi network. Connect to the network named:
croissant-UUID
Default password:
sidecart
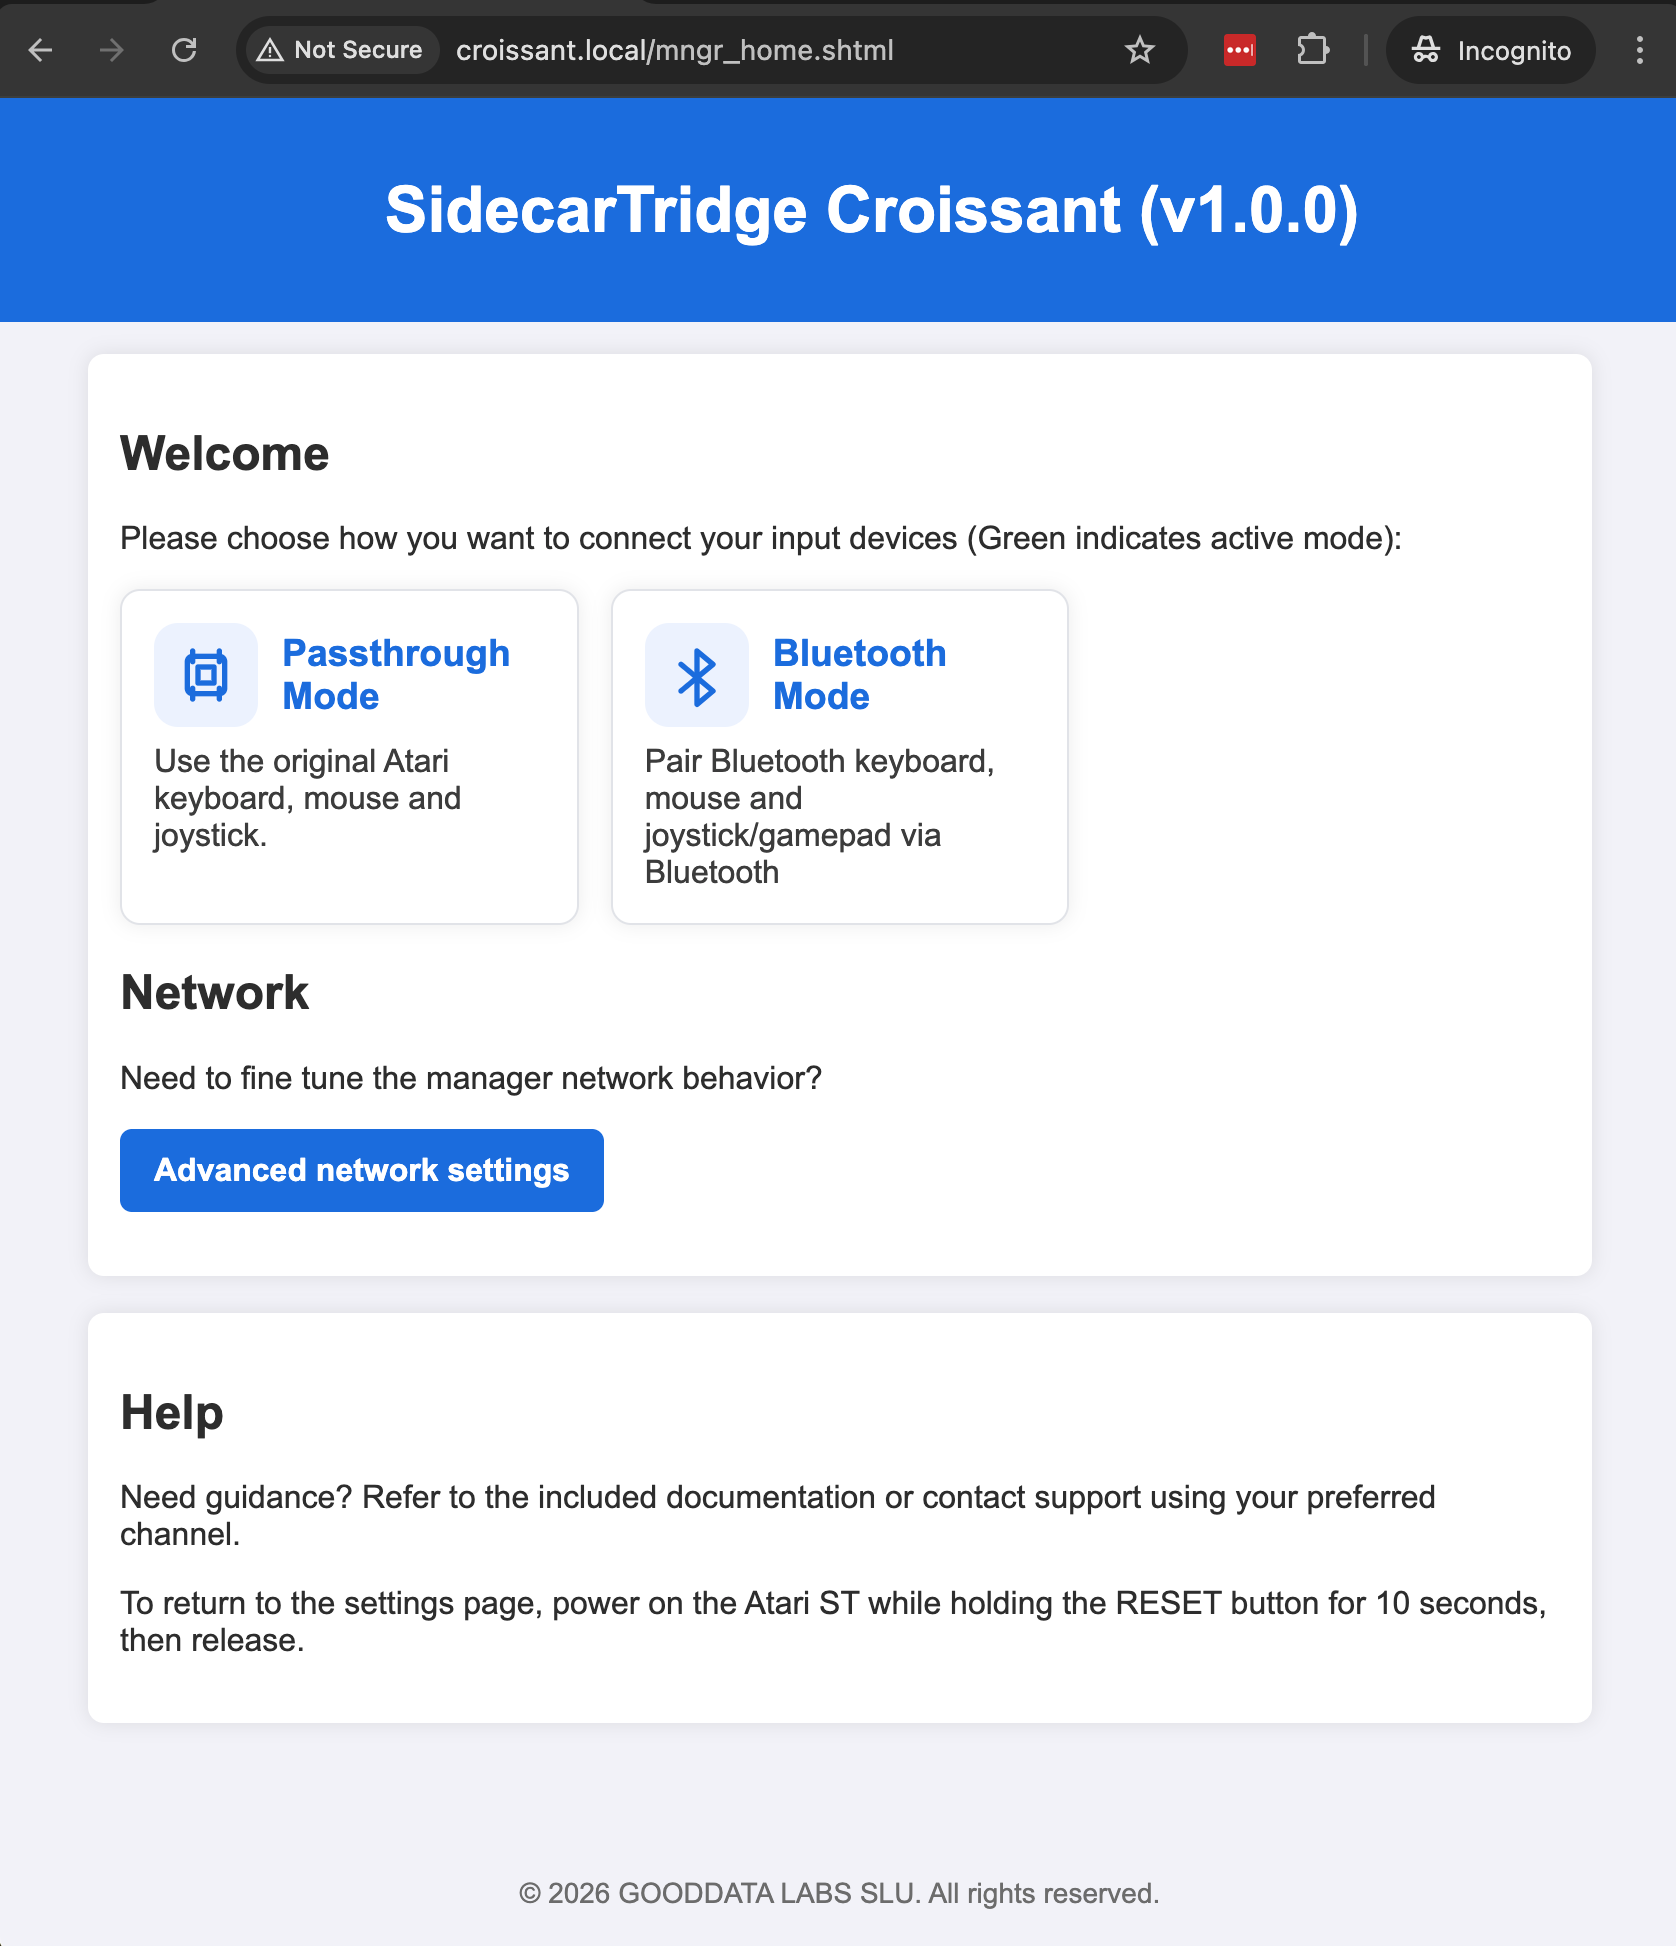
Then open the configuration page in your browser:
If the page loads, the board is working correctly and you can continue with the hardware installation.
Step 3: Open the Atari and Remove the Shielding
To install Croissant, you must open the computer and remove both:
- the plastic outer case
- the internal metal shielding
Basic sequence:
- Power off the Atari and unplug it from the mains.
- Remove the case screws and lift the top cover carefully.
- Disconnect the keyboard ribbon cable from the motherboard.
- Remove the internal metal shielding.
Take your time. The plastic parts, tabs, and connectors are old and can break if forced.
Important: the metal shielding must not be reinstalled after Croissant is fitted. It acts as a Faraday cage and blocks Bluetooth and Wi-Fi signals.
Step 4: Install Croissant on the Motherboard
Locate the 7-pin keyboard connector on the motherboard and insert the Croissant board into it.
Check these points carefully:
- the pins are aligned
- the board is fully seated
- no pins are bent
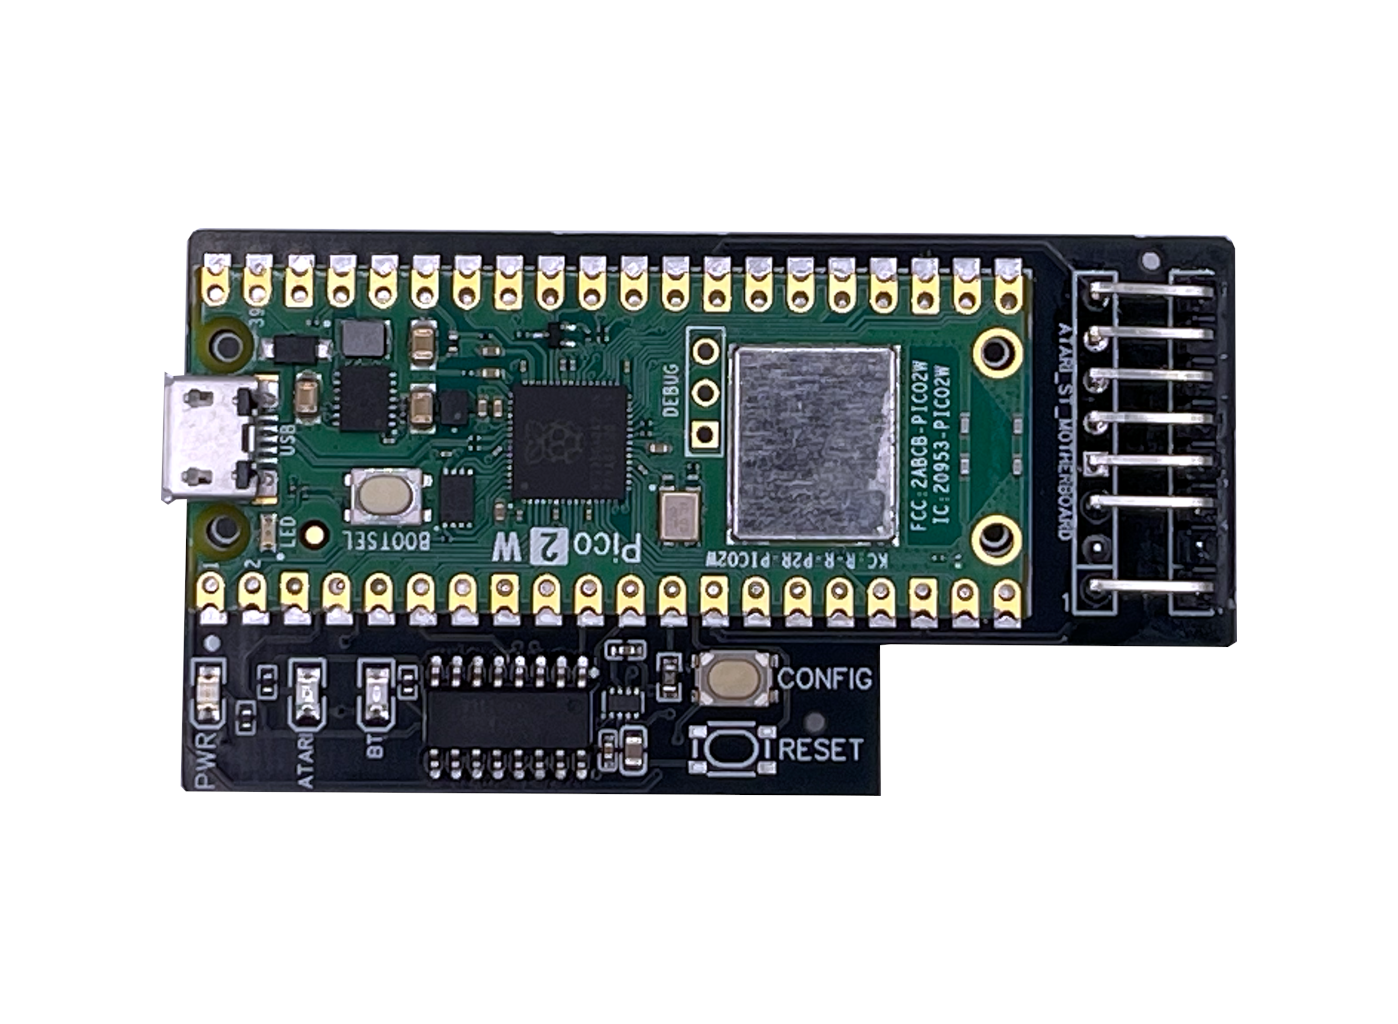
- the micro-USB connector faces the left side of the computer when looking at the motherboard
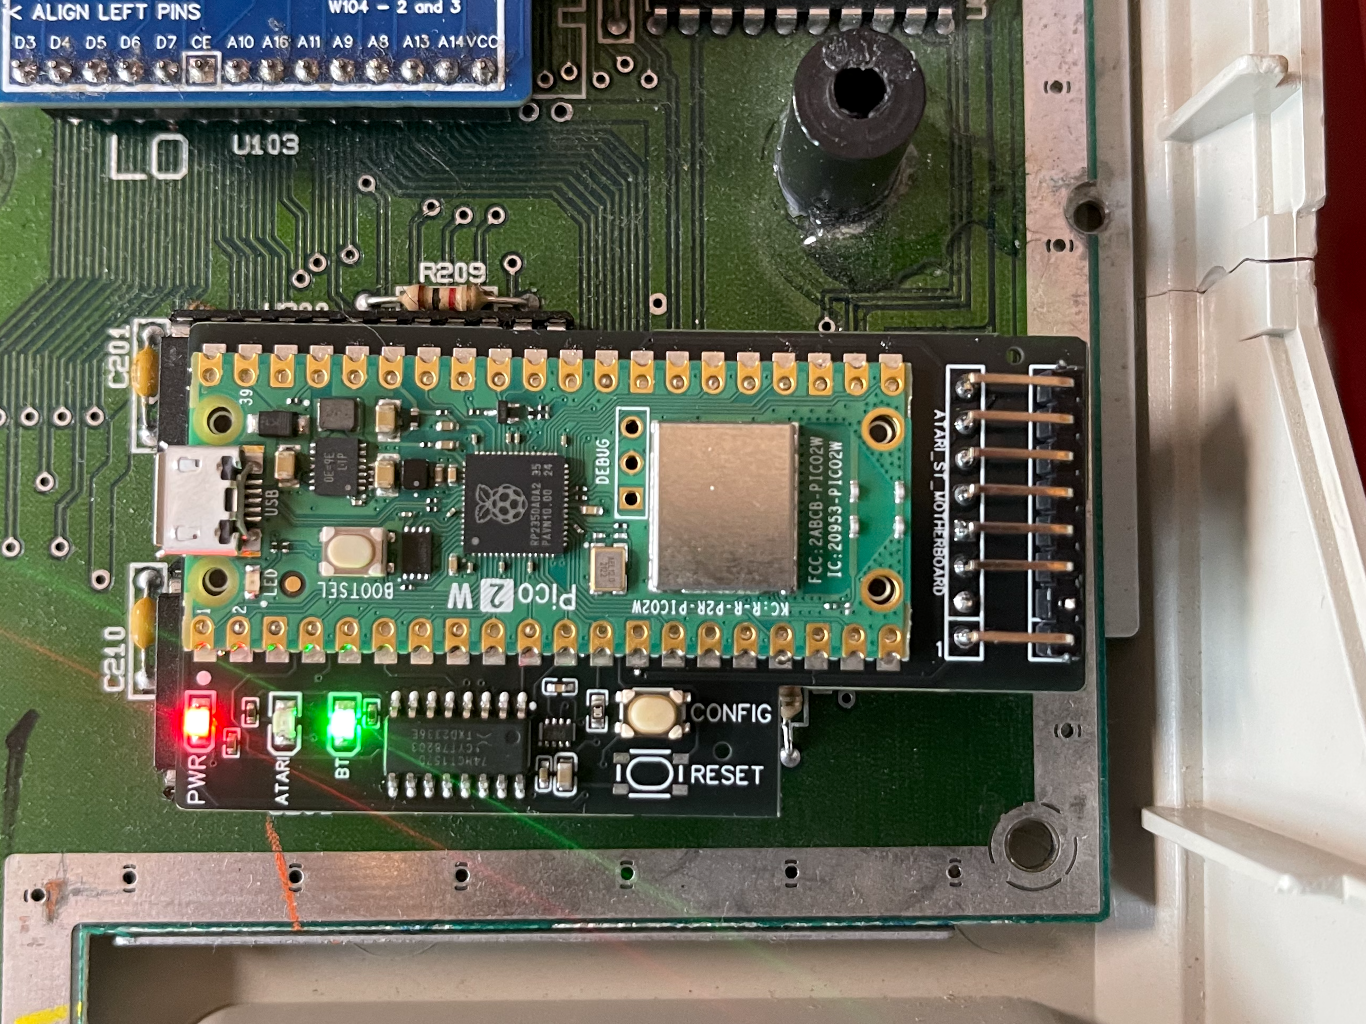
Before reconnecting the keyboard cable, do a quick dry-run:
- Leave the keyboard disconnected.
- Power on the Atari.
- Check the LEDs on Croissant.
Expected pattern:
- Orange LED steady
- Green LED blinking
If the Atari does not boot or the LEDs do not match, power off the machine and check the connector seating again.
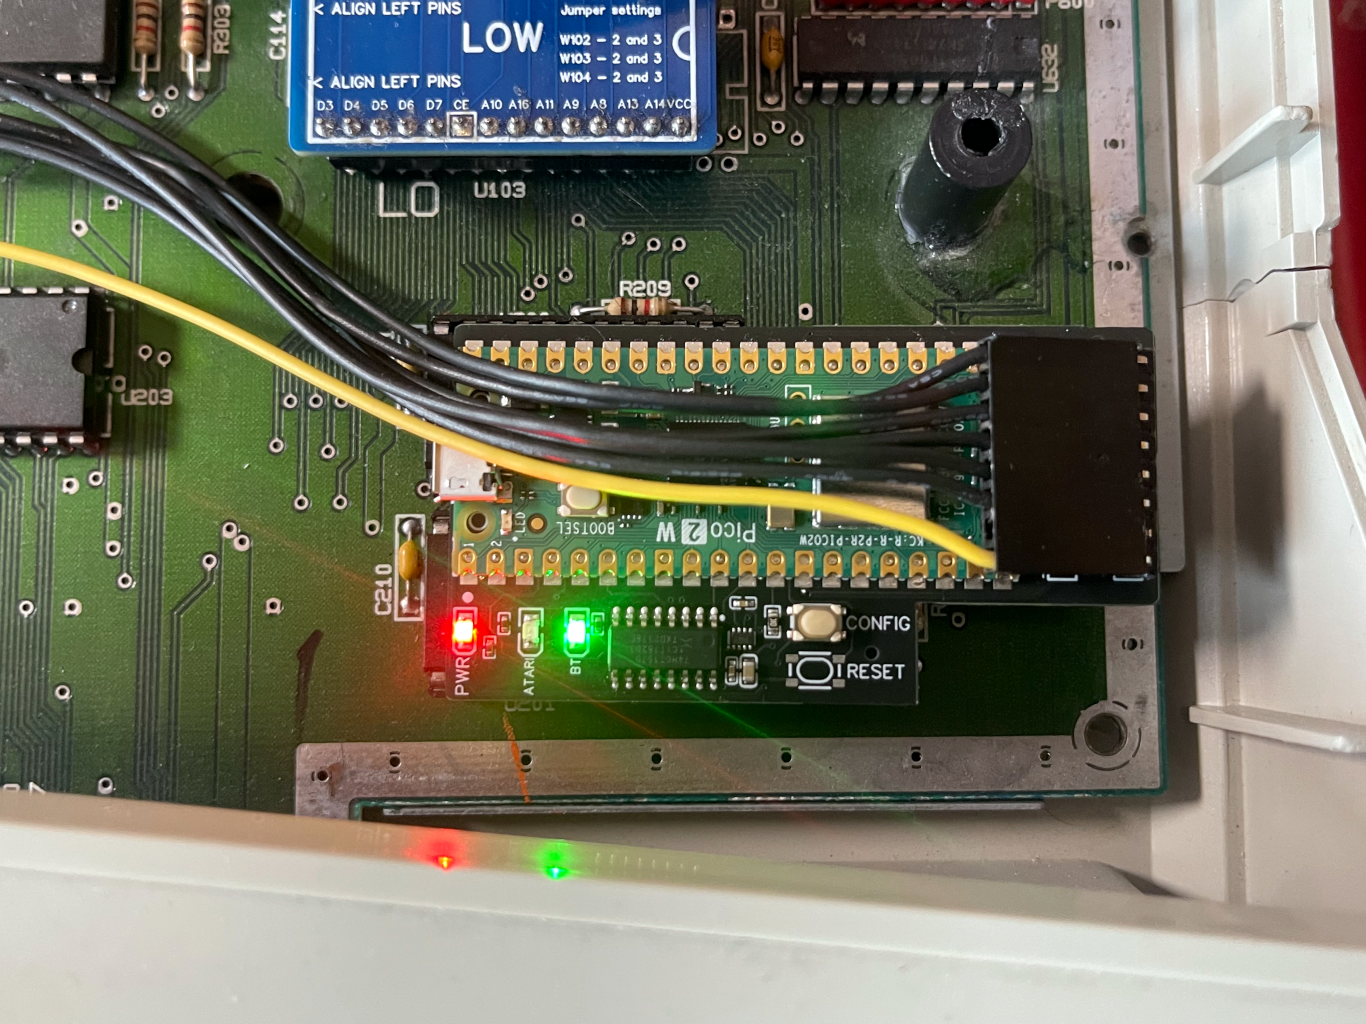
Step 5: Reconnect the Keyboard and Test Again
Power off the Atari and reconnect the keyboard ribbon cable to the Croissant board. The cable must be fully inserted.
Then power on the computer again.
During configuration, the keyboard, mouse, and joystick ports should work in pass-through mode.
If the keyboard does not respond, power off the Atari and check the cable orientation and insertion depth.
Once everything works:
- Power off the computer.
- Make sure no cables are loose.
- Make sure the Croissant board does not touch any metal parts.
- Close the plastic case.
- Reinstall the screws.
Do not reinstall the metal shield.
Step 6: Choose the First Startup Mode
After installation, Croissant starts in configuration mode until you select the first normal startup mode in the web interface.
For Croissant, the two important startup modes are:
- Pass-through mode: keeps the original keyboard path active
- Bluetooth mode: enables Bluetooth keyboards, mice, and supported gamepads
Once you save the selected mode in the web interface, Croissant will keep using that mode on future boots until you change it again.
If you later need to return to configuration mode, Croissant provides a CONFIG button on the board. The full user guide also documents the reset-button shortcuts that can be used without opening the case again.
What’s Next?
This quickstart only covers the essential first setup. For the rest of the workflow, continue with the full documentation:
- User Guide for Bluetooth mode, pass-through mode, pairing, and daily operation
- Compatibility for tested Bluetooth devices and limits
- Firmware Update to install newer firmware versions
- Troubleshooting if the LED behavior, boot process, or installation does not look right
Need Help?
Check the Croissant troubleshooting page, or visit our contact page if you need help with installation or setup.