
Introduction
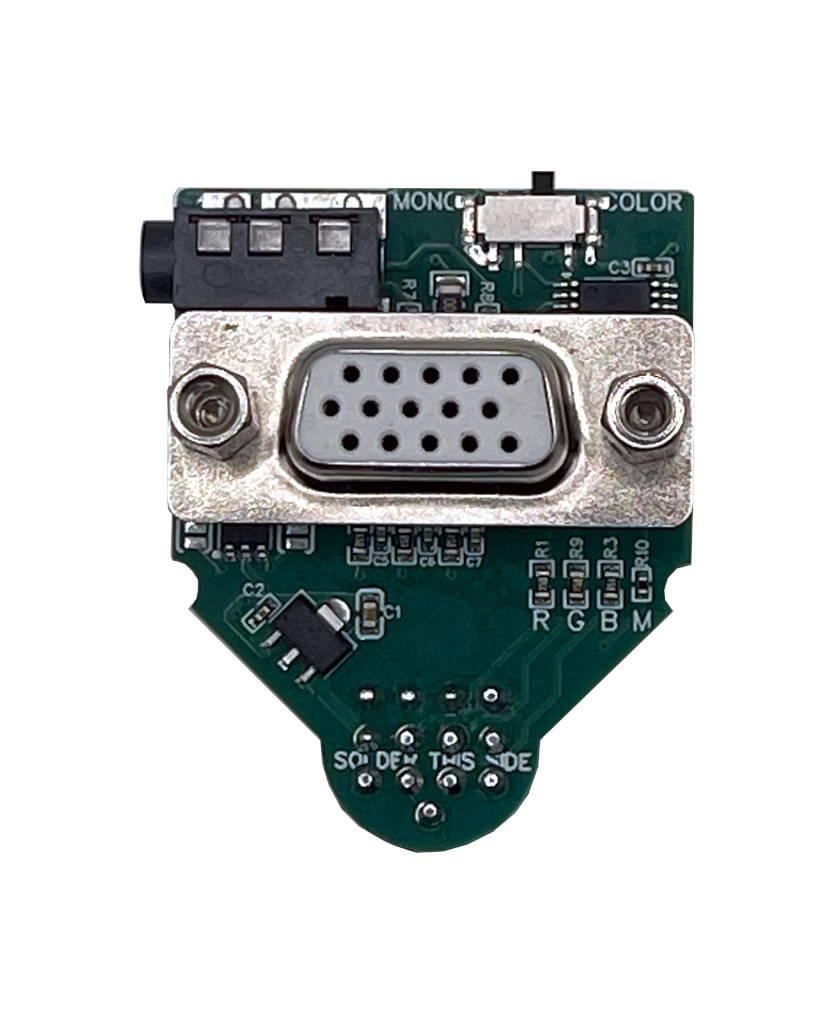
The ST2VGA adapter is designed to convert the video output of your classic Atari ST, STE, Mega ST, and Mega STE computers into a multisync VGA signal. This conversion ensures that your vintage machine can display crisp, clear visuals on modern monitors without additional power or complex installation steps.
What Is in the Box
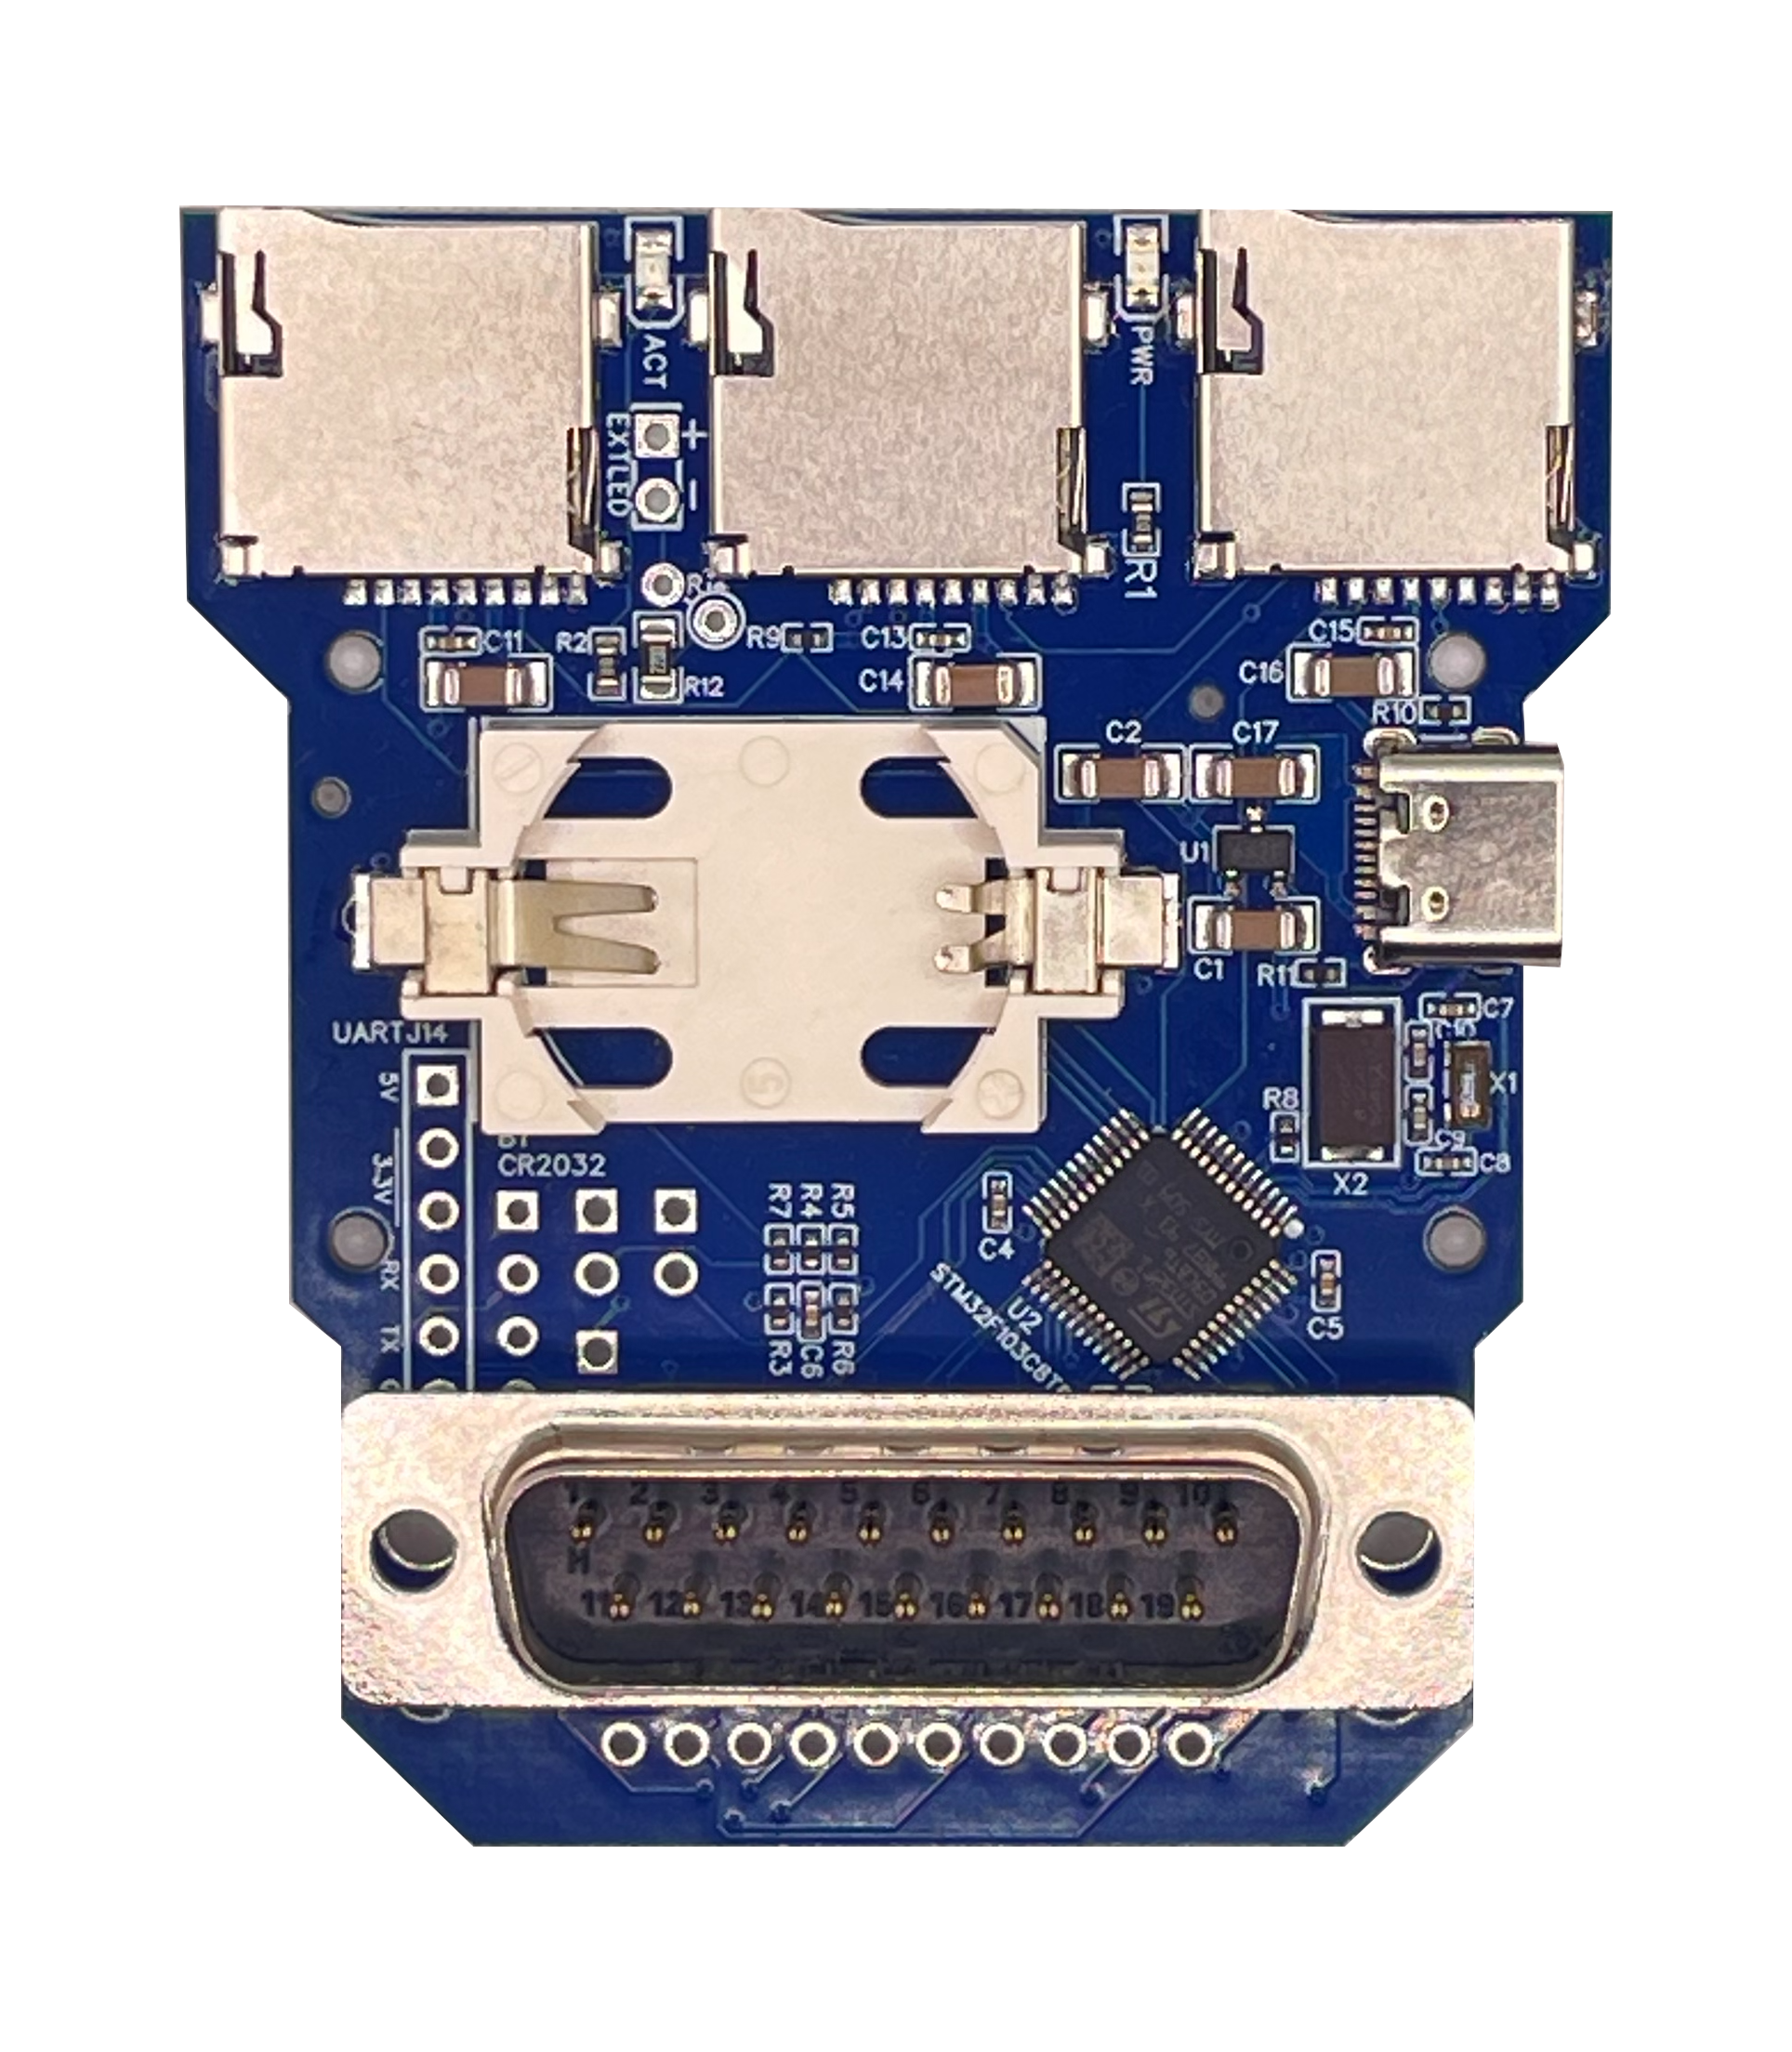
You will find in the box or static bag a single ST2VGA adapter. To access the the documentation and quickstart, please scan the QR code on the packaging and PCB.
Note: Additional cables (like a standard VGA cable) are not included but are mandatory for connecting your monitor.
Check Compatibility of Your Computer
Before beginning the installation, ensure your Atari computer is compatible with the adapter:
- Supported Models:
- Atari 520ST/F/FM/E
- Atari 1040ST/F/FM/E
- Atari Mega ST/E
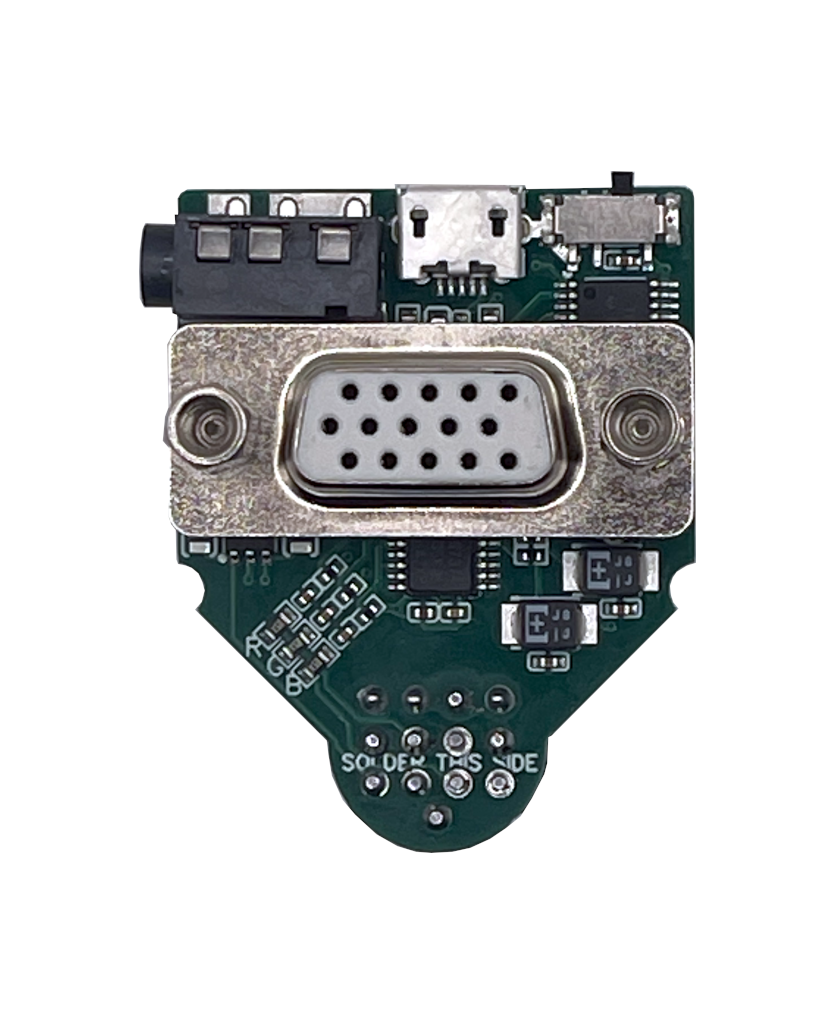
Note: Some very early Atari ST models may lack the +12 V rail required to power this passive adapter. In that case, move up to the ST2VGA Enhanced – Active VGA Adapter for Atari ST, which injects its own 5 V supply over micro-USB to run the amplifier stage.
- Physical Connection:
- Confirm that your Atari has the appropriate video output port that matches the ST2VGA connector. All the models have the same video output port, but given the age of the machines, it is recommended to check the physical condition of the port.
Check Compatibility of Your Monitor
To enjoy the full benefits of the ST2VGA adapter:
- Monitor Requirements:
- The monitor must support a 15KHz HSYNC (multisync).
- Color modes (ST Low/Med) require a 15KHz-capable display.
- Suggested Monitors:
- Verify your monitor’s specifications, or refer to online resources like 15kHz.wikidot.com for a list of compatible displays.
- Connection:
- Use a standard VGA cable (with optional EMI/RF noise filters for best performance) to connect the adapter to the monitor.
If you don’t have a 15Khz monitor, you can still use the adapter in mono mode (ST High) with any VGA monitor. If your monitor struggles to hold sync or displays vertical “jailbars” even though it supports 15Khz, the ST2VGA Enhanced – Active VGA Adapter for Atari ST adds buffered amplification and filtering specifically to calm picky displays.
Plugging in the Device to Your Computer
- Power Down:
- Turn off your Atari computer before installation to ensure a safe connection.
- Locate the Video Port:
- Identify the video output port on your Atari.
- Connect the Adapter:
- Plug the ST2VGA adapter directly into the video output port. Ensure that it fits securely. It should not require excessive force to fully insert.
- Attach the Monitor:
- Connect the VGA cable from your monitor to the VGA output port on the adapter. To secure a stable connection, tighten the screws on the VGA cable before powering on the devices.
- Connect the other end of your VGA cable to your monitor’s VGA input.
- Audio Connection:
- If desired, connect an audio cable from the built-in 3.5mm audio jack on the adapter to your speakers or amplifier.
Testing the Device
- Select Video Mode:
- Use the integrated slide switch to toggle between color (ST Low/Med) and mono (ST High) modes (for color mode, ensure that your monitor supports 15KHz HSYNC).
- Power On:
- Turn on your Atari computer and your VGA monitor.
- Verify Display:
- Check the monitor for clear, flicker-free output. The display should maintain the original scan frequency while delivering enhanced clarity. You can adjust the monitor settings for optimal viewing, especially to center the image.
- Audio Check:
- Test the audio output by playing a sound. The mono signal should be delivered to both left and right channels.
Conclusion and Support
Congratulations on setting up your ST2VGA adapter! Your Atari is now ready to display stunning visuals on modern monitors while preserving its vintage charm.
For further assistance or questions, contact us via the contact page. Happy retro computing!