
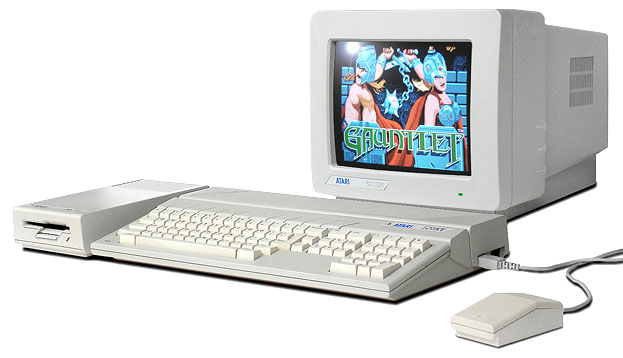
(Obvious) Prerequisite.Grab an Atari ST/STE/Mega
While it may seem straightforward, the initial step involves obtaining a functional Atari ST, STE, or Mega computer. It’s okay if certain components aren’t in perfect shape—for instance, the floppy drive or the hard disk might not be operational—as long as the machine can power on. It’s worth noting that the SidecarTridge board can emulate a physical floppy drive, so an Atari ST without a (or a broken) floppy drive can still be used with the SidecarTridge board. The SidecarTridge board is also compatible with TOS versions ranging from 1.00 to 2.06, almost every single ST and STE series compute sold. If you haven’t secured one yet, consider checking second-hand sales websites or specialized forums such as Atari Forum and Atari Age.
Step 1. Acquire a SidecarTridge board
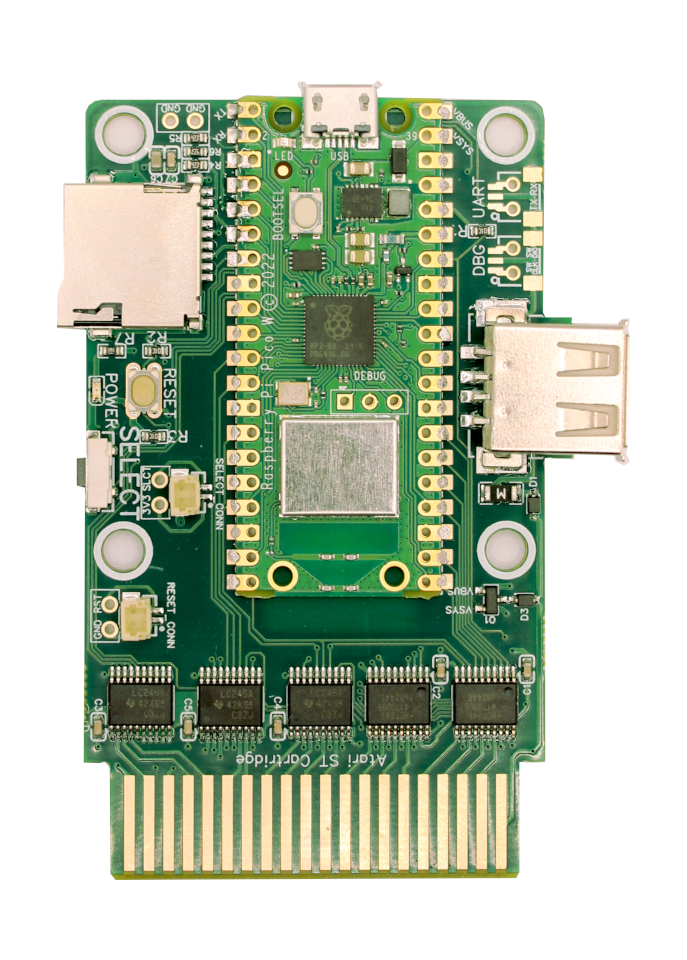
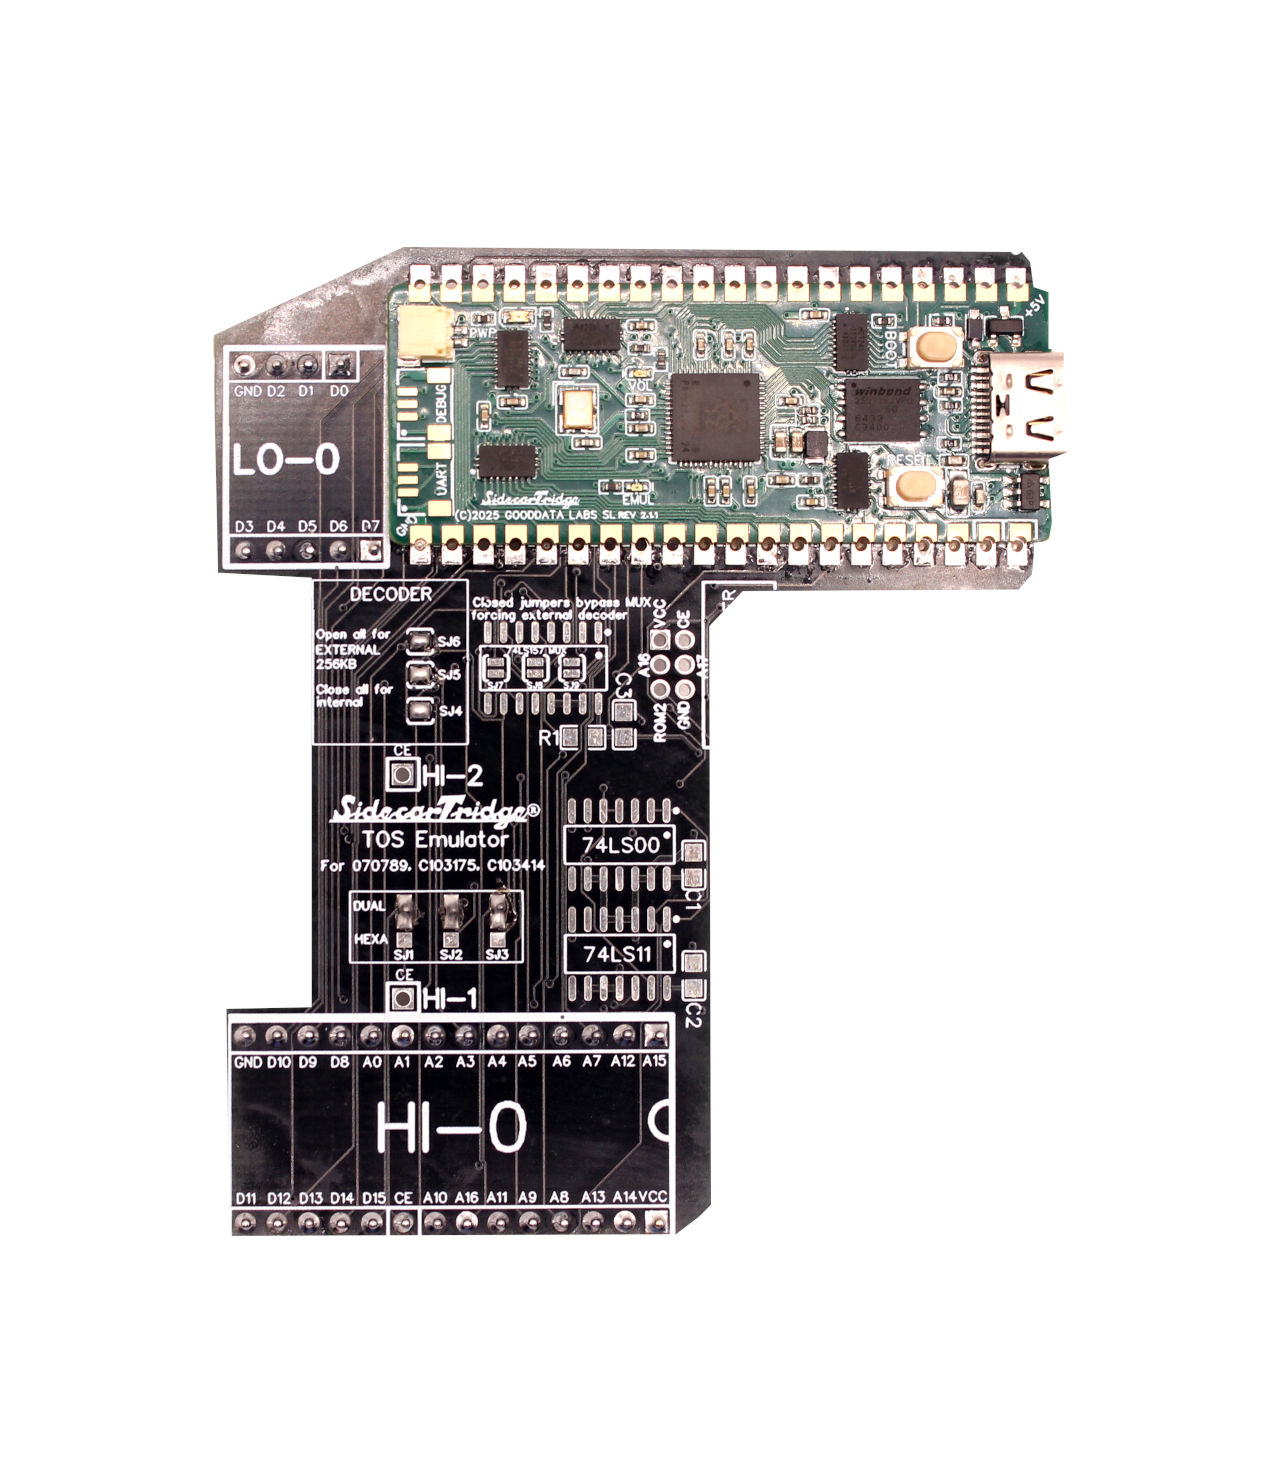
To get your hands on a SidecarTridge Multi-device, you can either purchase it from our store or build one yourself.

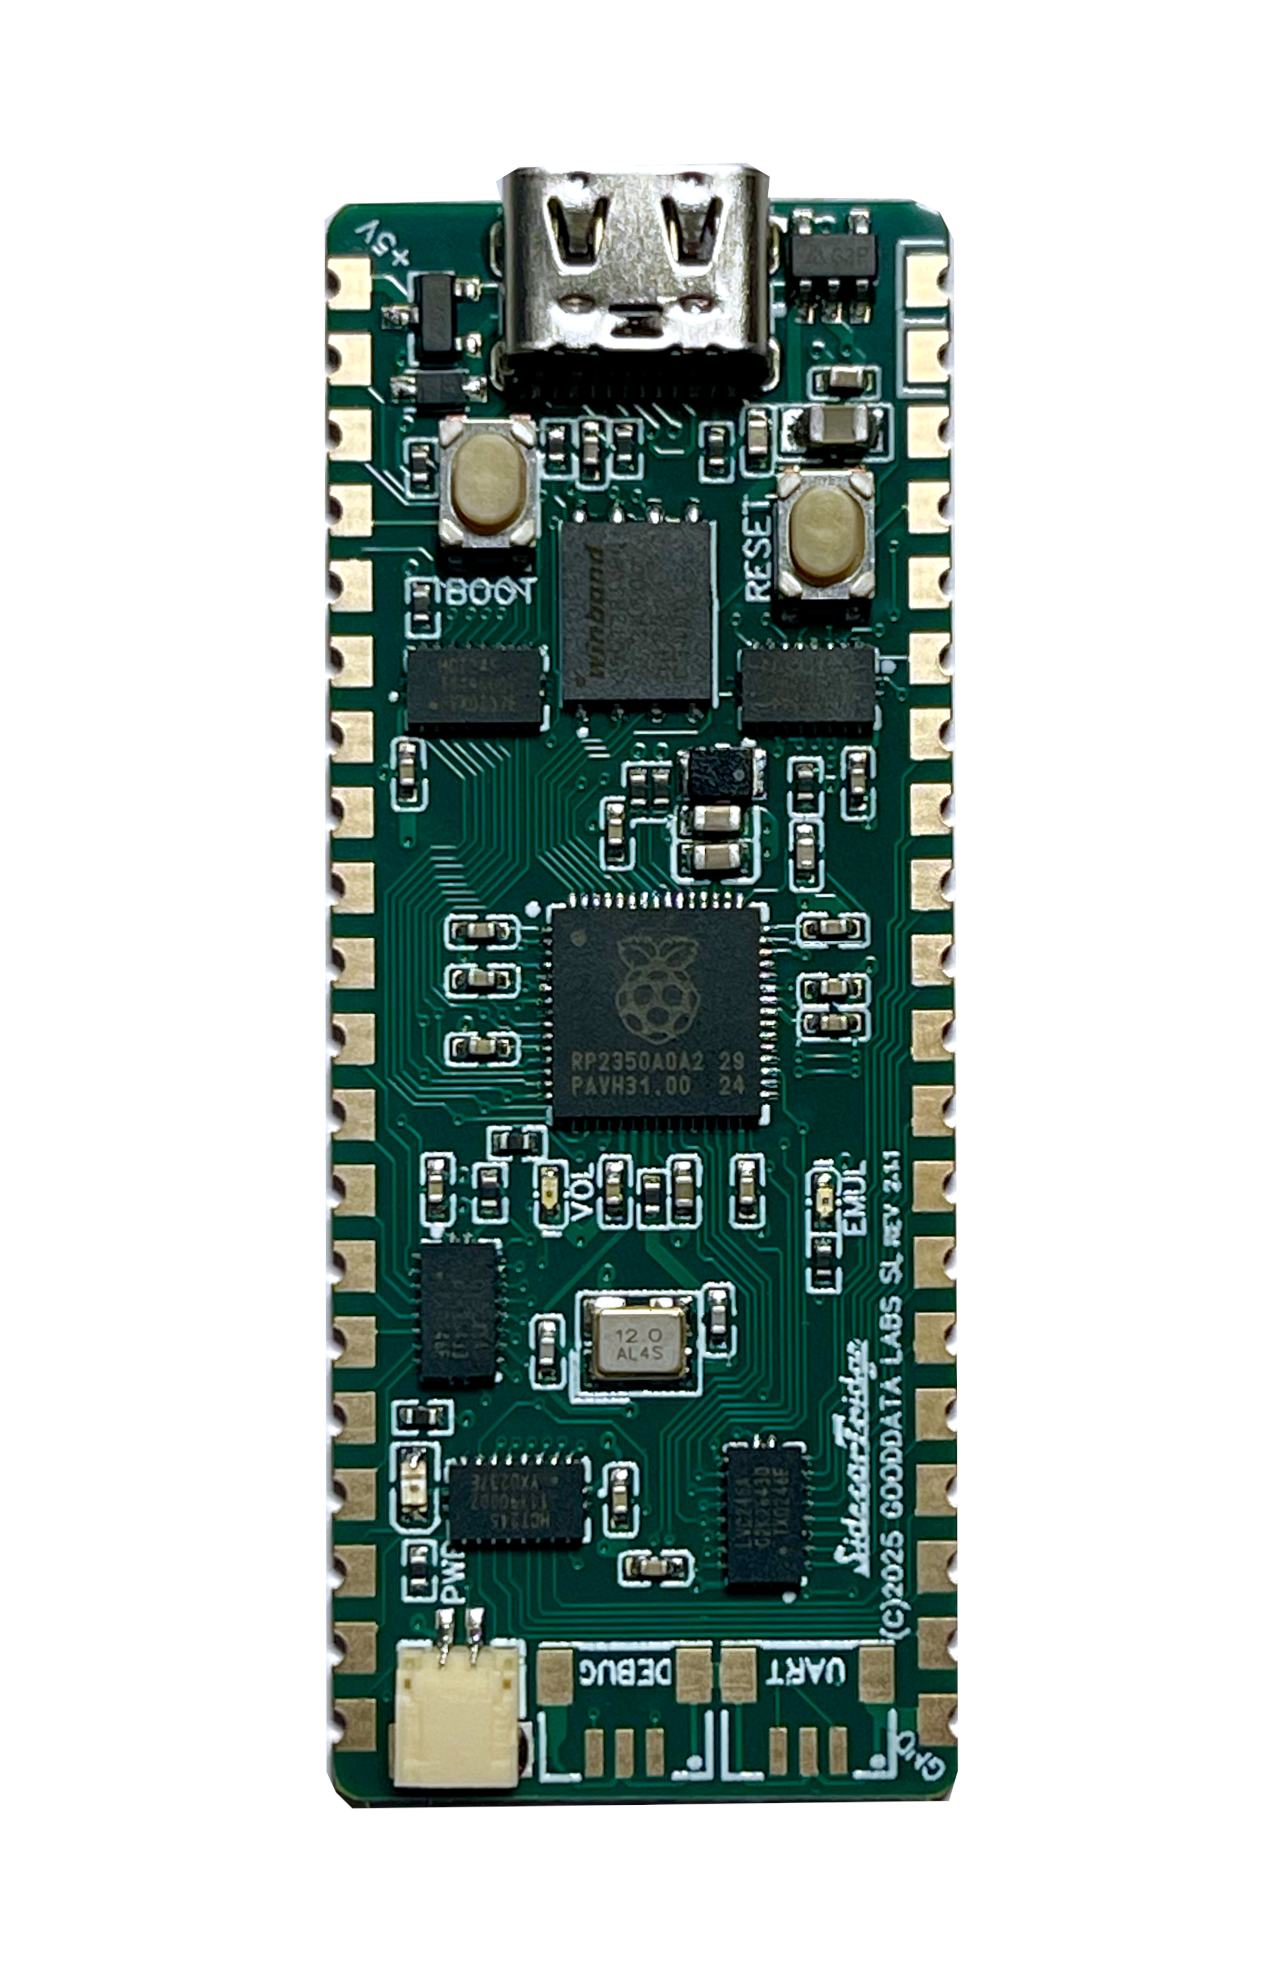
The SidecarTridge Multi-device operates using a Raspberry Pi Pico W. You have the option to purchase the SidecarTridge Multi-device with an included and pre-configured Raspberry Pi Pico W, or you can buy one separately. If you choose to purchase one on your own, you should look for a Raspberry Pi Pico WH (Reference SC0919), which already comes with the necessary 40-pin connectors to attach to the SidecarTridge Multi-device’s motherboard. Or, you can buy Raspberry Pi Pico W (Reference SC0918) and solder directly the Pico W to the board.
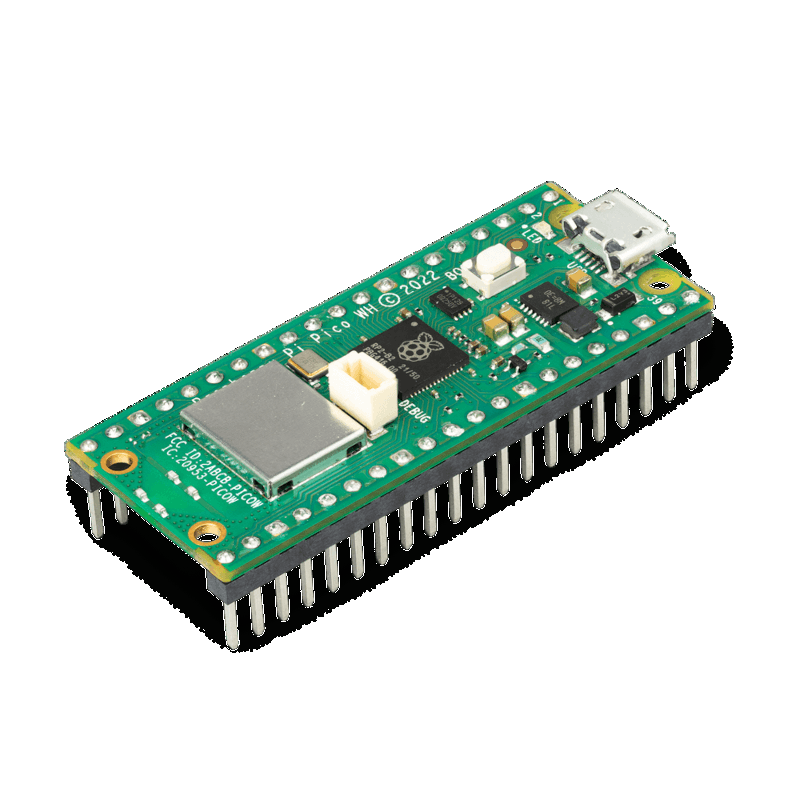
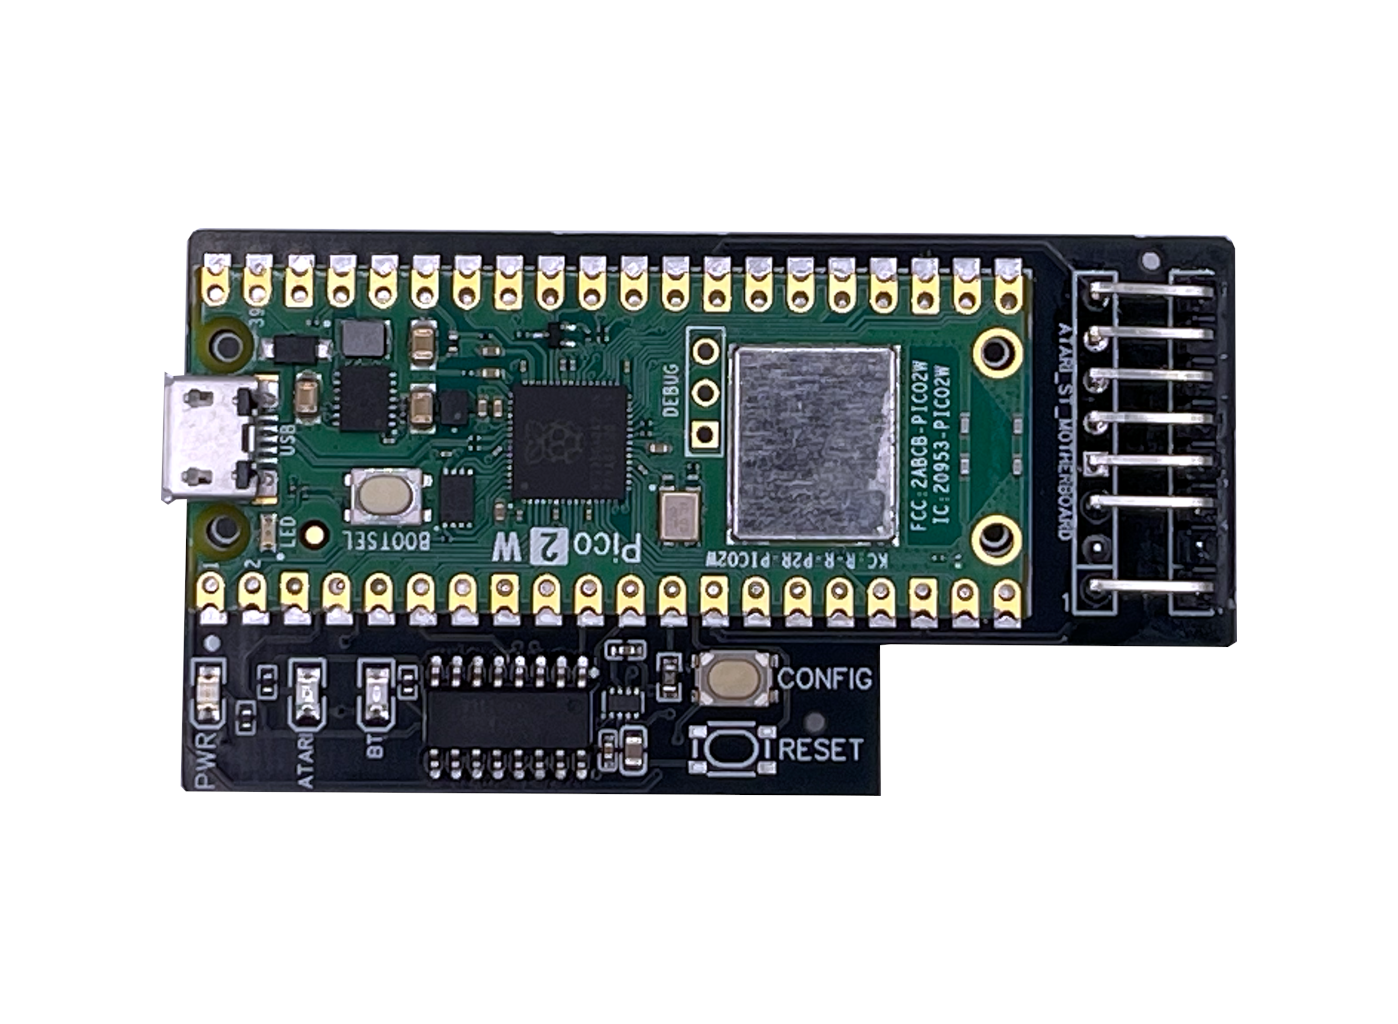
Since revision 3.1 of the board, the Raspberry Pi Pico W can be directly soldered to the board. If you want to use a Raspberry Pi Pico WH, you will have to solder two 20-pin female headers connectors to the board. You can find them in our store here, or in any electronic store.
If you are a developer or maker, have a look at this guide to learn what you need to code on the SidecarTridge Multi-device.
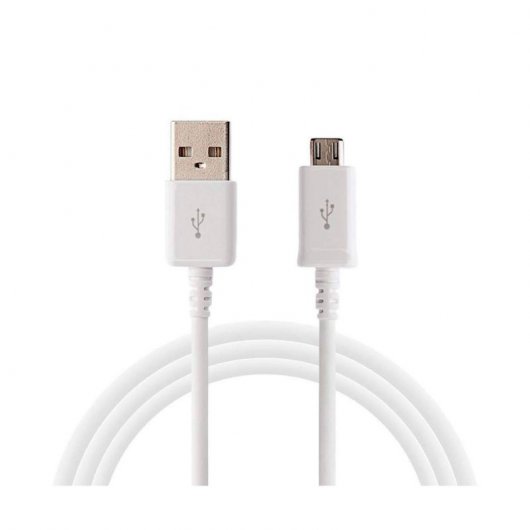
To install and update the firmware on the Raspberry Pi Pico W, you’ll need a USB A to micro USB data cable. When purchasing from our store, a cable suited for this task is included. It’s important to note the emphasis on a “data” cable - a simple charging cable won’t suffice.
Since Firmware version 2, using a microSD card is now mandatory. Only microSDHC, microSDXC and microSDUC are supported. Additionally, you will need a WiFi network to complete the setup. The SidecarTridge Multi-device supports only 2.4GHz WiFi networks.
Step 2. Install the latest firmware version on the SidecarTridge Multi-device
If your purchased SidecarTridge Multi-device includes the Raspberry Pi Pico W or WH, this step is unnecessary. The device arrives with the most recent firmware version already installed.
The recommended way to install or update the firmware is the SidecarTridge Web Firmware Installer. It runs entirely in your browser, automatically detects your Raspberry Pi Pico variant and flashes the correct firmware for you. No drivers, no extra software.
You will need a Chromium-based browser with WebUSB support, such as Chrome, Edge, Brave or Opera. Firefox and Safari are not supported.
- Connect your PC, Mac, or Linux to the Raspberry Pi Pico W using a USB data cable.
-
Put the Pico into BOOTSEL mode: hold down the BOOTSEL button for a few seconds, then hold down the RESET button, release the RESET button, and finally release the BOOTSEL button. A new drive named
RPI-RP2(orRP2350) should appear on your computer.
- Open the SidecarTridge Web Firmware Installer, click Detect MCU and grant USB access when the browser asks for it.
- Pick SidecarTridge Multi-device as the device family, choose the latest firmware from the list and click the flash button. Keep the device in BOOTSEL mode until the process finishes.
- When the installer reports success, disconnect the USB cable. The new firmware is now installed.
Manual install (fallback). If you cannot use a WebUSB-capable browser, put the Pico into BOOTSEL mode as described above, open the
RPI-RP2drive that appears, and copy the.uf2file for your Raspberry Pi Pico variant from the Download page into that drive. Once the file finishes copying, disconnect the USB cable. The new firmware is now installed.
Step 3. Format the microSD card to exFAT
To use the SidecarTridge Multi-device effectively, your microSD card needs to be formatted in exFAT. Here’s how you can format it in exFAT on various platforms.
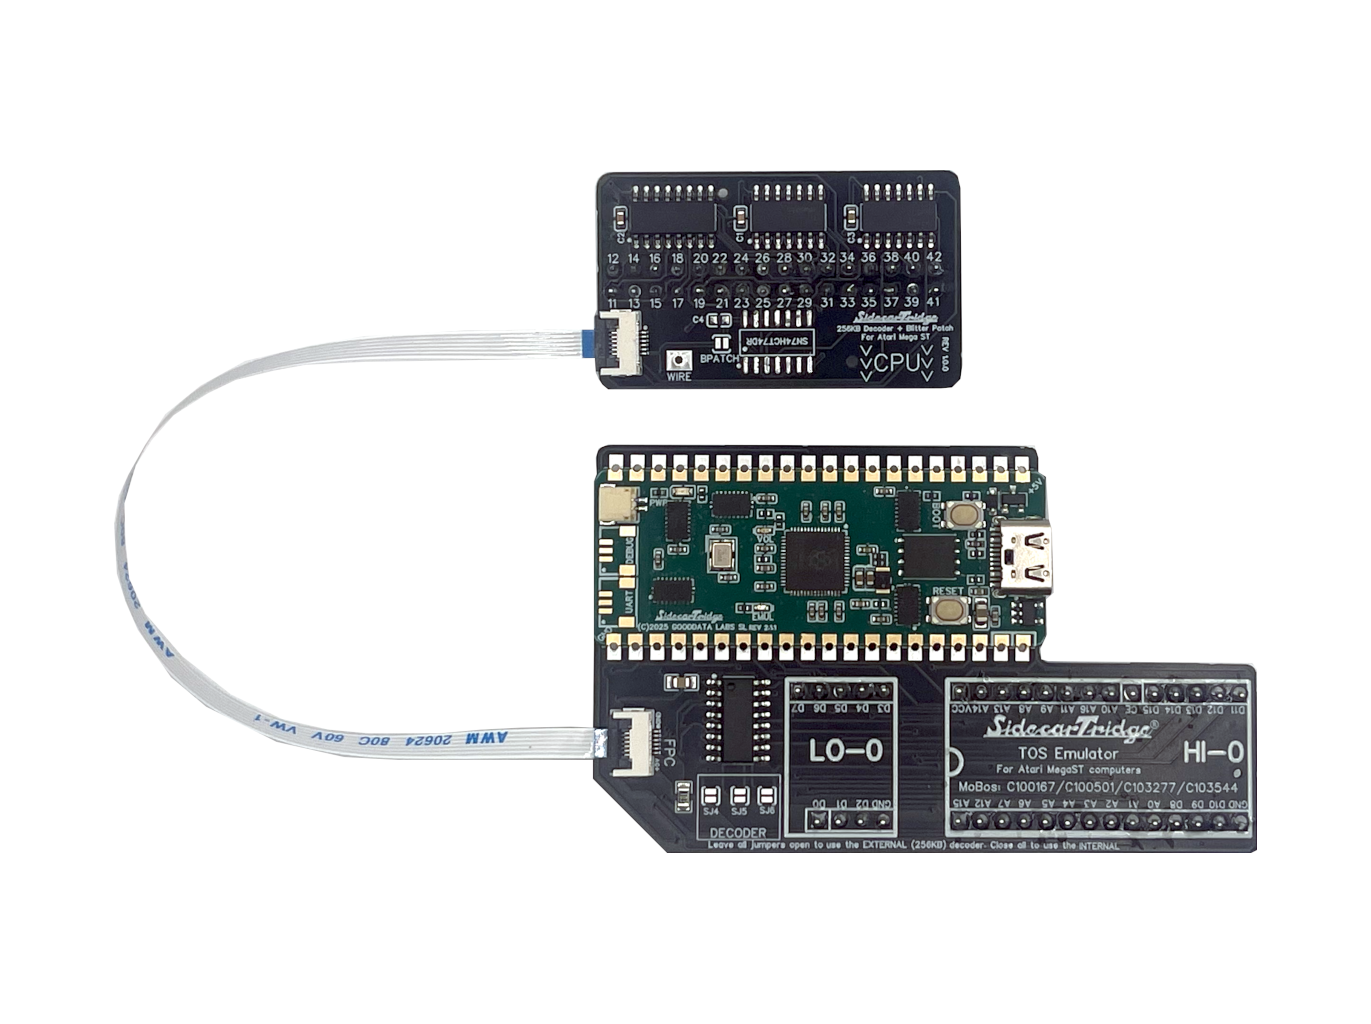
Step 4. Connect the SidecarTridge Multi-device with the Raspberry Pi Pico W and the microSD to the computer
Important Cleaning Notice for SidecarTridge Multi-device Users: Ensuring the cleanliness of your Atari ST/STE/Mega’s cartridge interface and the SidecarTridge Multi-device’s cartridge connector is crucial for optimal functionality. An unclean connection can lead to issues with device performance. We highly recommend using a soft brush and isopropyl alcohol for thorough cleaning.
Before turning on your computer, plug the SidecarTridge Multi-device into the cartridge interface on the side of the computer. It’s crucial to ensure that the Raspberry Pi Pico W faces upwards. Also, make sure the microSD card is inserted into the microSD card slot and the USB cable is not connected to the Raspberry Pi Pico W

Make sure to handle the SidecarTridge Multi-device carefully to avoid any damage. Once connected, you can turn on the computer and proceed with using the SidecarTridge Multi-device.
Step 5. Switch on the computer
The Booster app is the main application of the SidecarTridge Multi-device, and it allows you to manage the microfirmware apps installed on the microSD card (e.g., ROM Emulation, Floppy Emulation, GEMDRIVE, etc.). Think of it as a mini App Store for your Atari ST/STE/Mega computer that let’s you easily switch between different functionalities.
-
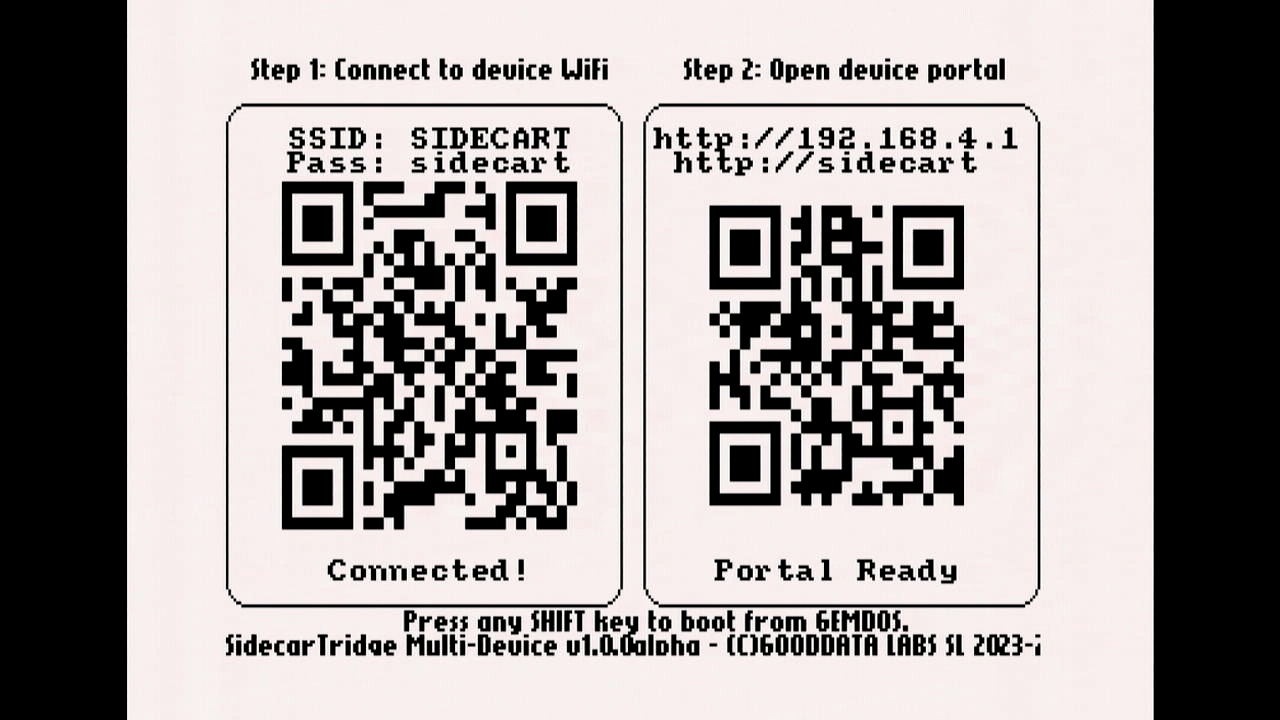
The firmware will automatically start in Factory (Fabric) mode, showing the following message on screen:

This screen confirms that the Booster app is running in Factory mode and is ready to be configured.
Scan the QR code with your smartphone to connect to the WiFi network created by the Booster app, or manually connect via your WiFi settings.
The default network details are:- SSID:
SIDECART - Password:
sidecart
- SSID:
-
Once connected to the WiFi, the Booster app will detect the connection and show the following screen:
This screen invites you to open a web browser and navigate to either:
http://sidecart.local- or
http://192.168.4.1(if.localdomains aren’t supported)
-
In your web browser, enter the URL shown above to access the web interface.
You’ll be prompted to configure your home or office WiFi network.
Select your WiFi SSID from the list (you can click Refresh if it doesn’t appear), then click it to continue.
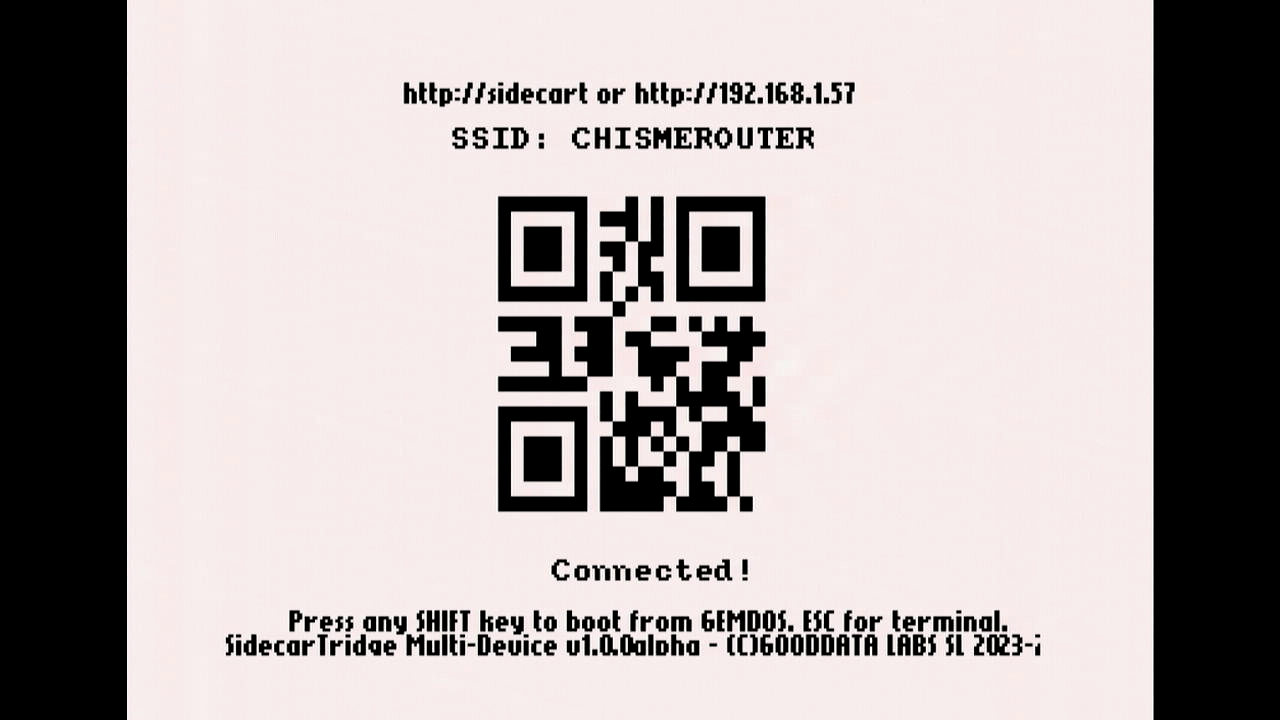
In this example, the network isCHISMEROUTER.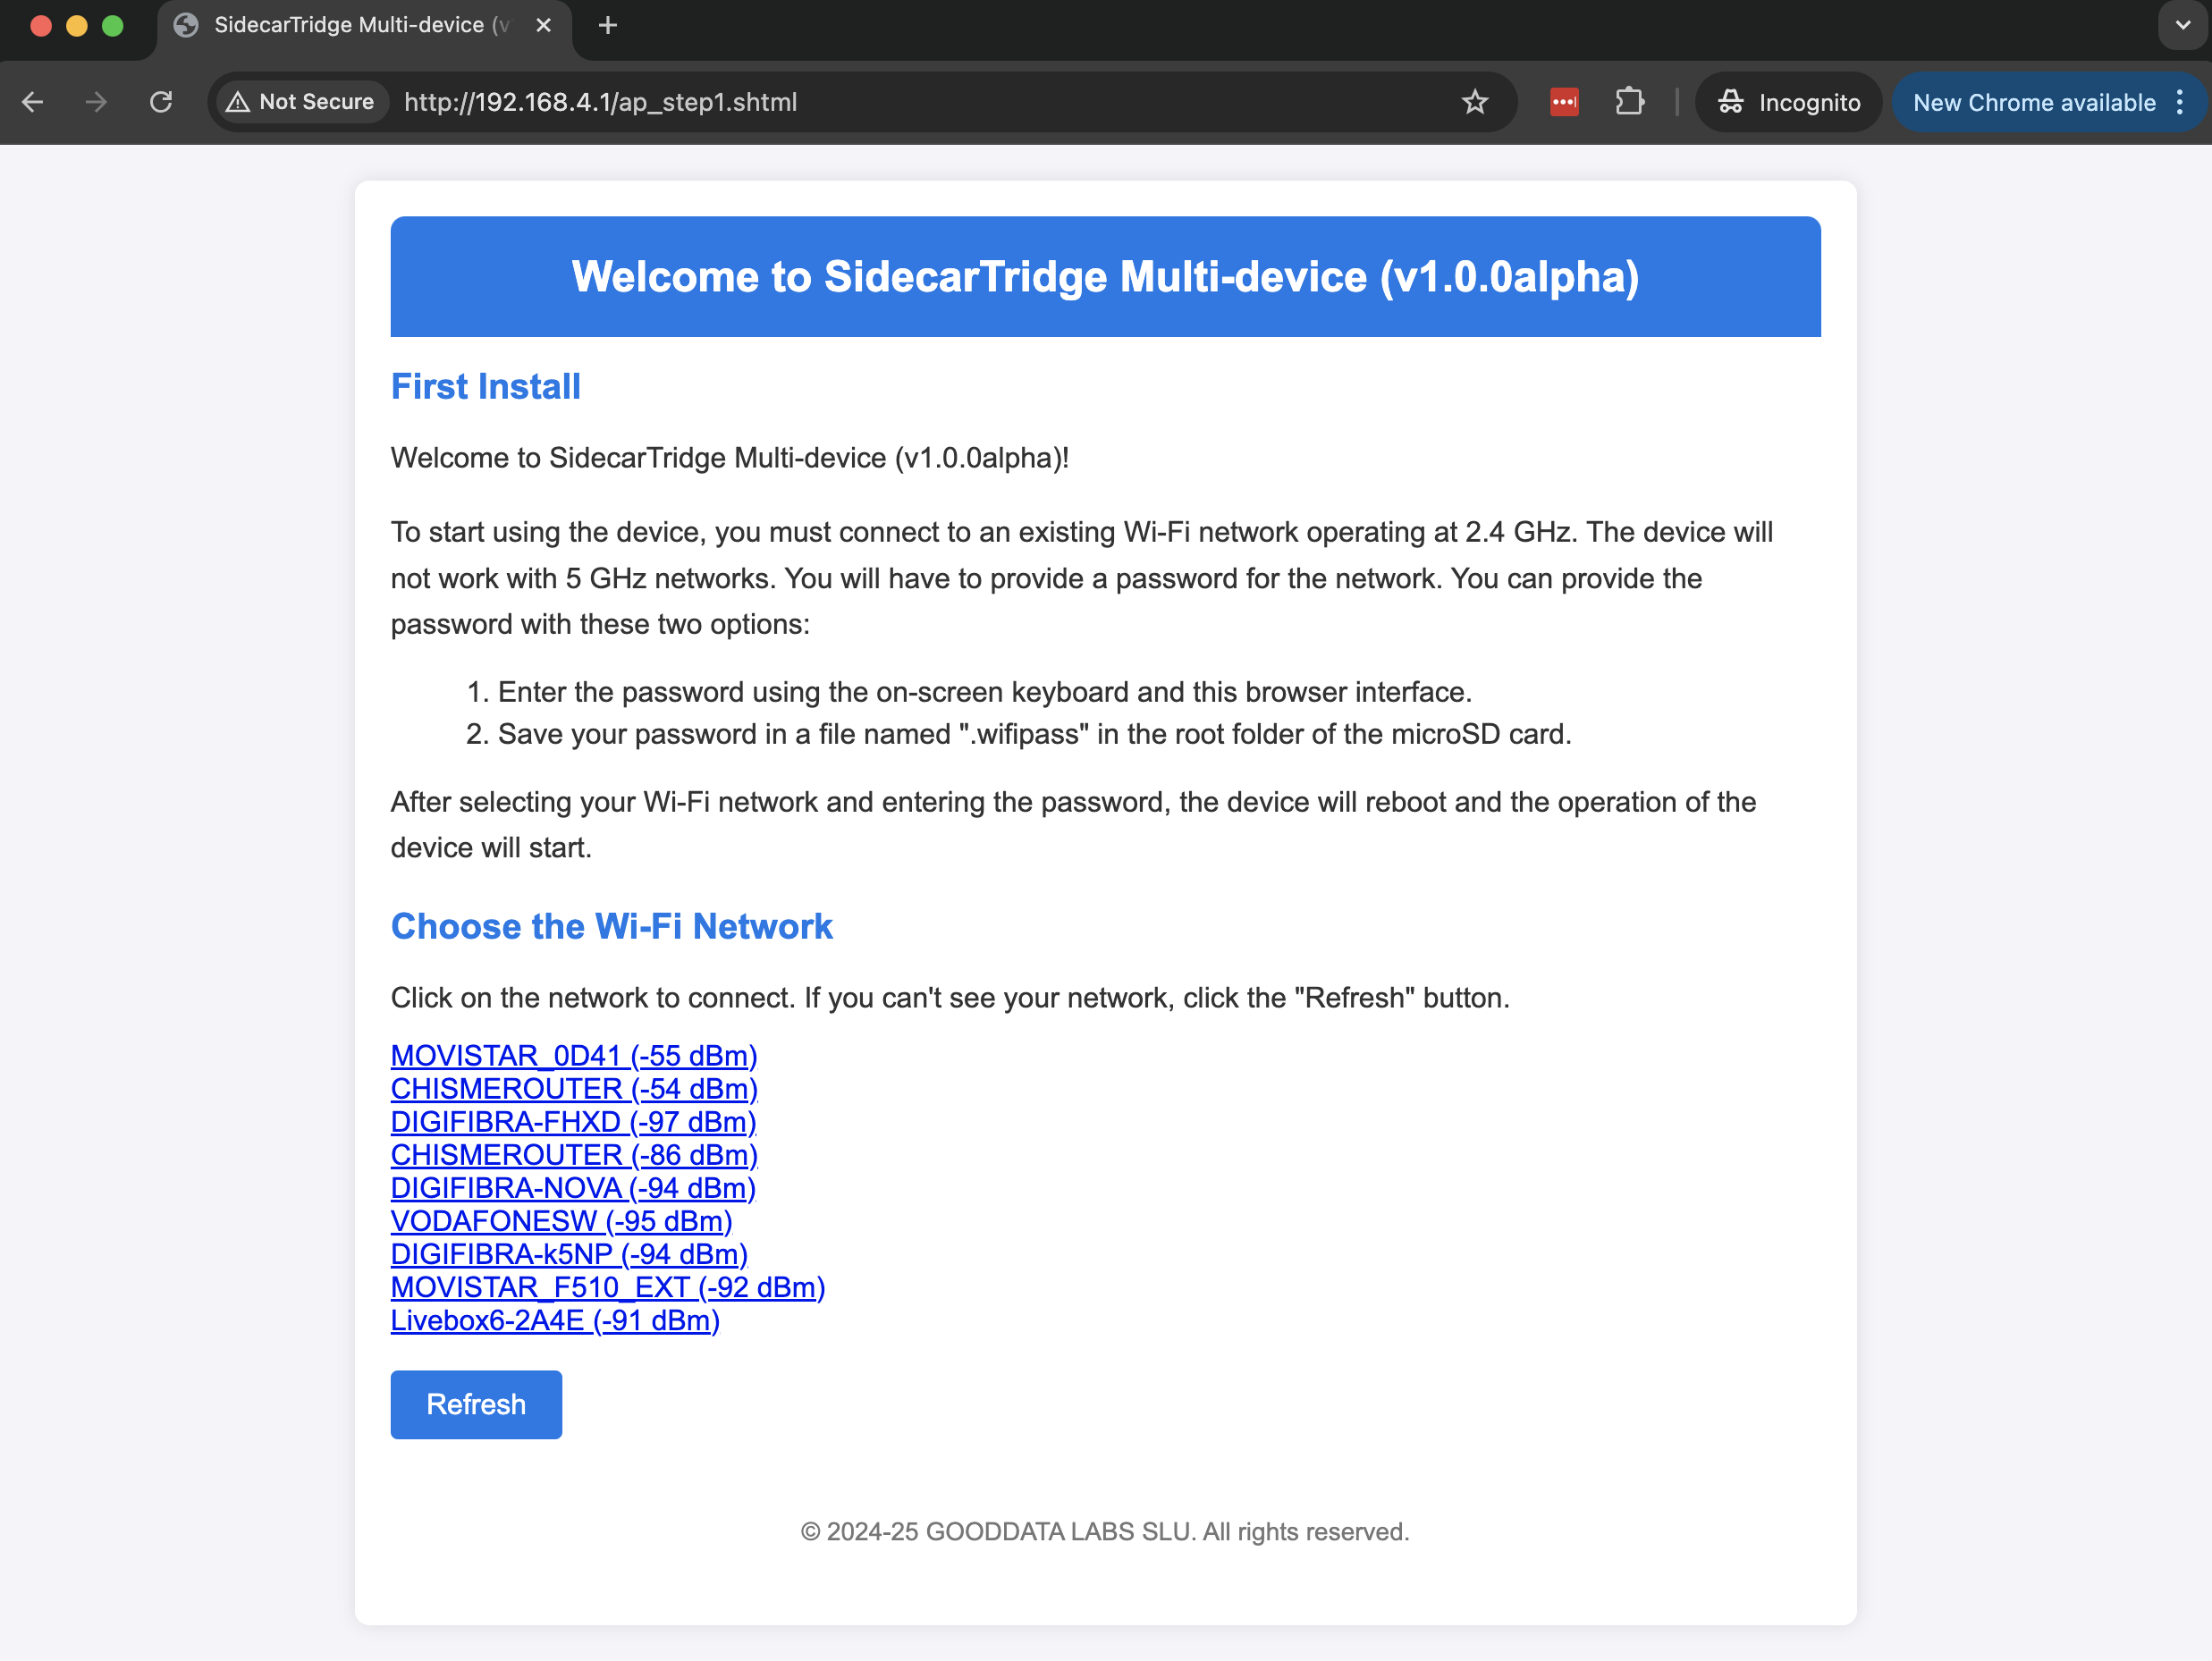
-
Enter your WiFi password and click the Connect button.
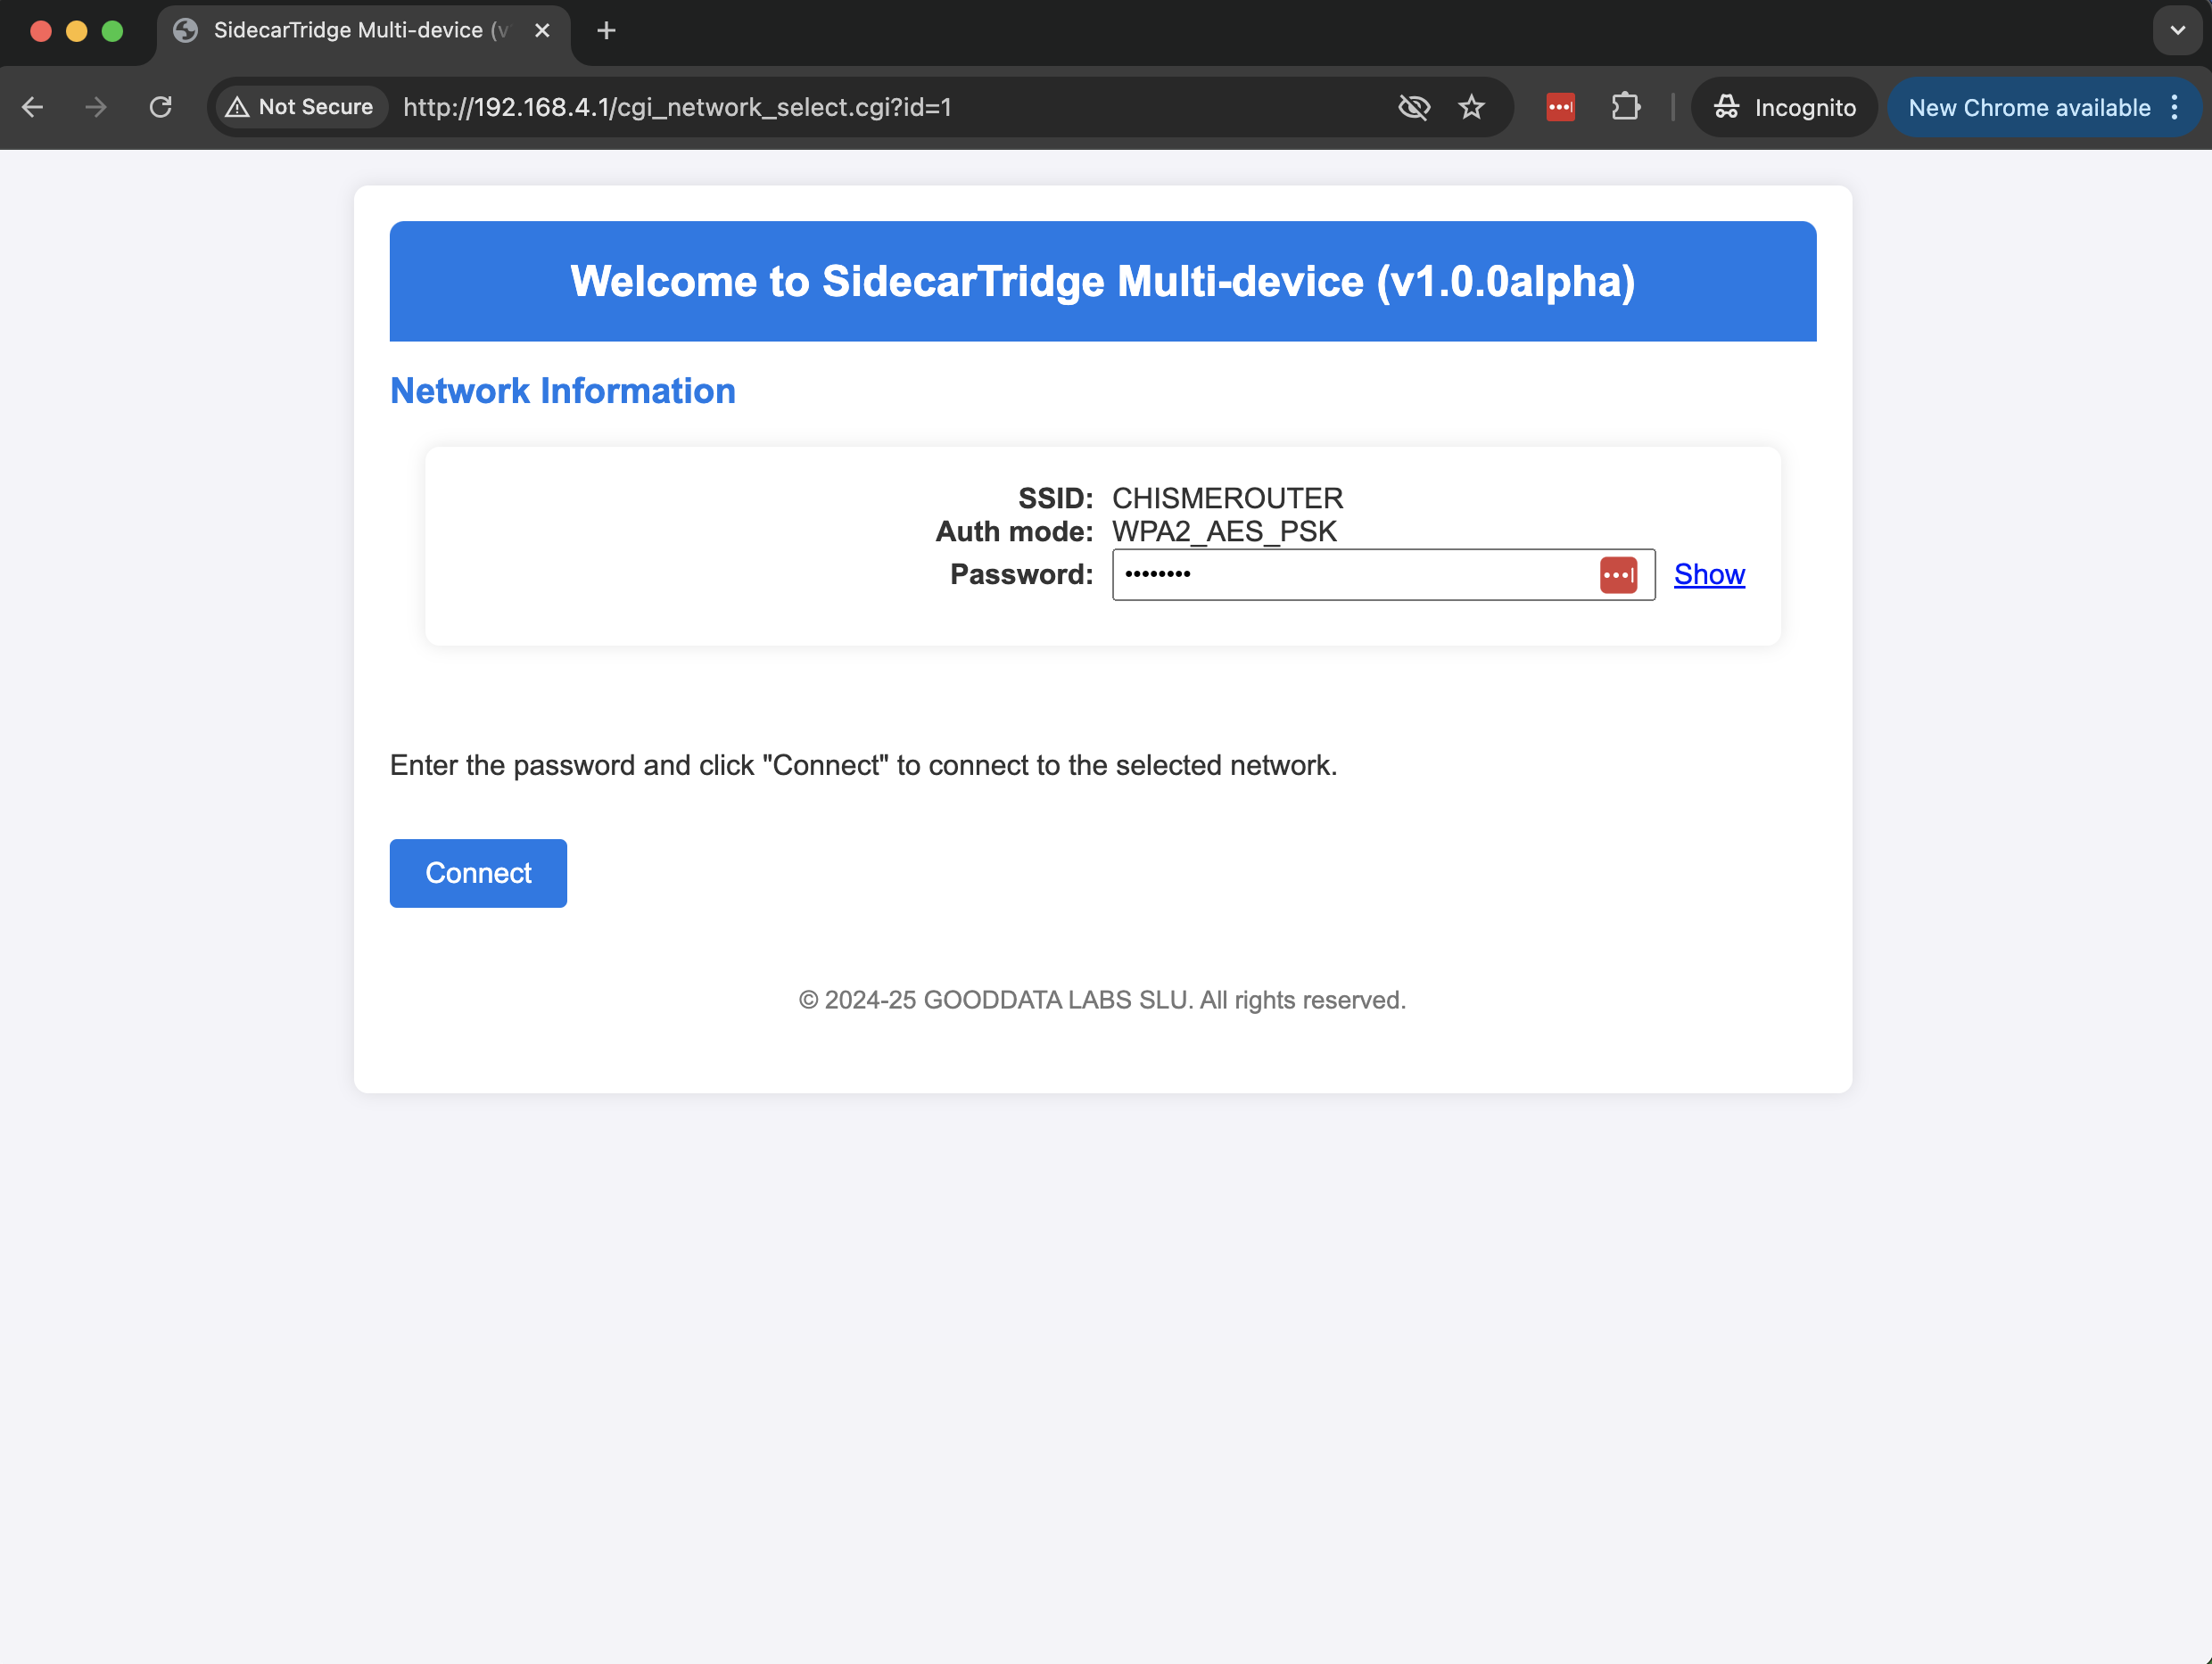
-
The Booster app will save the WiFi credentials to flash memory and reboot.
It will then connect to your WiFi network and show this message:
Meanwhile, the device will also display a reboot message on the Atari screen:
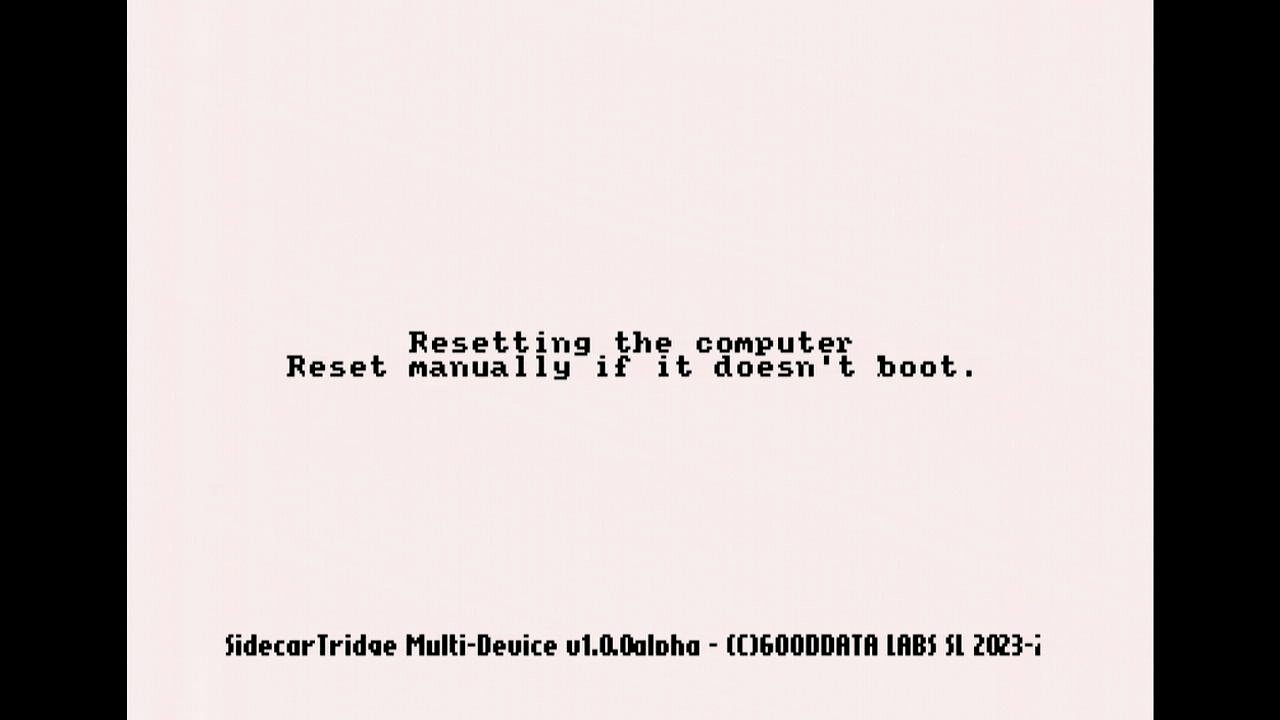
-
After rebooting, the Booster app will attempt to connect to your configured WiFi network:
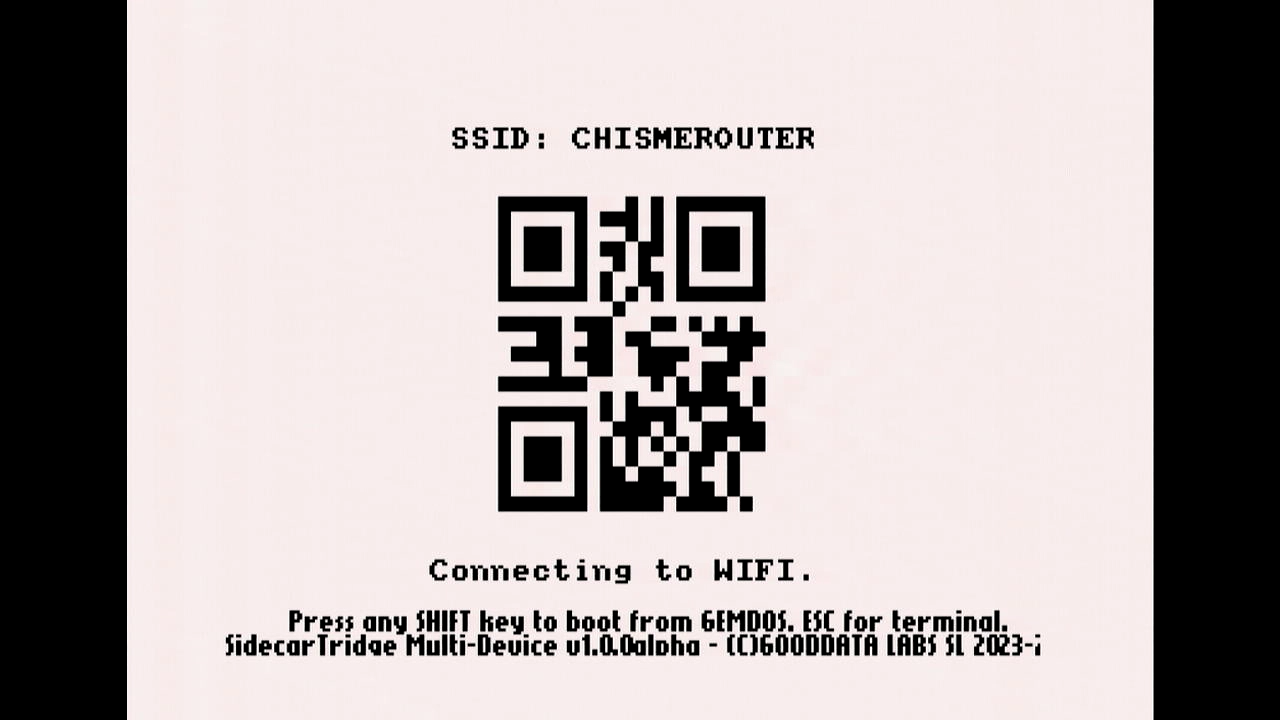
-
Once connected successfully, the screen will show:
Your WiFi setup is now complete. From now on, the Booster app will boot directly into Manager mode.
What’s next?
Now you can start using the Booster app to manage your microfirmware apps! Learn how to do it in the User Guide.
You can find more information in the Documentation site.
Need help?
Check out the troubleshoot pages, or our contact us page if you have any questions or issues. We’re happy to help!