-
Quickstarts
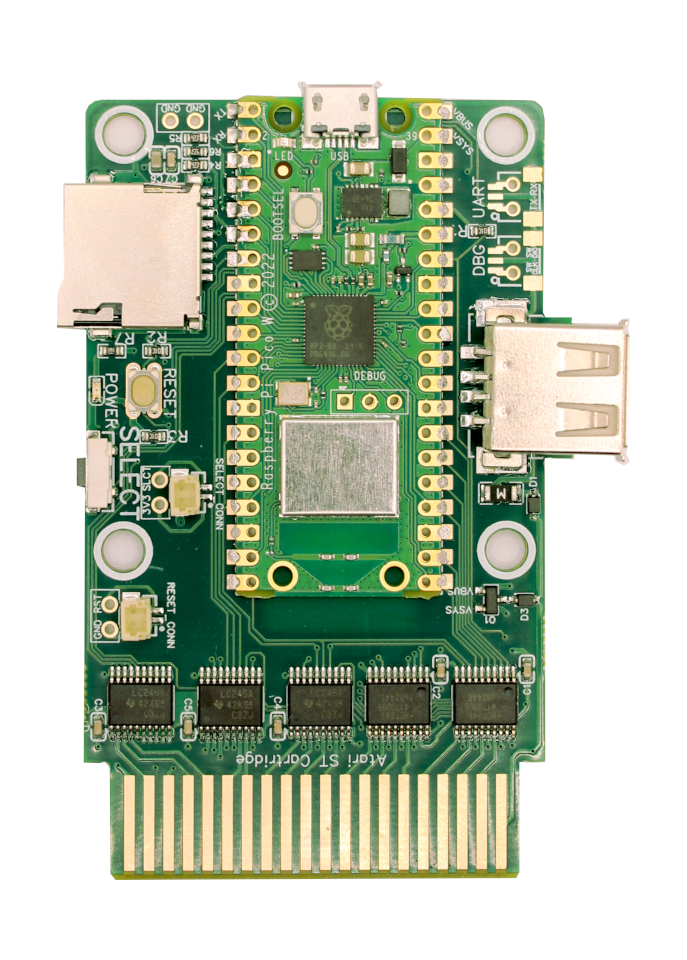 Multi-device EmulatorMulti-device emulator for Atari ST/E MegaST/E
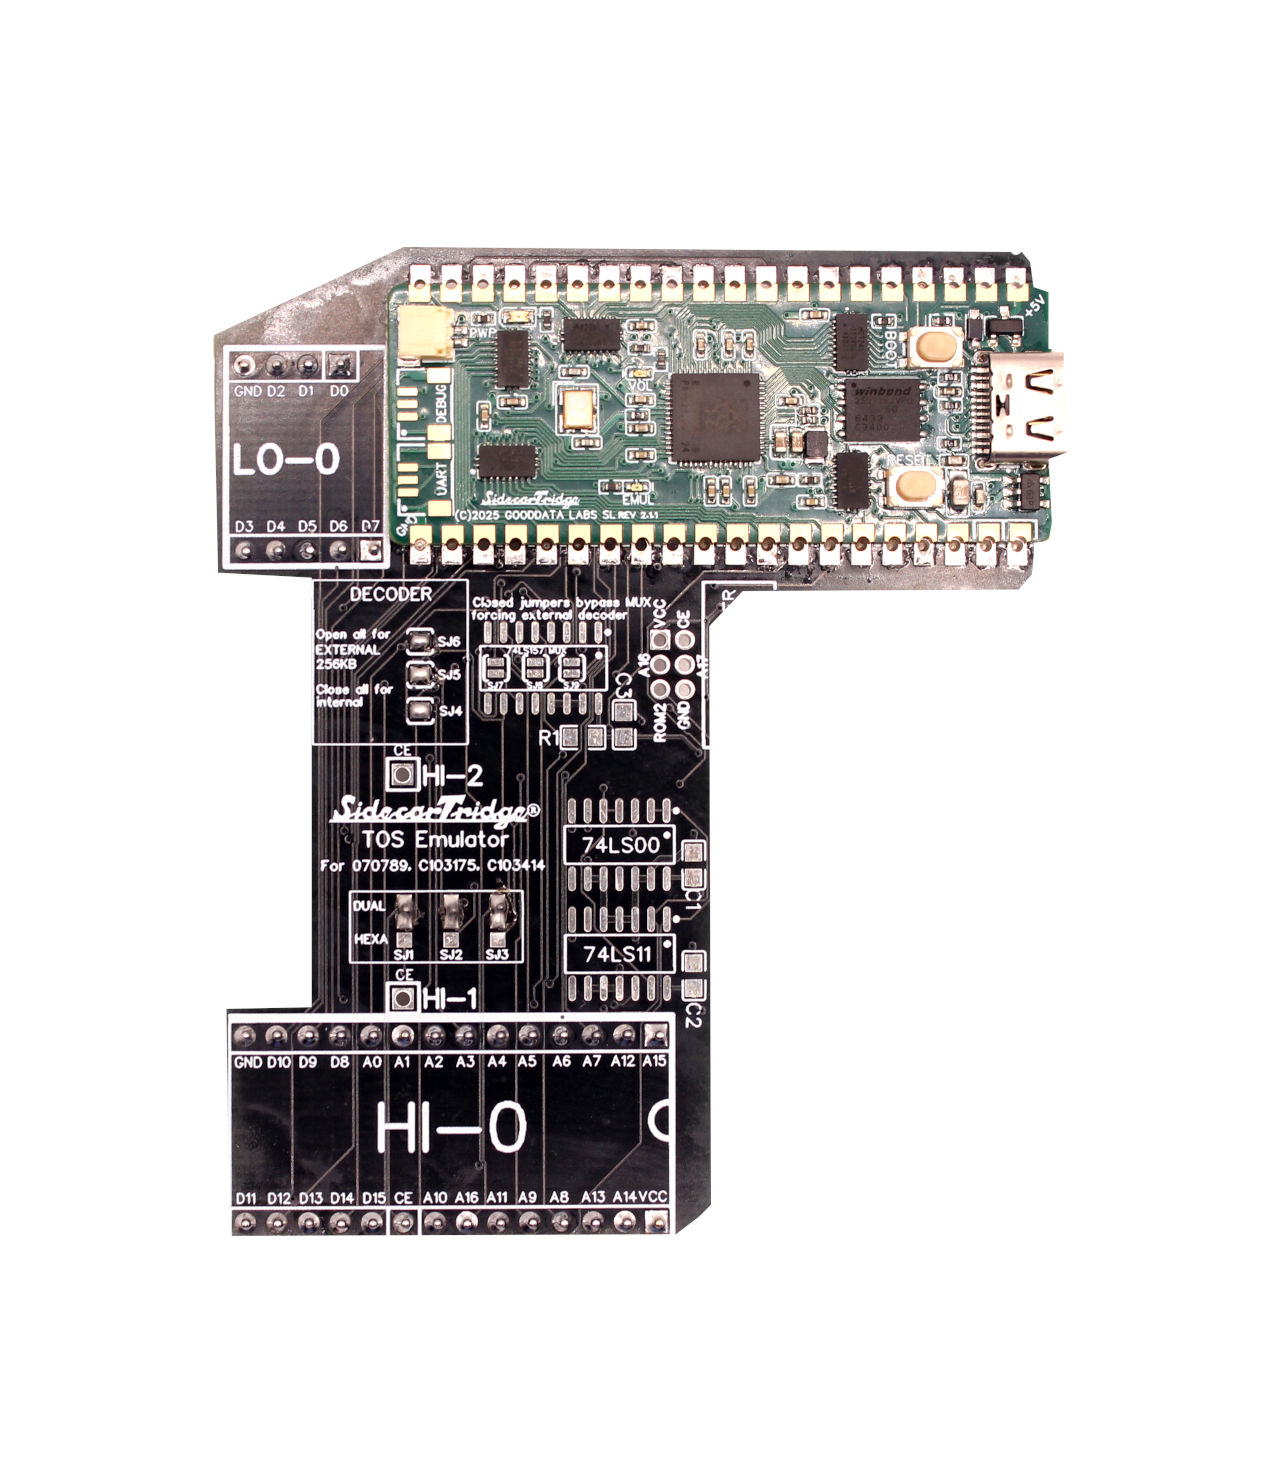 TOS EmulatorProgrammable TOS emulator for Atari ST/E MegaST/E
 Kickstart Multi ROMSidecarTridge Kickstart Multi ROM for Amiga 500/2000
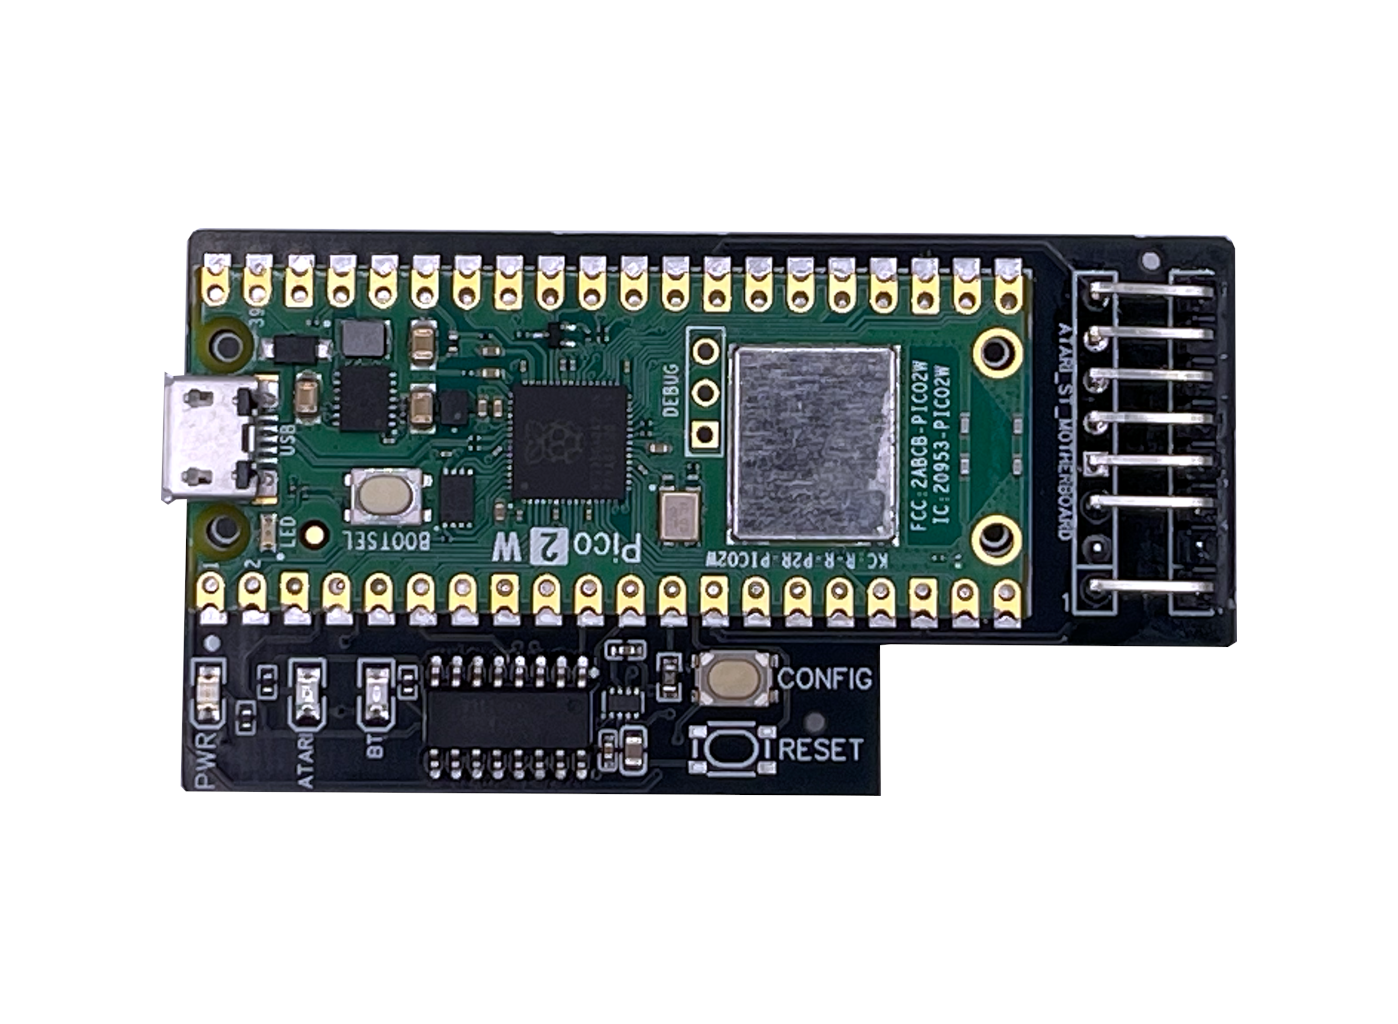 Croissant Keyboard EmulatorInternal IKBD keyboard emulator for Atari ST/STE
 Soufflè Keyboard EmulatorExternal IKBD keyboard emulator for Atari Mega ST/STE
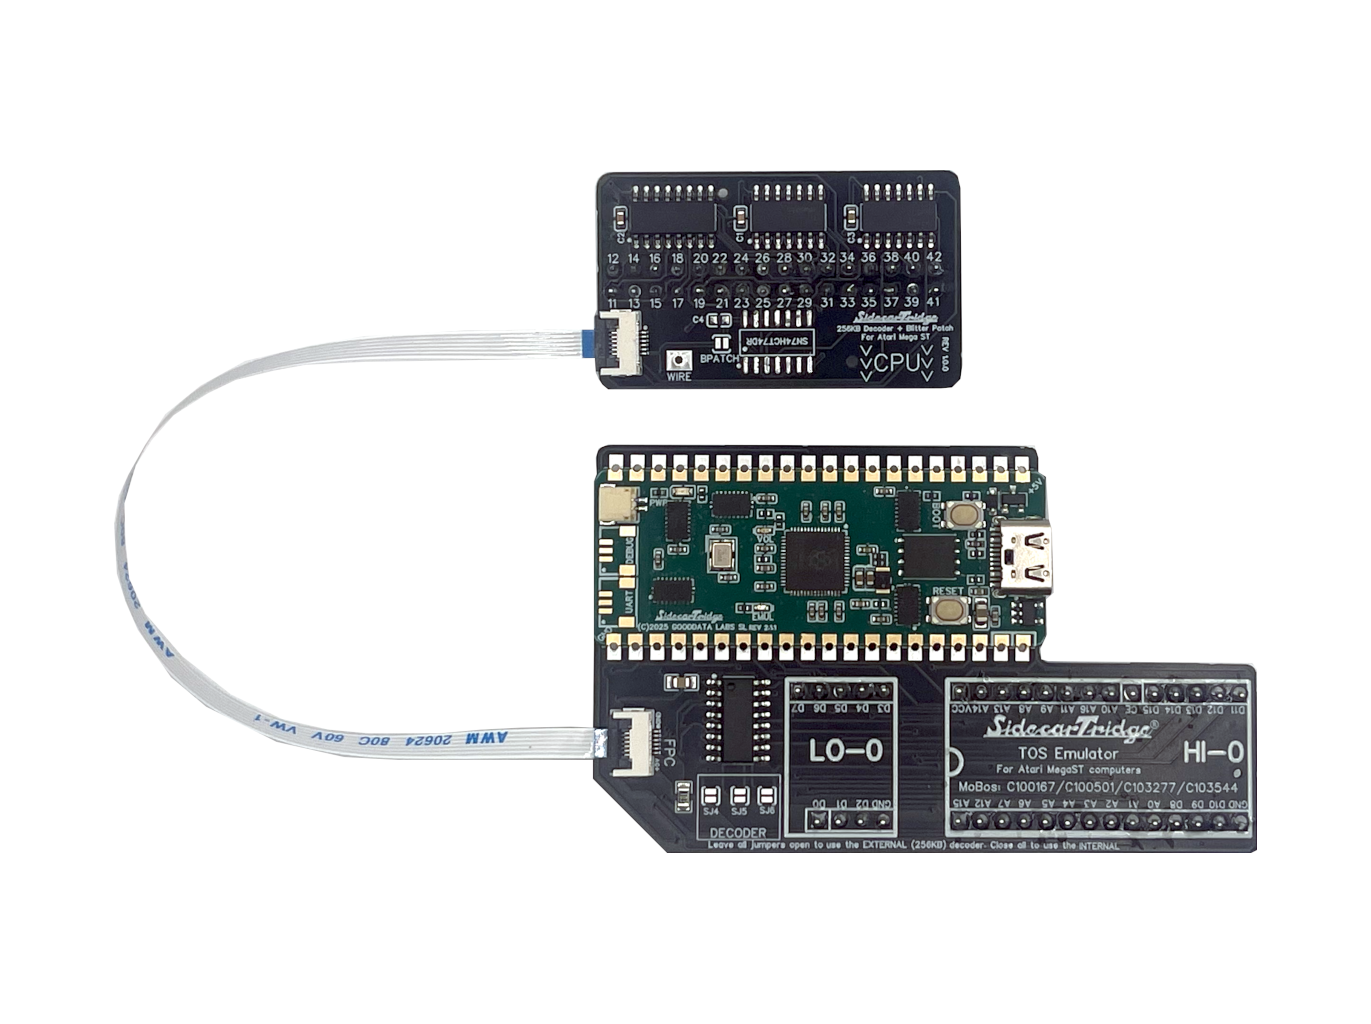 256KB Decoder for Mega STSolderless 256KB ROM decoder + TOS emulator combo for Atari Mega ST
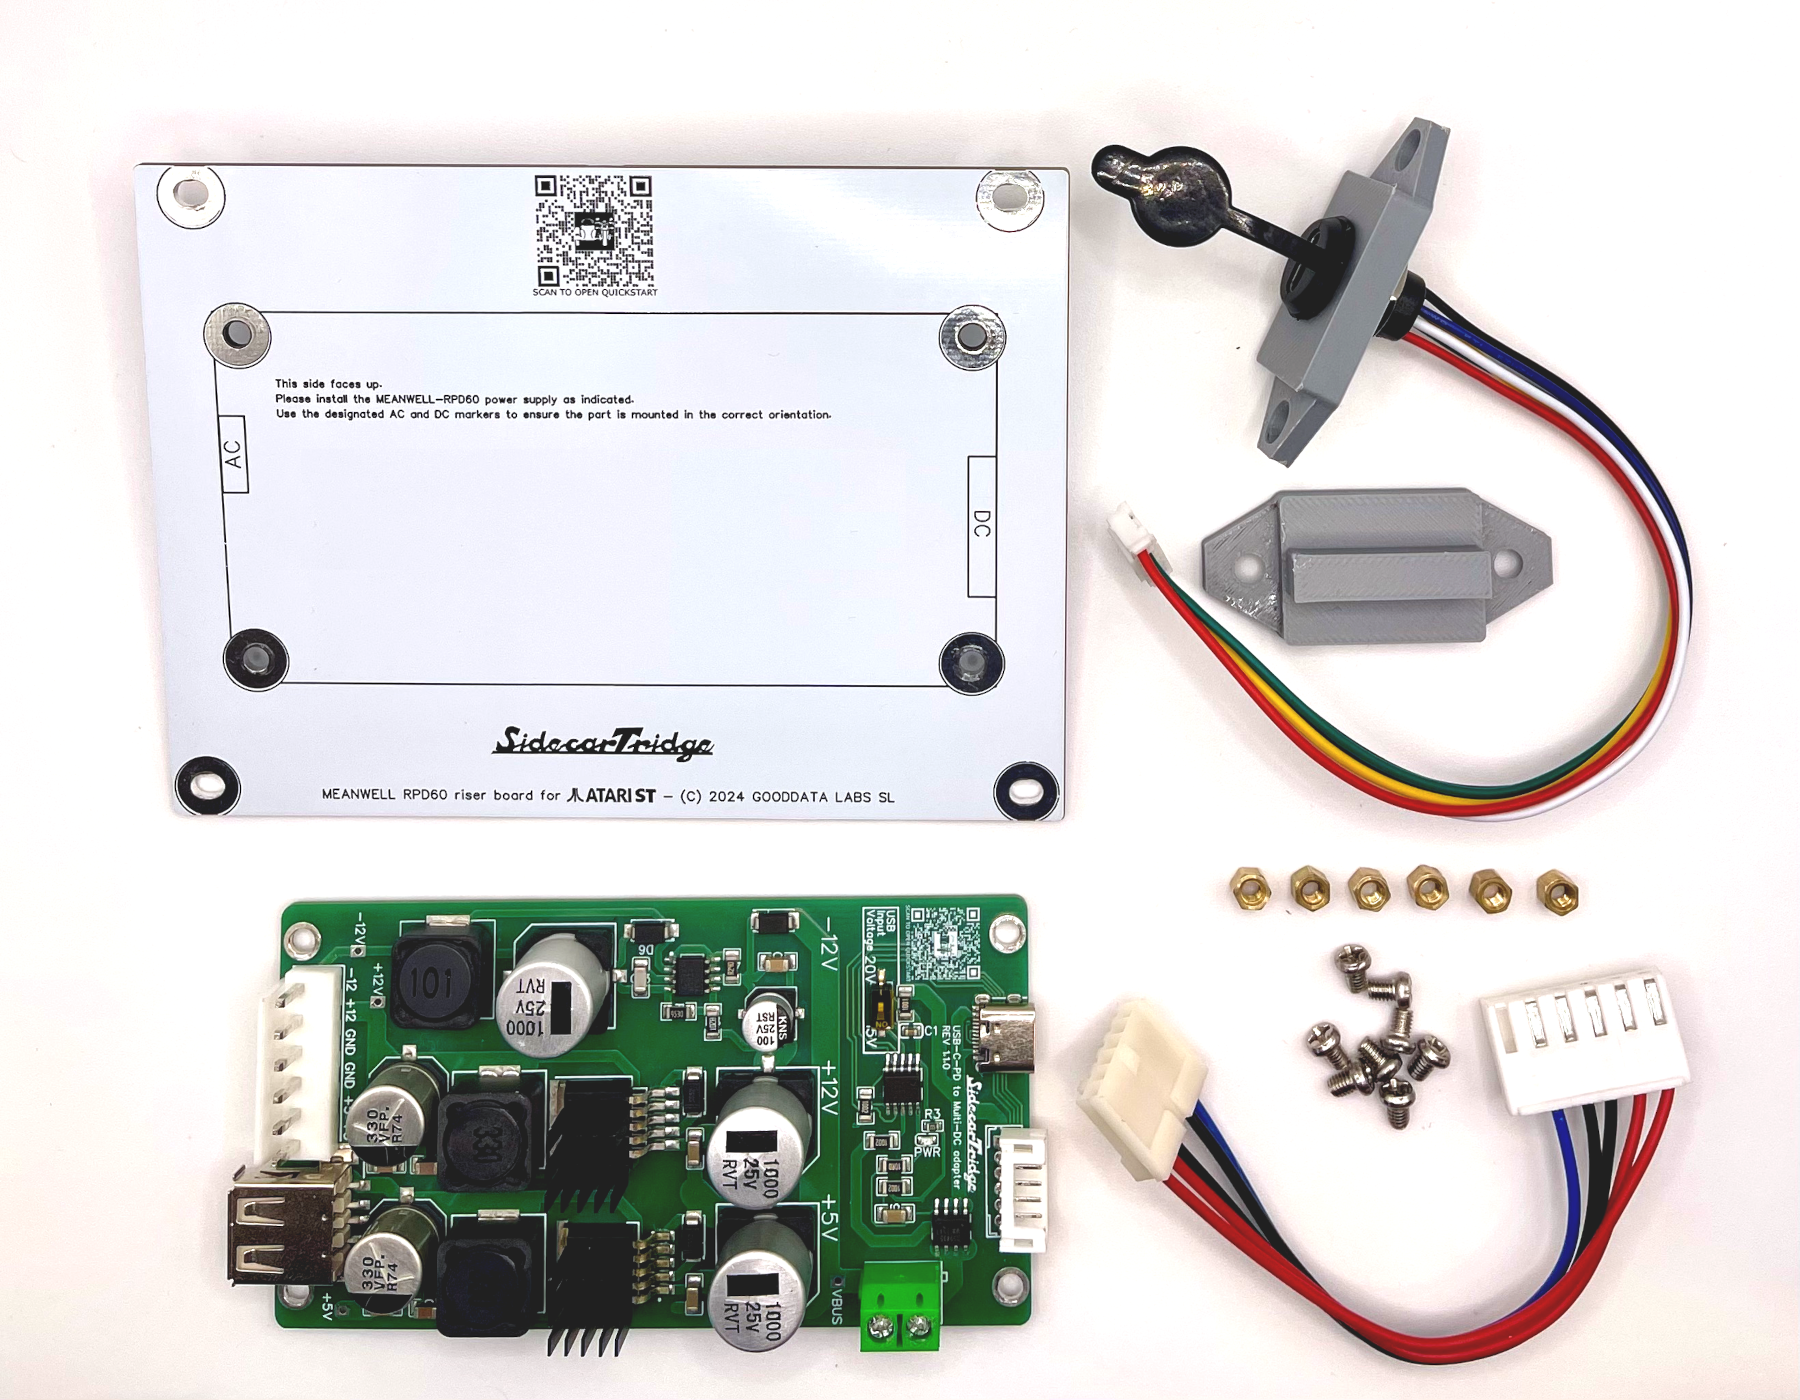
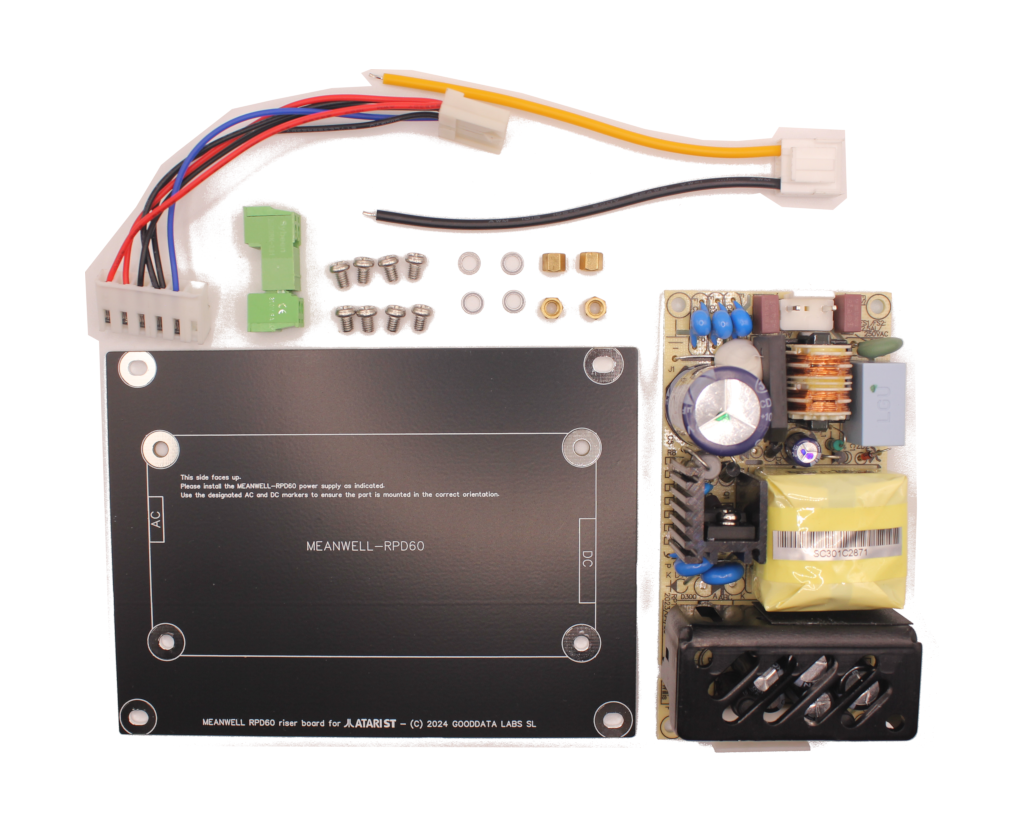 Mean Well PSU KitSolderless Mean Well PSU kit for Atari ST/STE/Mega ST
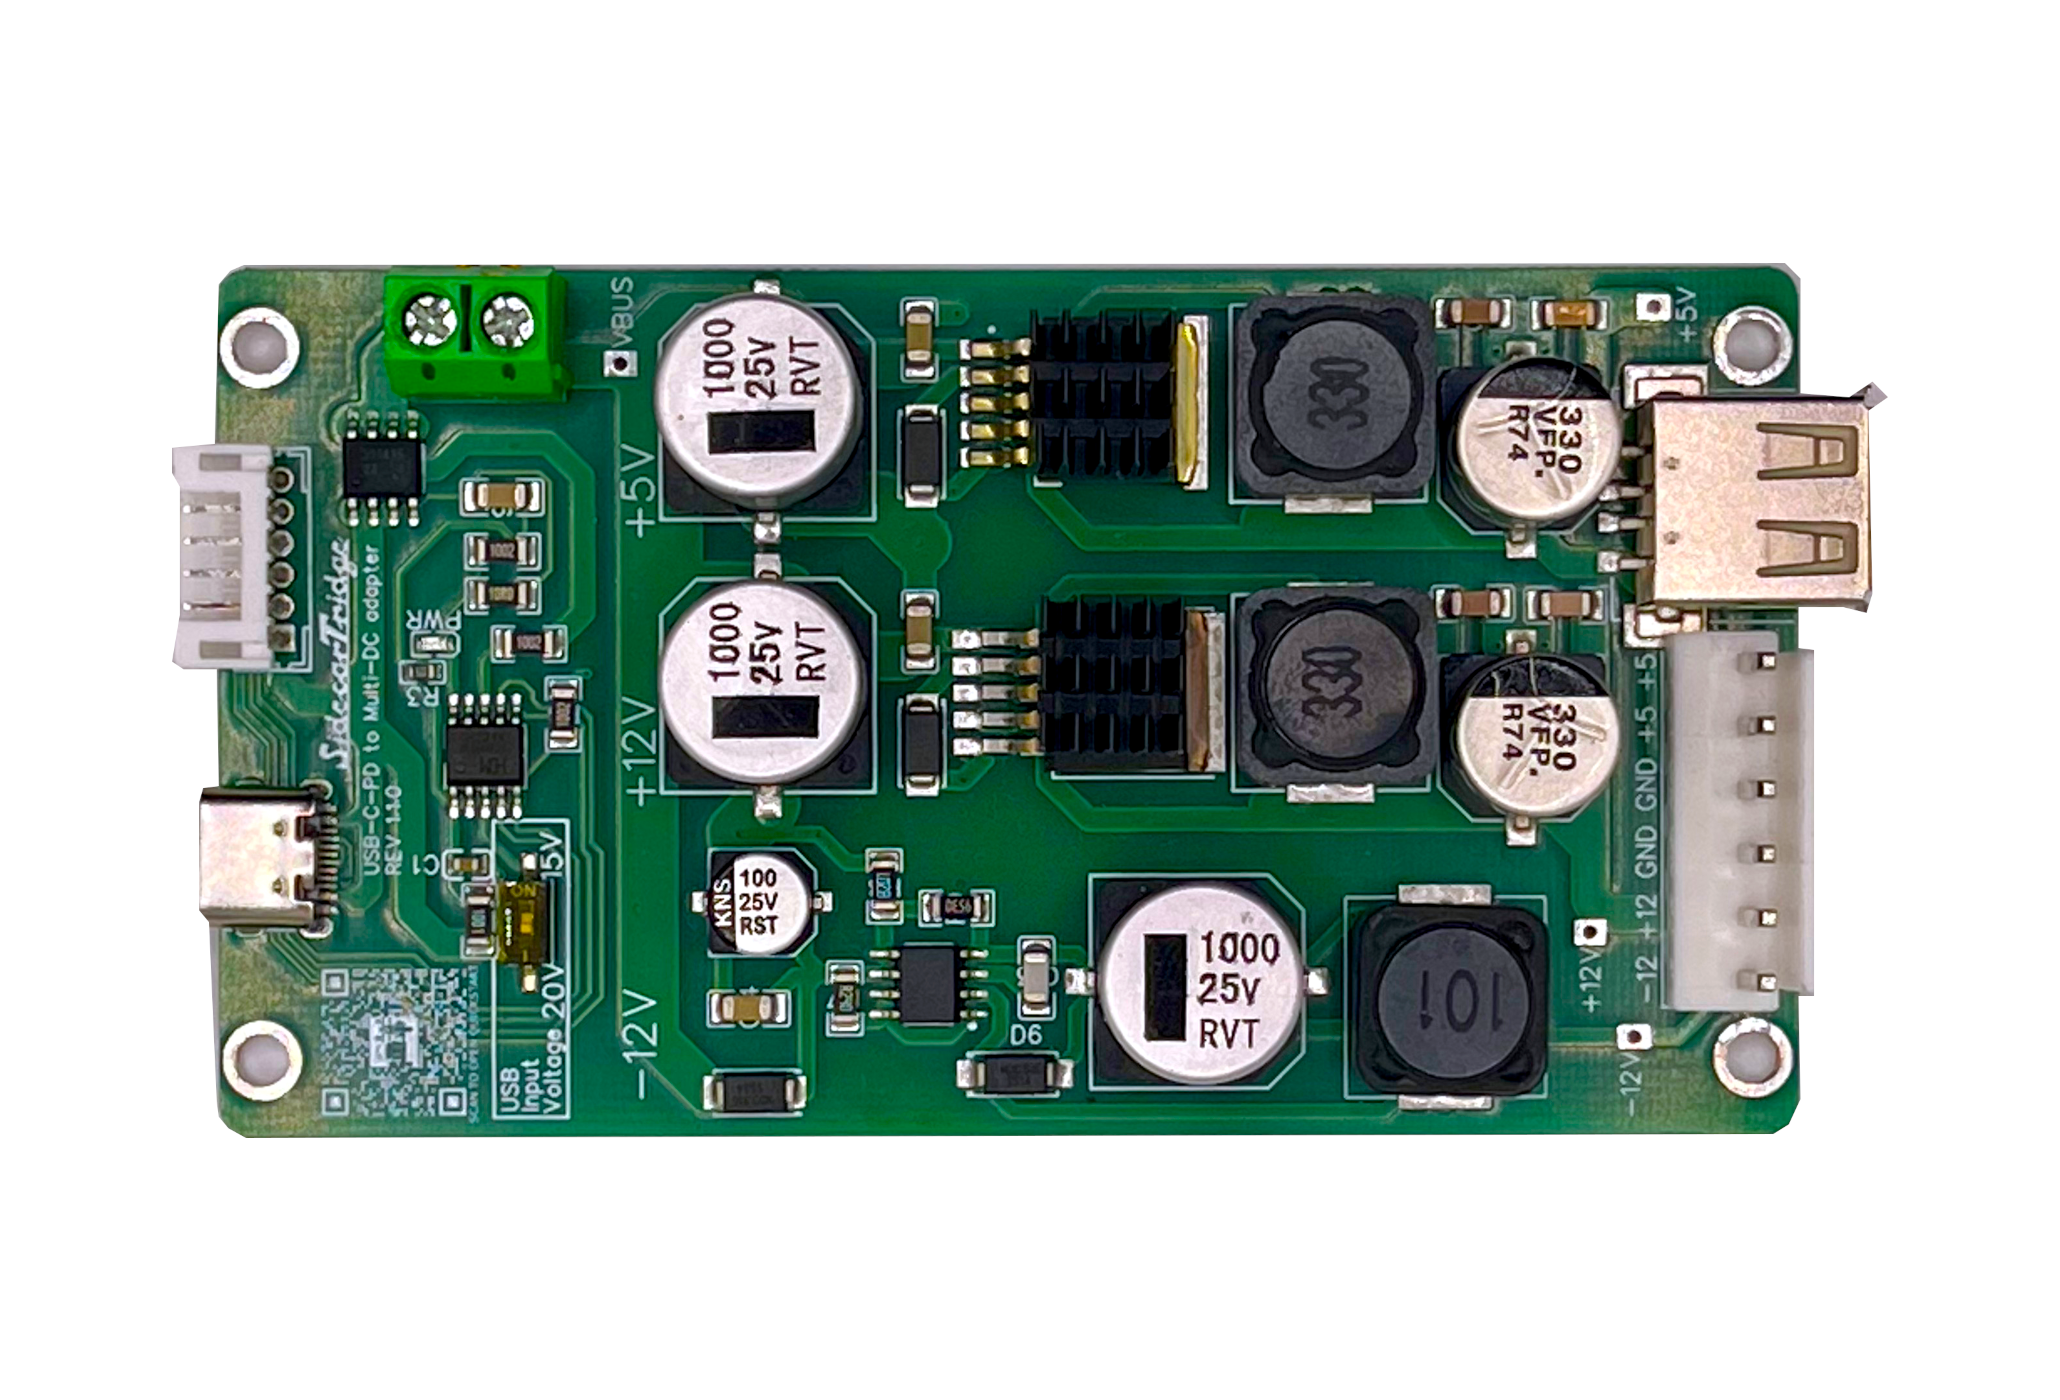 USB-C PD PSUSolderless USB-C PD PSU kit for Atari ST/STE/Mega ST
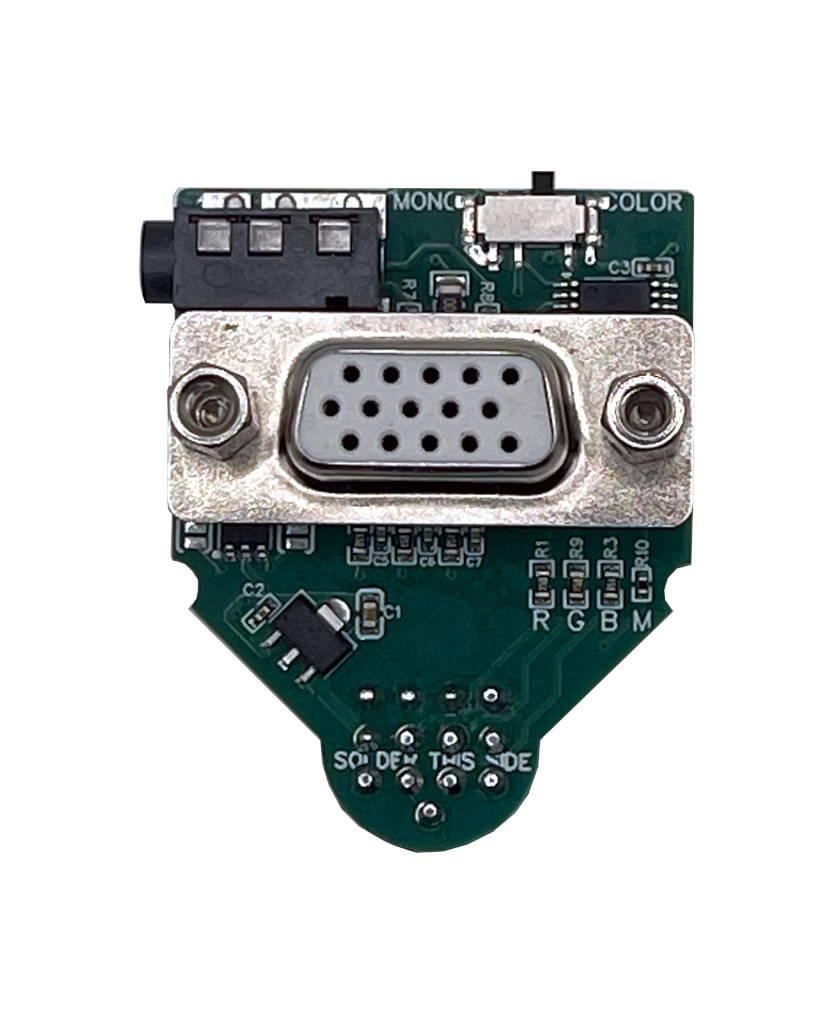 ST2VGAPassive RGB-to-VGA adapter for Atari ST/STE/Mega ST
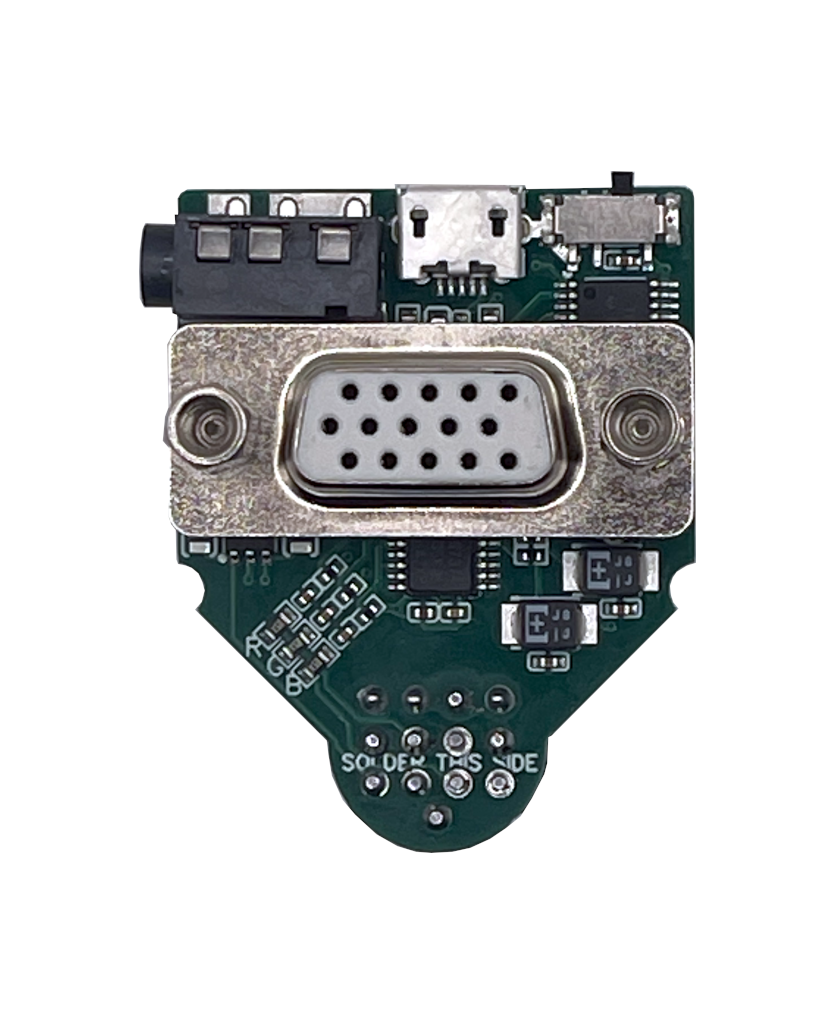 ST2VGA EnhancedActive RGB-to-VGA adapter for early or noisy Atari STs
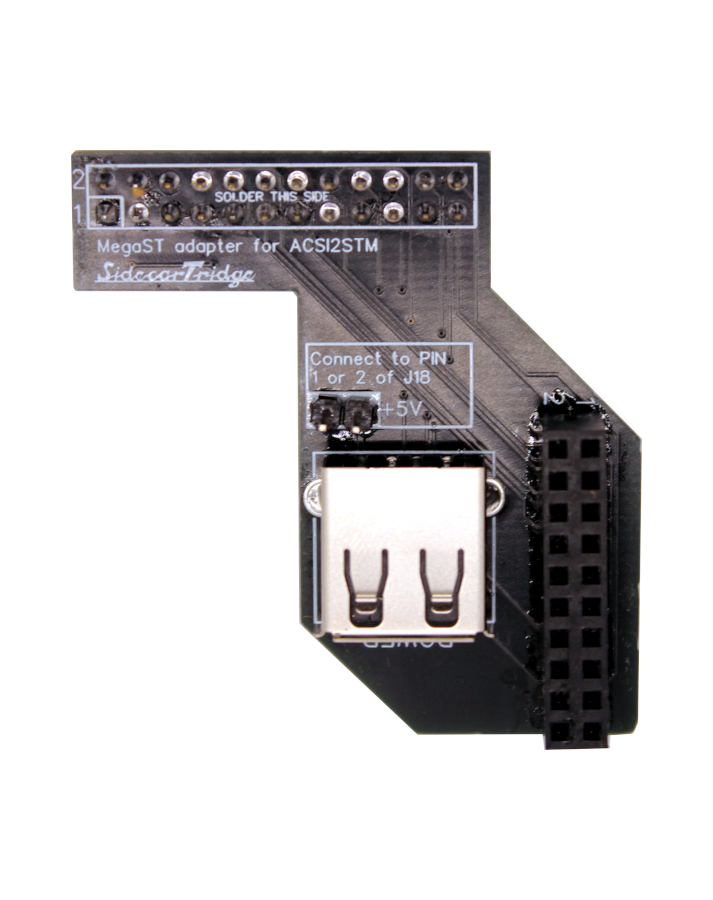 ACSI2STM internal riser boardsInternal installation add-on for ACSI2STM Compact in Mega ST and Mega STE
 -
Products
Multi-device EmulatorMulti-device emulator for Atari ST/E MegaST/ETOS EmulatorProgrammable TOS emulator for Atari ST/E MegaST/E256KB Decoder for Mega STSolderless 256KB ROM decoder + TOS emulator combo for Atari Mega STKickstart Multi ROMSidecarTridge Kickstart Multi ROM for Amiga 500/2000Croissant Keyboard EmulatorInternal IKBD keyboard emulator for Atari ST/STESoufflè Keyboard EmulatorExternal IKBD keyboard emulator for Atari Mega ST/STE
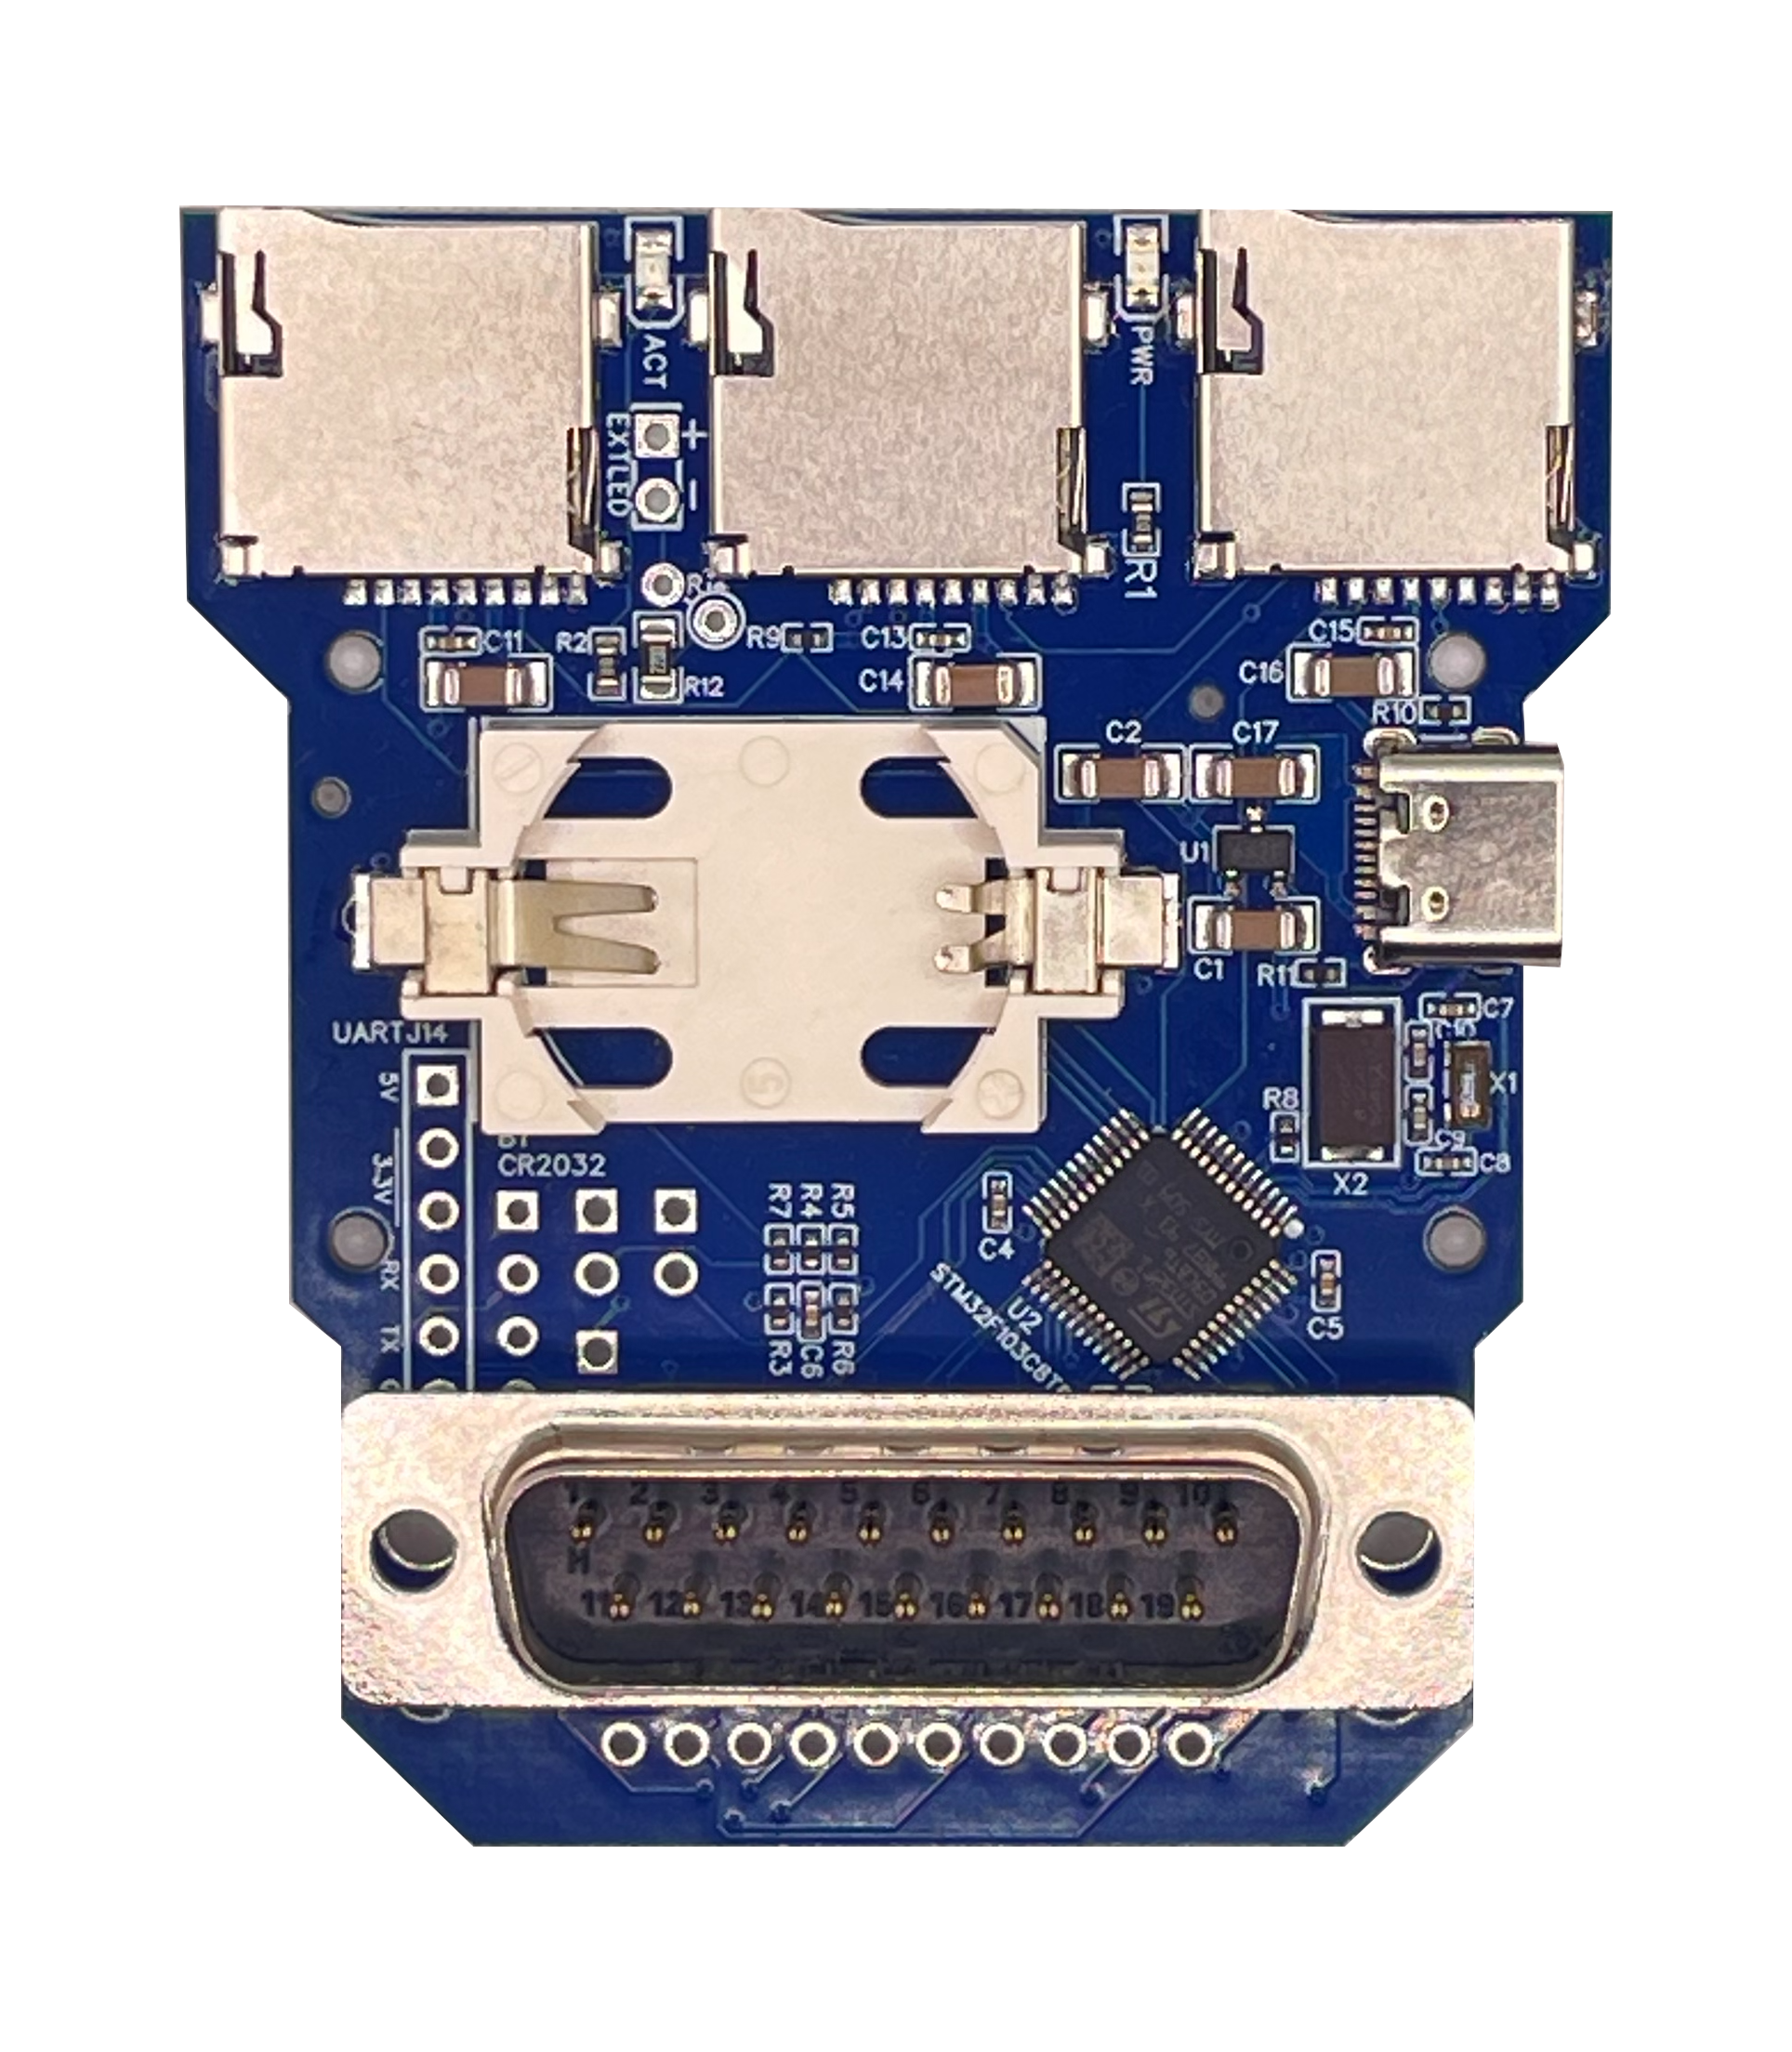 ACSI2STM CompactHard disk for Atari ST/STE and Mega ST/STE
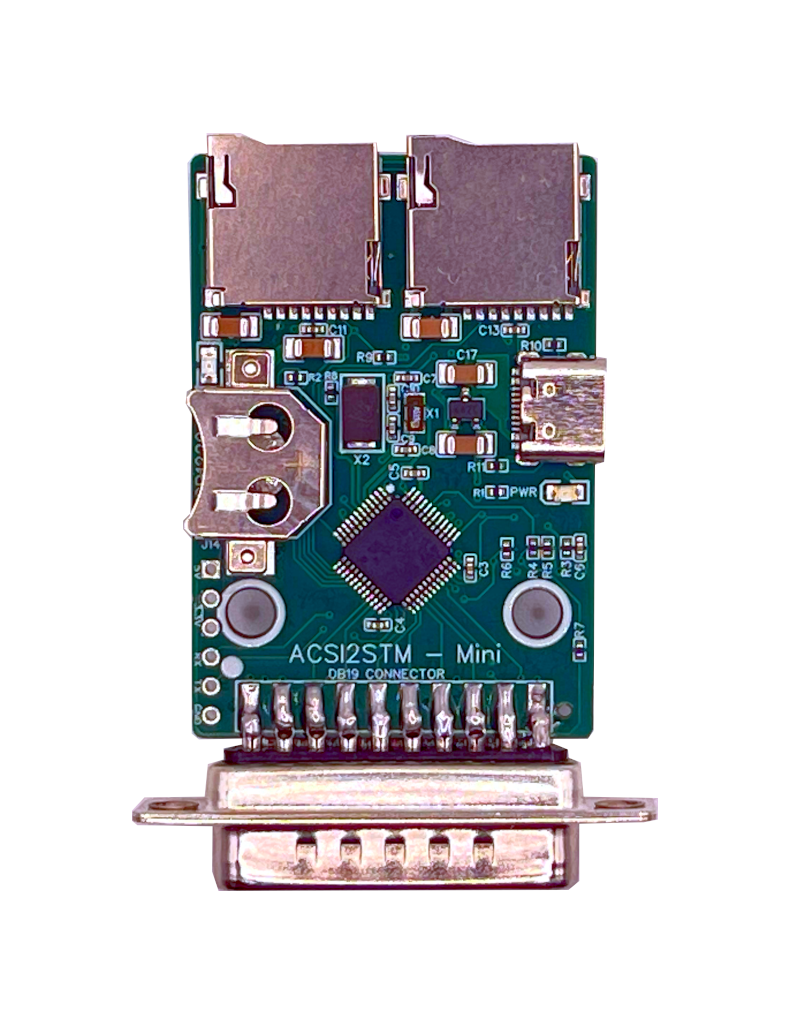 ACSI2STM MiniSmallest ACSI2STM hard disk for Atari STMean Well PSU KitSolderless Mean Well PSU kit for Atari ST/STE/Mega ST
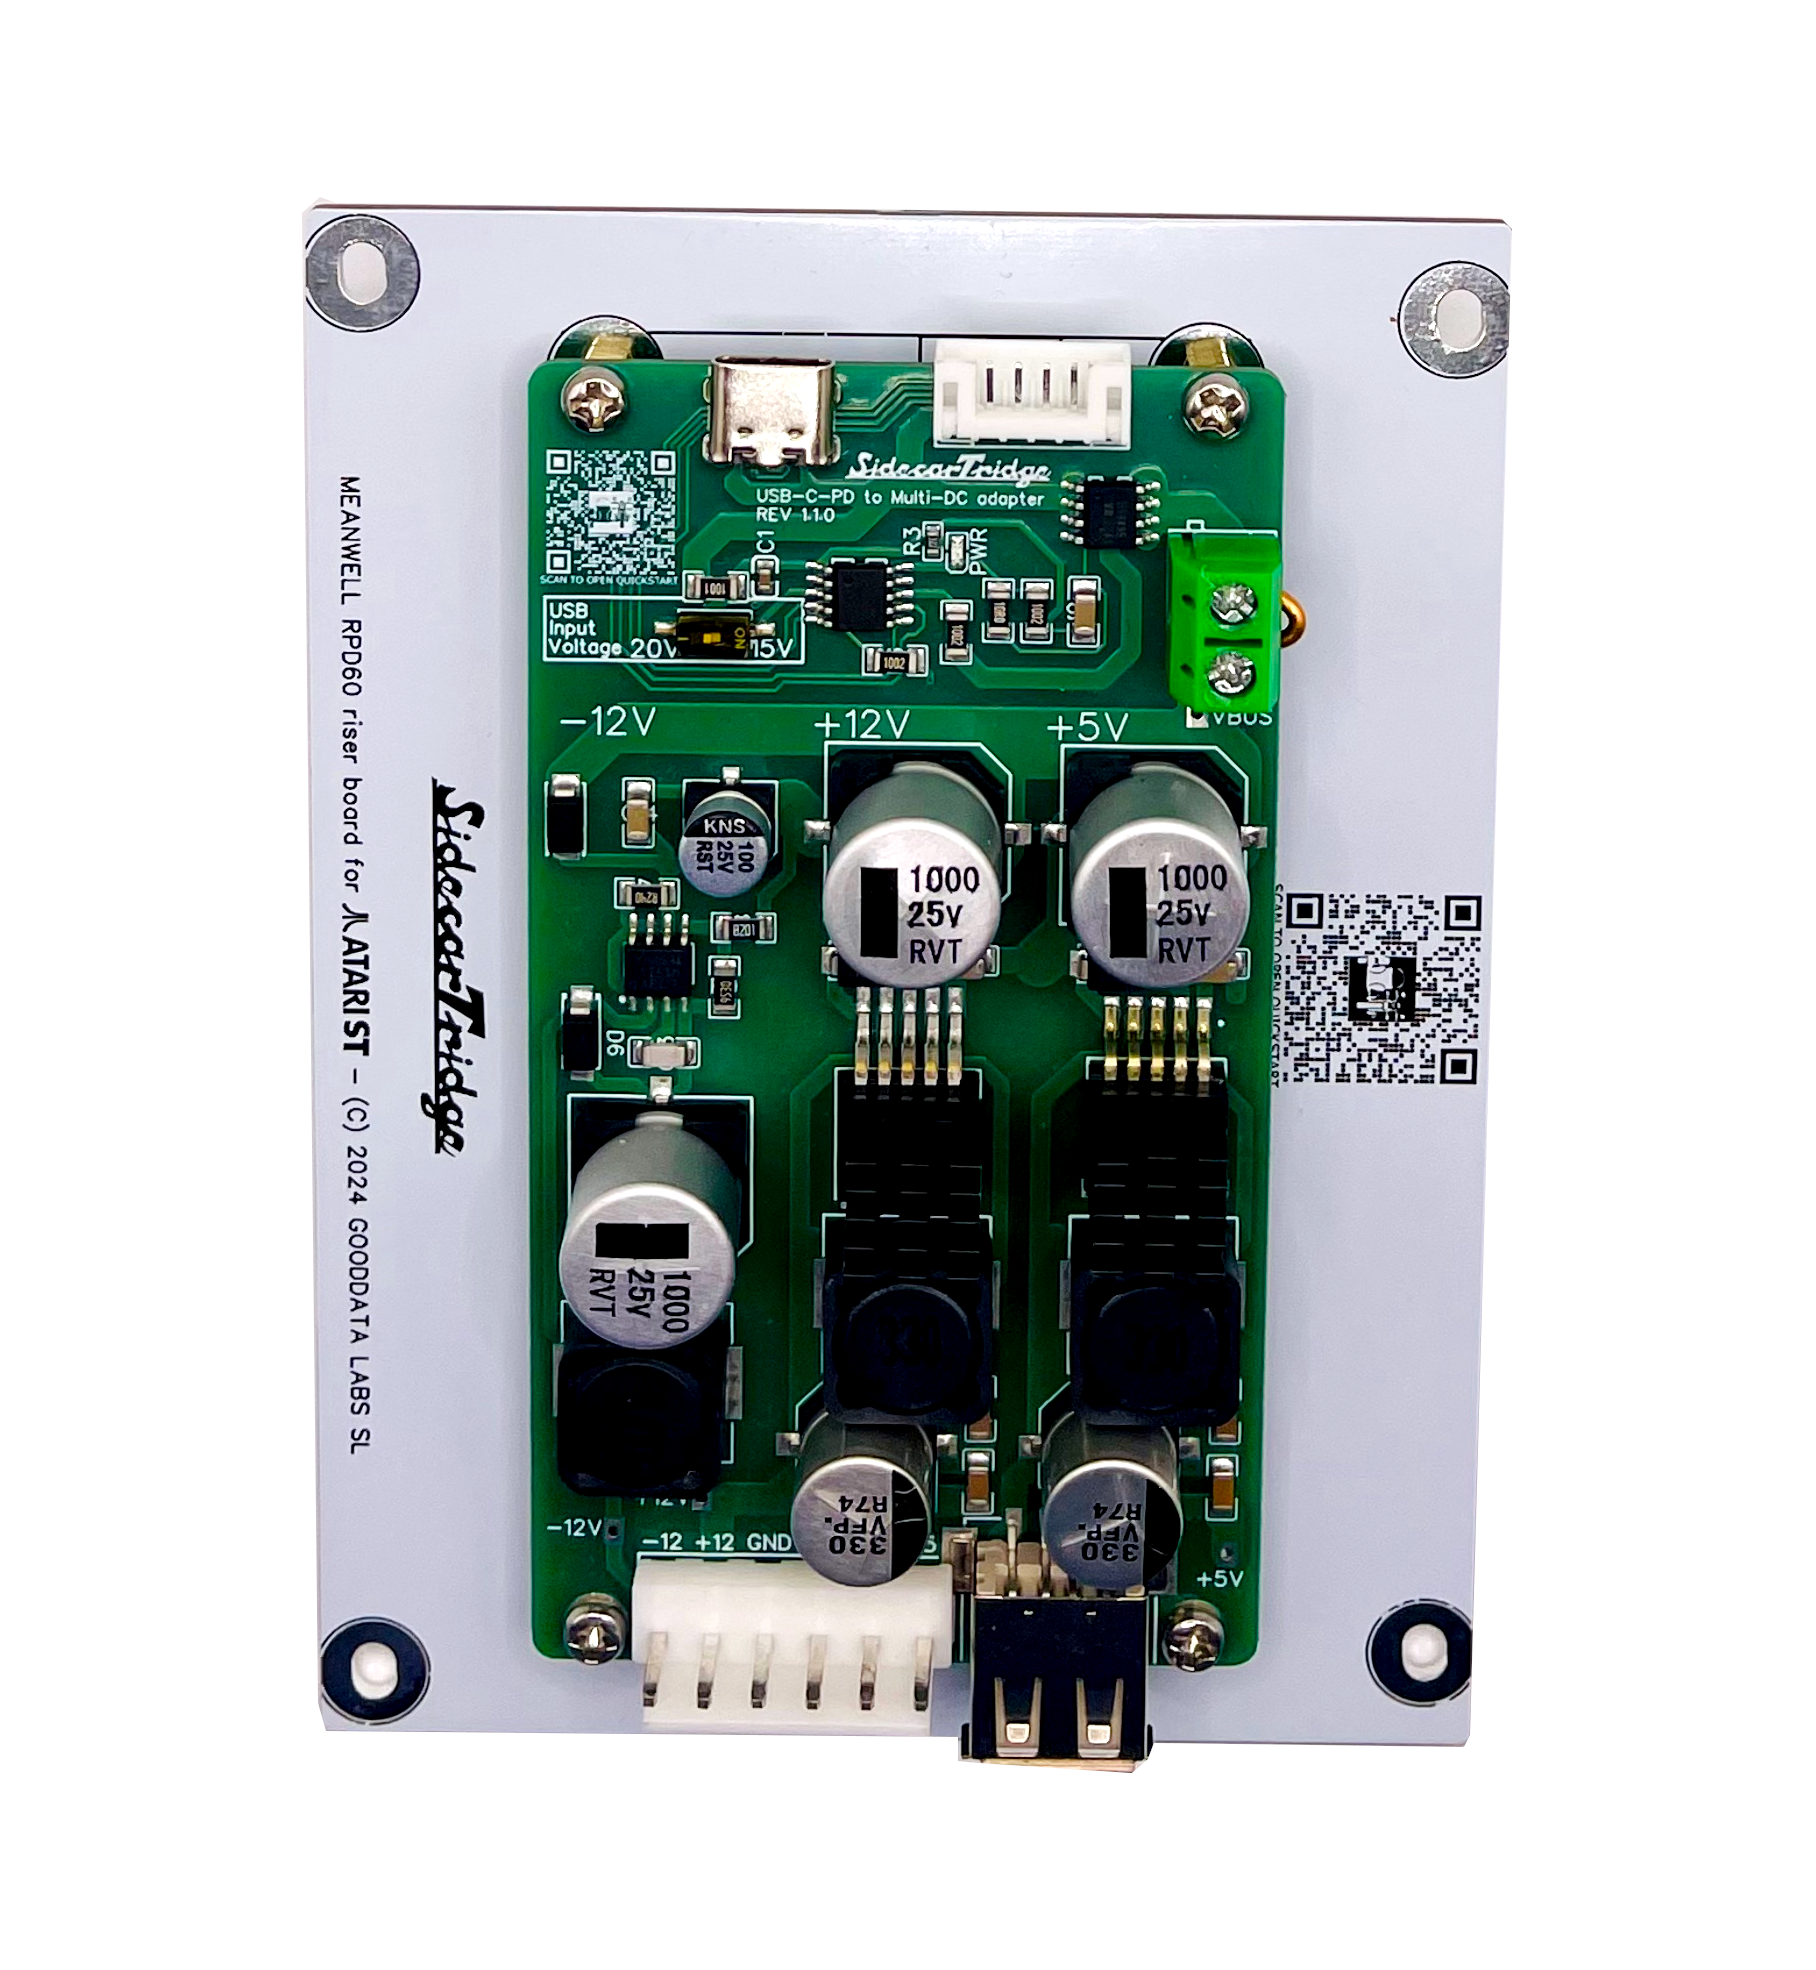 USB-C PD PSUSolderless USB-C PD PSU kit for Atari ST/STE/Mega ST
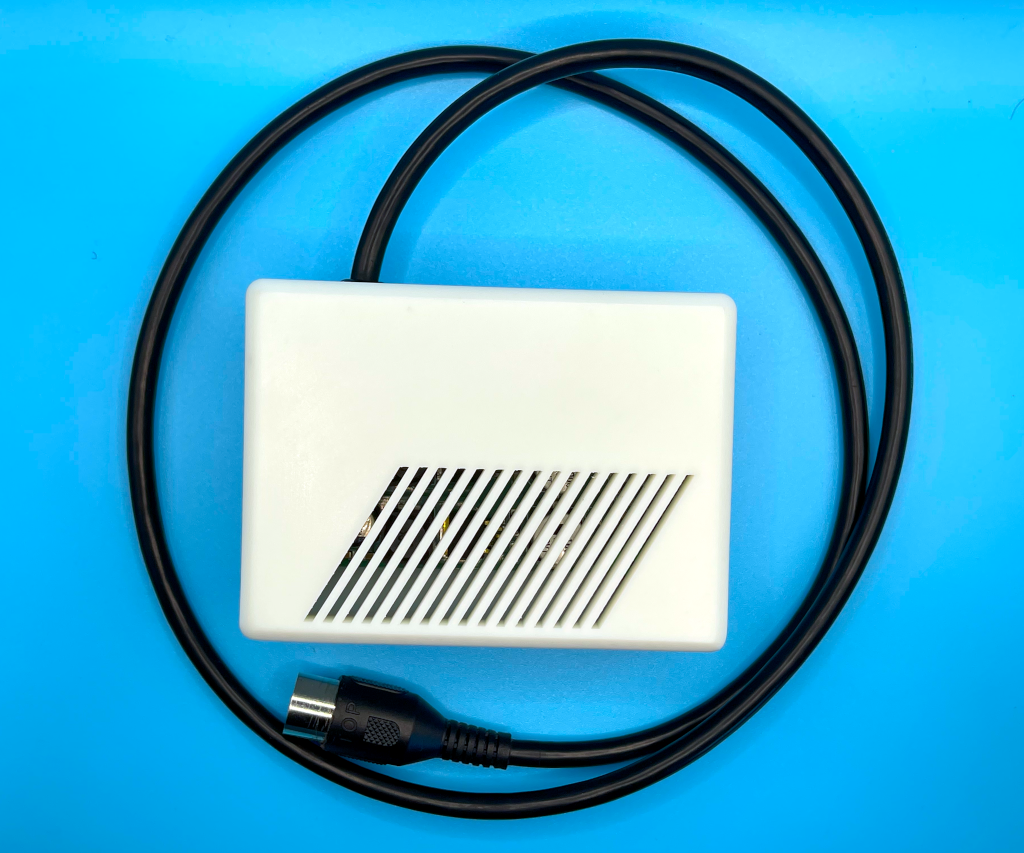 External USB-C PD PSUExternal brick for the 520ST short (C070115/C070243)
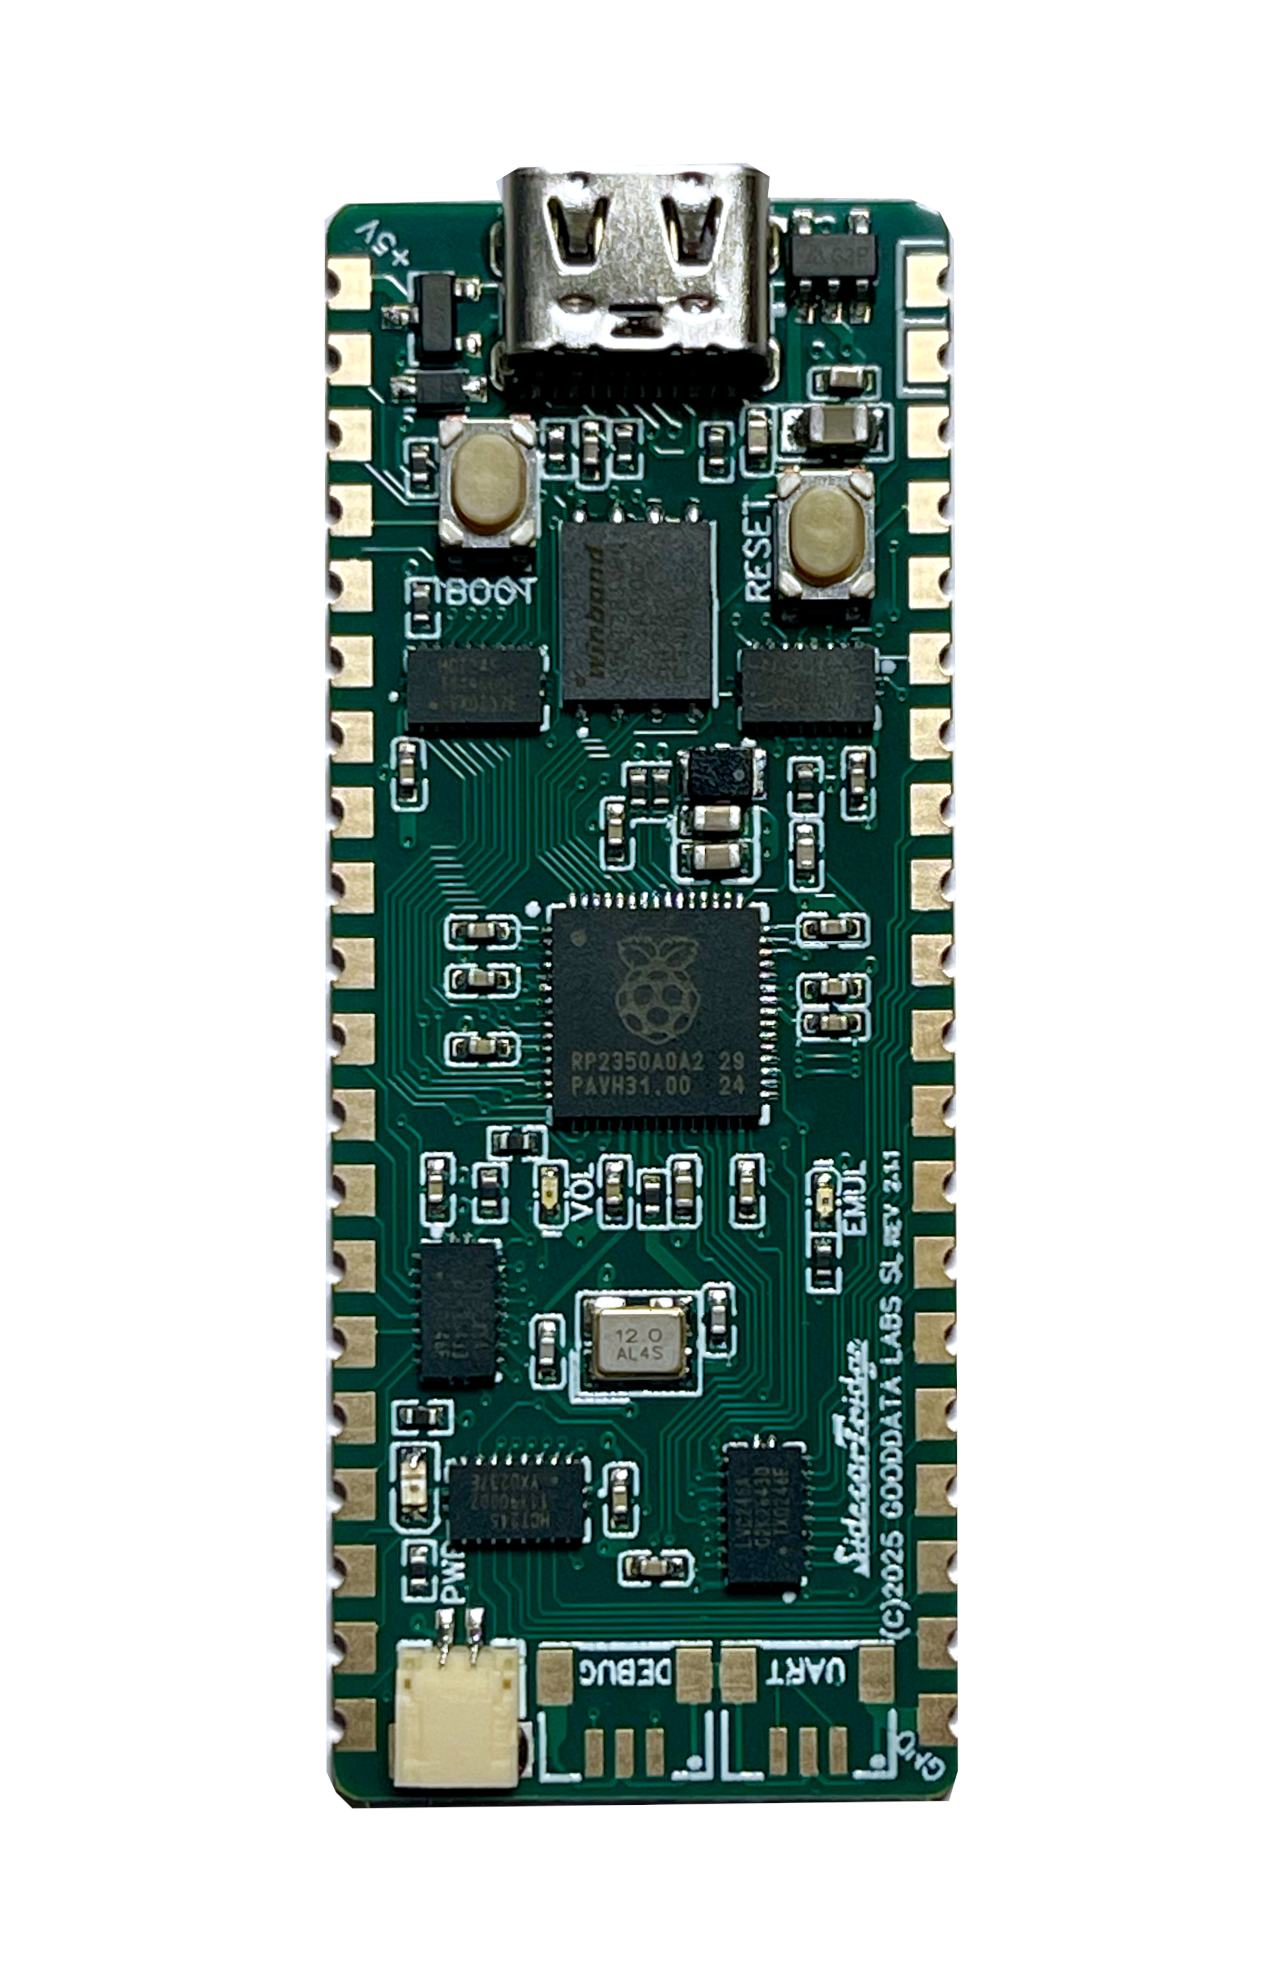 ROM EmulatorProgrammable ROM emulator of 27C / 28C EPROM and EEPROM seriesST2VGAPassive RGB-to-VGA adapter for Atari ST/STE/Mega STST2VGA EnhancedActive RGB-to-VGA adapter for early or noisy Atari STsACSI2STM internal riser boards for Atari MegaST and MegaSTEA perfect fit for your Atari Mega ST or Mega STE
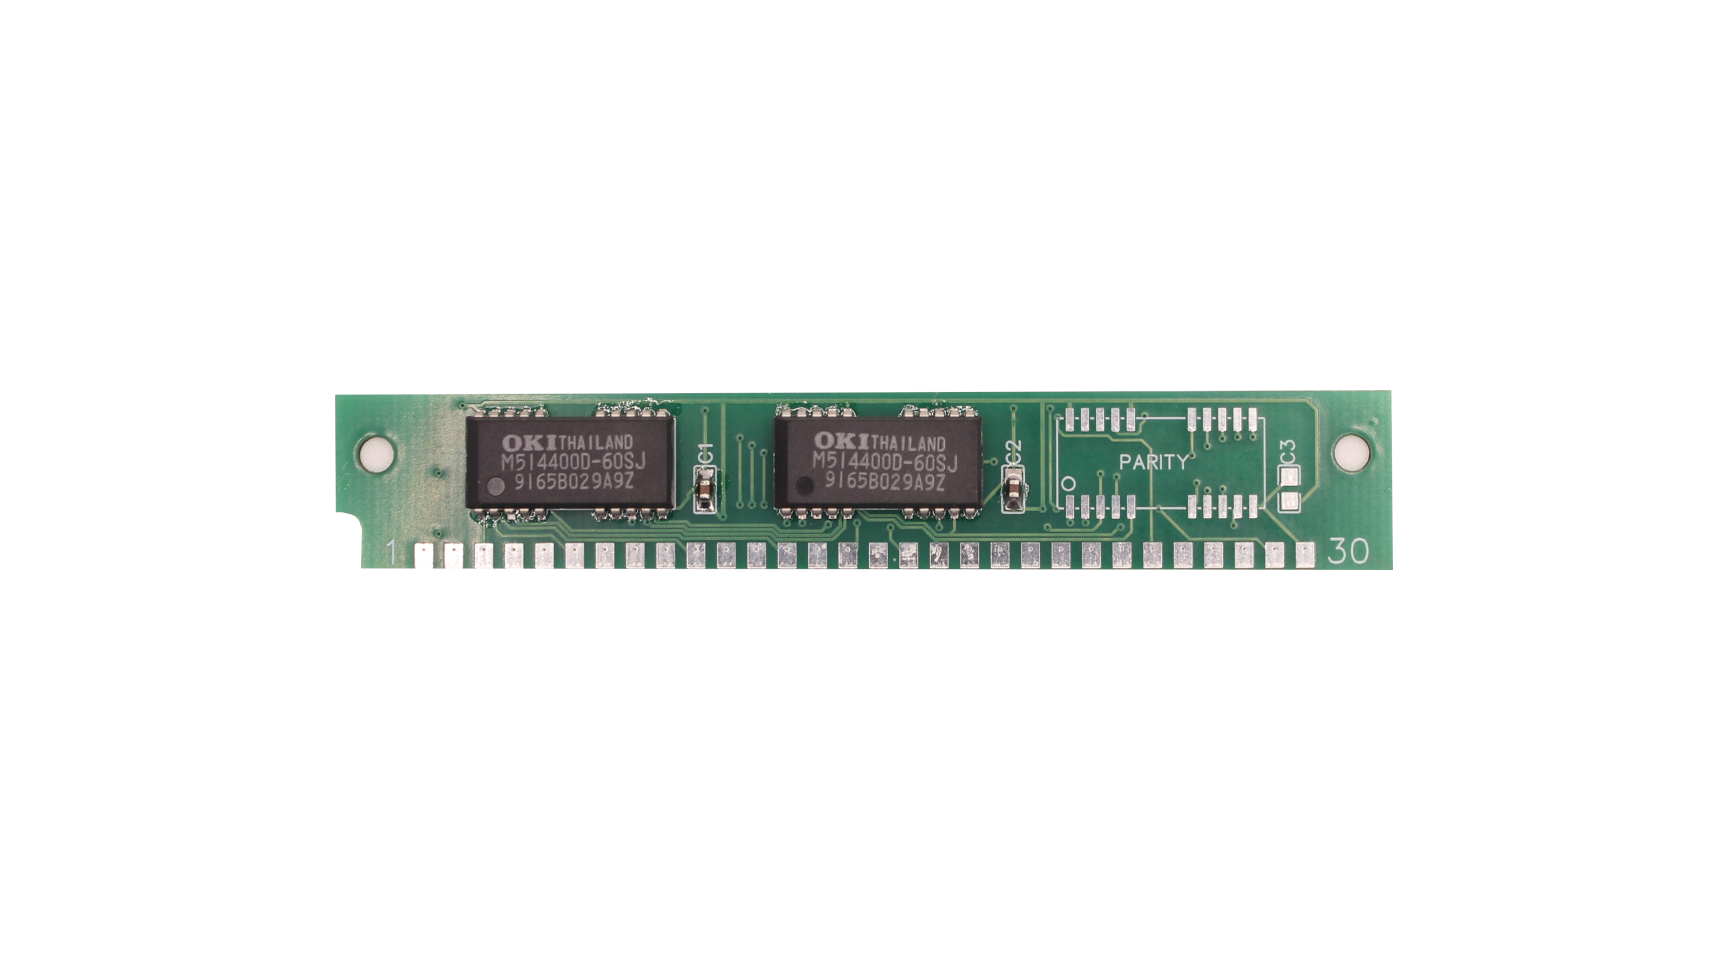 4MB SIMM Memory4MB SIMM Memory Expansion for Atari STE & Mega STE
📢 ⚠️ Summer break: no shipping from July 8th to July 20th. Orders still accepted. Learn more 🚨
📢 International shipments: U.S. tariffs, non‑EU destinations, and more. Please read before ordering 🚨