
About 33 years ago, I packed my bags to leave La Rioja in the north of Spain to study Computer Science in Madrid. In that suitcase, my beloved Atari 1040STFM couldn’t fit due to space constraints: I had no place to set it up in the student residence. And during my studies, we worked on the university’s computation center’s machines or on PCs. So, it stayed in my hometown, gathering dust. One summer, when I returned home, the computer was gone.
I had practically erased memories of that teenage era, during which I not only cracked a bunch of games but also ventured into developing my own cracktros. And of course, I tried my hand at creating games. Sadly, I lost everything and couldn’t keep any remnants.
Midlife crisis
But a year ago, a member of the old Spanish “crews” managed to recover some of the work I did back then, and my mind was blown. Suddenly, as if someone had opened a door in my mind that had been shut for years, all the fond memories from that era rushed back. I was irresistibly drawn to reconnect with the machine that had once obsessed me during my teenage years.
That marked the beginning of my deep dive into what I term “hardcore retrocomputing”: developing software for those now obsolete machines, not for any professional gain, but purely for the joy of doing and knowing that you’re capable of accomplishing it. I got my hands on all the emulators, the MiSTer, cross compilers, and of course, an Atari STE (E for Enhanced), my teenage wet dream.
My first “hardcore retrocomputing” project was a new cracktro where I aimed to fully exploit the capabilities of the Atari STE compared to the Atari ST: Blitter, hardware scroll, and so on. I posted updates on X (Formerly known as Twitter) about my progress, and this introduced me to more people from the Atari ST retro world. I developed it using modern tools which I packed into a Docker virtual image, which, by the way, I used for SidecarTridge Multi-deviceas well.
A challenging hardcore retro project
Having reacquainted myself with the intricacies of low-level development for a machine like the Atari ST, I felt a need for more. I began porting a video game from Amiga to Atari ST that I was fond of, but then started pondering something that I had discussed with other retro enthusiasts: there’s nothing quite like the original experience of using a machine from back in the day. Yet many of these machines are beginning to show their age, not functioning as they should. Or perhaps, we’ve just become accustomed to luxuries like nearly infinite storage disks, networks, and the Cloud.
I began to toy with the idea that the true allure is having an authentic experience with these retro machines but “supercharged” with the capabilities modern technology offers us today. Many might argue that this is what you get with an emulator on a PC, Mac, or Linux environment. But it’s not the same. I want the speed and ease of access to resources that you can have with an emulator, but on the original hardware.
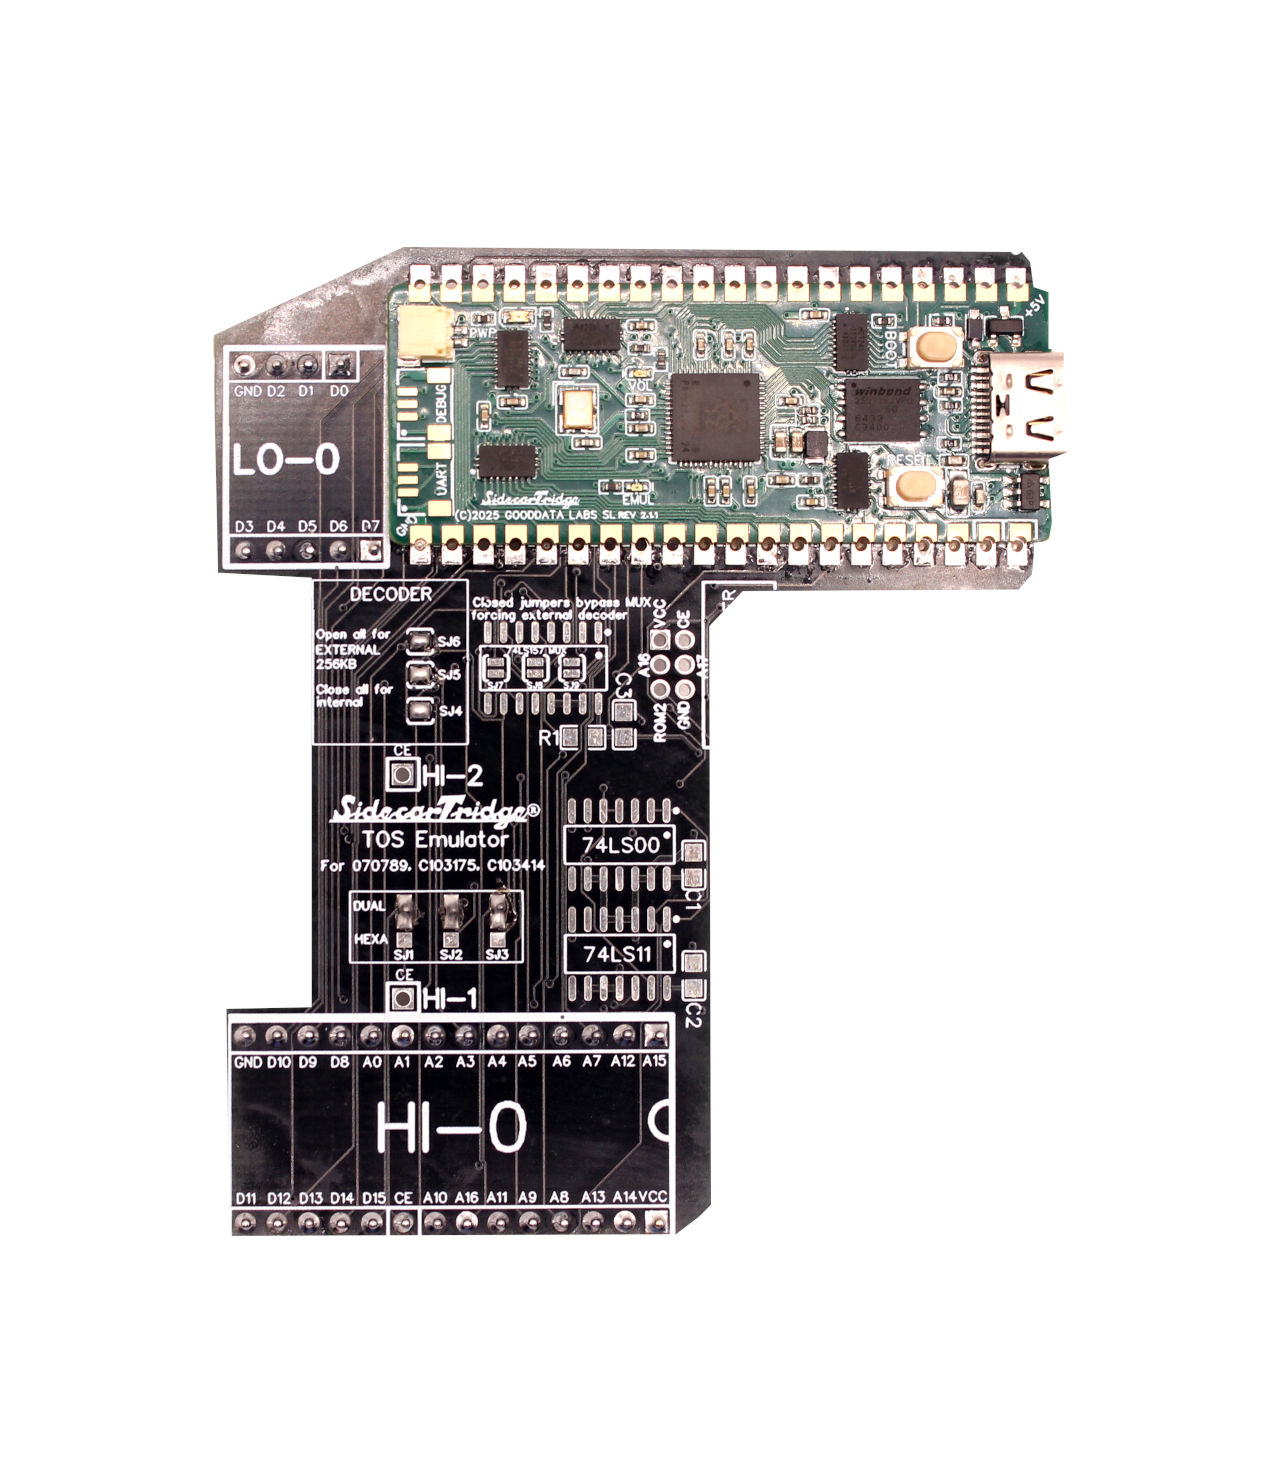
For the Atari ST, there are already projects that enhance the system’s capabilities through hard drive interfaces. These are projects that, using a microcontroller connected to an SD card, simulate a hard drive connected via the old proprietary ACSI protocol (similar to SCSI) to the computer’s DMA. They work well… if you’re fortunate enough to have a machine that doesn’t have DMA issues, something quite common in ST machines.
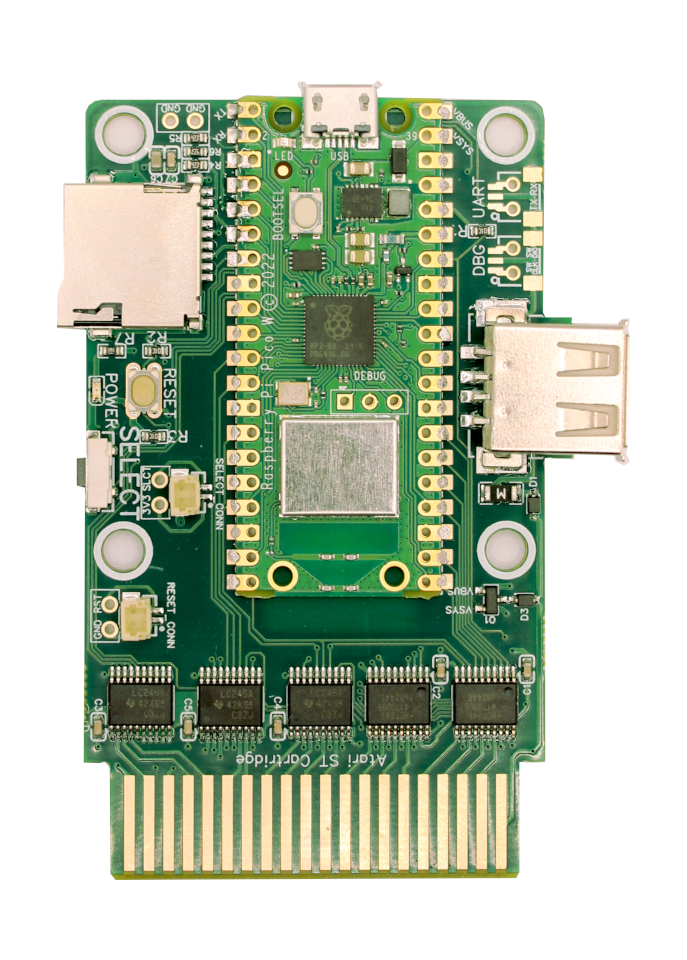
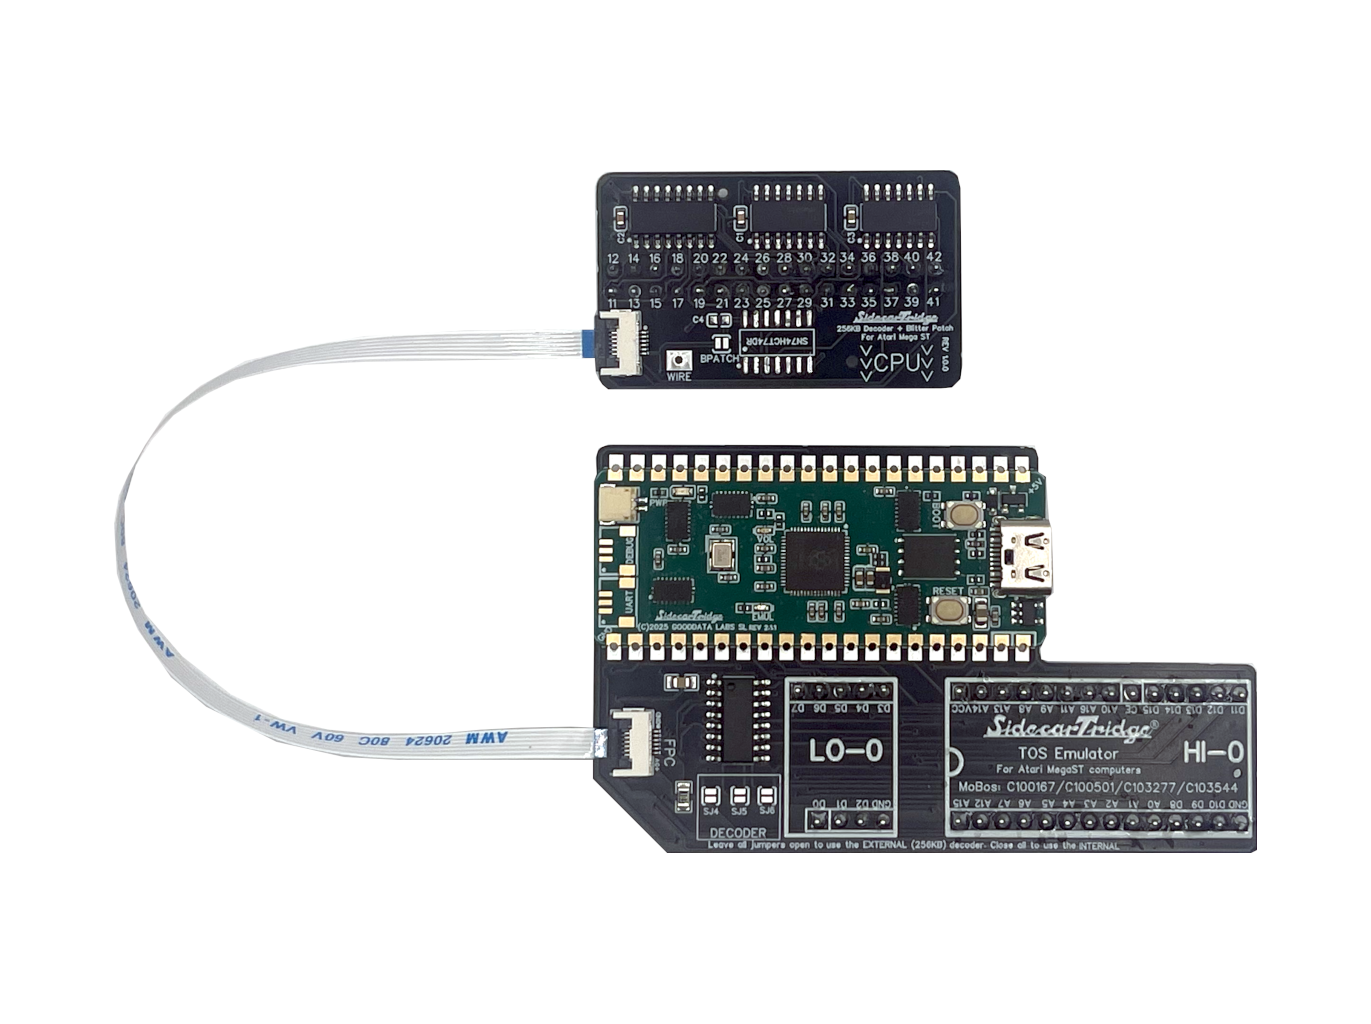
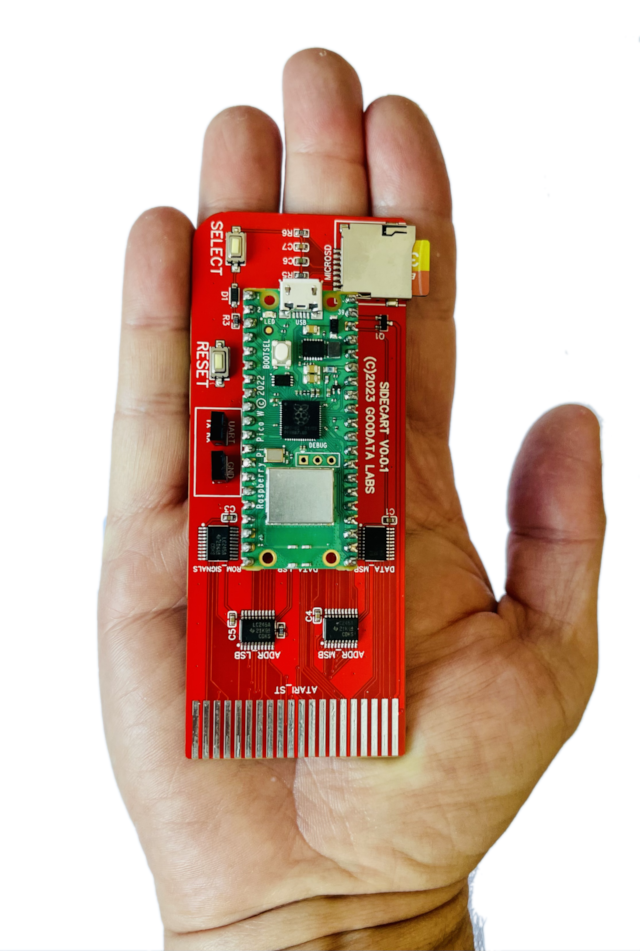
The concept of SidecarTridge Multi-device was born
My idea was to utilize an underused interface available in the Atari ST: the cartridge interface for ROMs. This connector allows the addition of two 64Kbyte ROM memory banks to the computer for general-purpose use. This forty-pin connector comprises:
- 15 lines (A1-15) for access to the address bus.
- 16 lines (D0-15) for access to the data read bus.
- Selectors for the ROM4 and ROM3 bank (ROM1 and ROM2 are assumed to be the onboard ROMs of the computer).
- Signal selectors for the size of the data to read LDS and (UDS can act as the A0 data line).
- 5V and GND inputs.
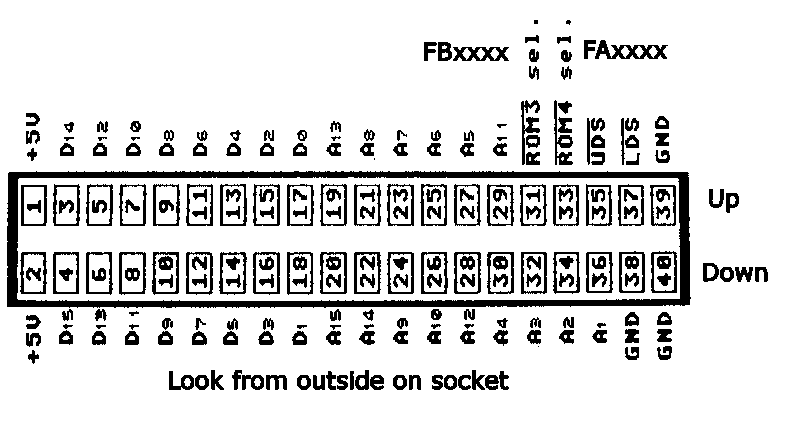
The most glaring constraint is that it’s a read-only device. There’s no direct way to write to the cartridge since the data bus is read-only, a limitation set by the Atari ST developers. However, since the late ’80s, some commercial cartridges had discovered how to bypass this limitation using a clever technique with the available banks. The trick goes like this: if one of the banks (ROM3 was chosen because it didn’t participate in the machine’s boot process) listened to the addresses put on the data bus, it became a rudimentary way to indicate that data was meant to be put into the cartridge. The original article discussing this can be found here.
Building on this old idea, the following occurred to me: What if we treat accessing ROM3 as if it were writing to a serial device? What if I develop a serial protocol that sends commands via the ROM3 address bus that are interpreted on the other end? Something like this:
- t0: Write to the ROM3 a header indicating the start of the transmission.
- t1: Write to the ROM3 the command to send.
- t2: Write to the ROM3 the size of the command payload.
- t3: Write to the ROM3 the command payload.
If you’re familiar with embedded development, it’s not unusual to encounter such protocols. However, this one has a few challenges to overcome:
- It needs to be extremely fast. Each of these writes should occur at 500ns intervals since the Atari ST’s system clock (not to be confused with the 8Mhz CPU clock) is 2Mhz.
- Information set on the address bus should be processed in 16-bit chunks. Therefore, a significant bus size is required (16 data bits, 15 address bits, ROM3, ROM4, LDS, and UDS). It’s a hell lot of ports.
- The system interpreting the data must process the information in very short, deterministic intervals. It’s crucial to find a real-time operating system or microcontroller..
- A strategy to return information to the computer is required. It seems ROM4 should have a memory space that acts as a buffer in response to the commands.
- The system interpreting the data should connect to 5-volt TTL technologies, which are used by the Atari ST.
Hands on
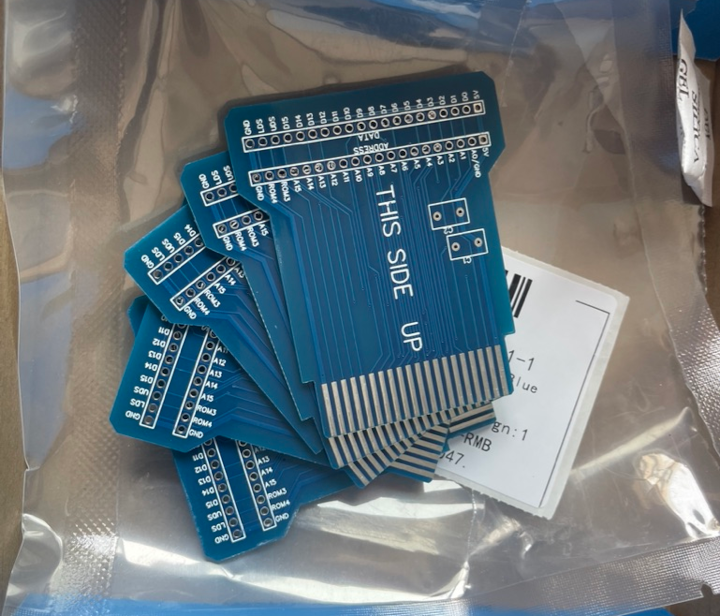
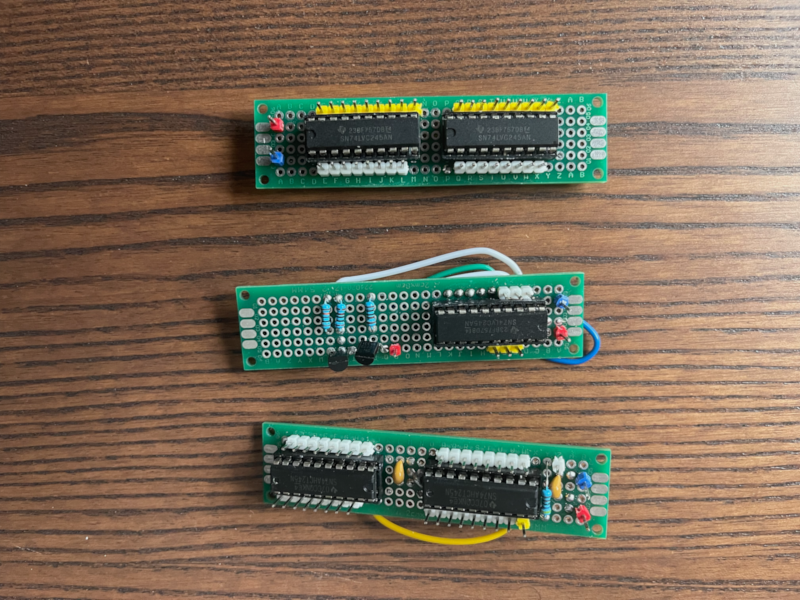
The first thing I did was build simple PCBs that would allow me to connect to the Atari ST cartridge interface effortlessly. The information available regarding the operation of the cartridge signals is rather limited, making research necessary. Additionally, it’s essential to build “level shifters” to transition from 5V to 3V and vice versa.
Initially, I was hesitant about using a microcontroller for this project. That’s why I leaned towards using a Raspberry Pi Zero 2. That was a mistake. Not because it’s a poor product, quite the opposite. It’s because using an operating system capable of real-time performance, or even developing at the bare-metal level, overly complicated the project. Despite this, I managed to create a very early version of the project that could read the cartridge port’s address bus. However, the tweaks I had to make at the OS level to consistently read the signals were cumbersome and intricate. Any GNU/Linux derivative isn’t naturally suited for real-time performance. Even one with patches to make the kernel “fully preemptable” wouldn’t achieve the response times necessary to emulate the ROMs of an Atari ST cartridge (remember, the system clock cycle is 2Mhz).
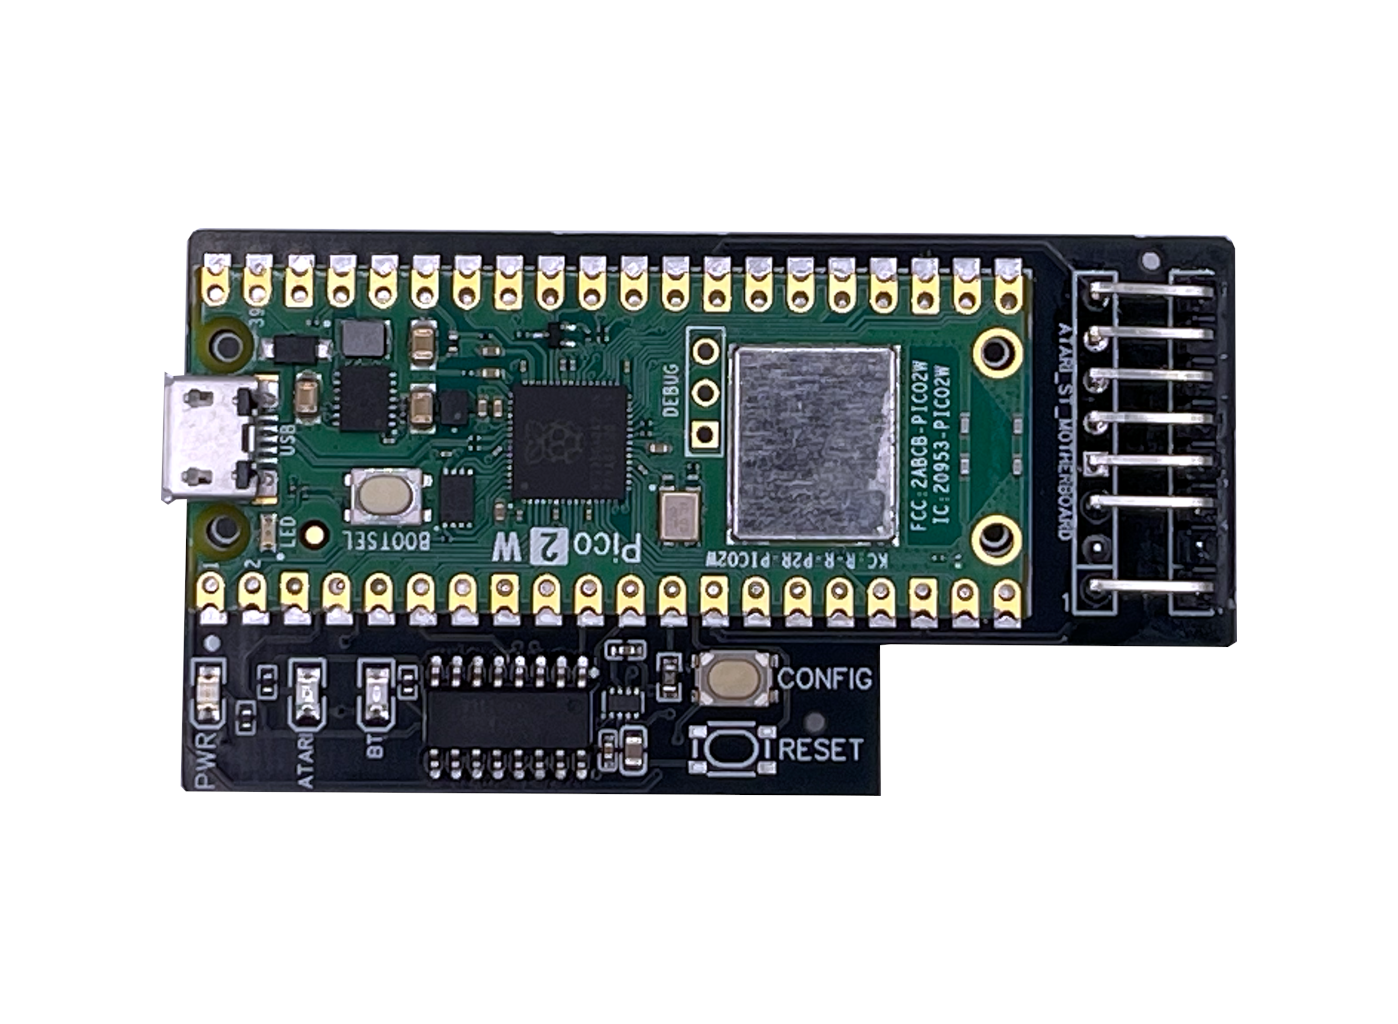
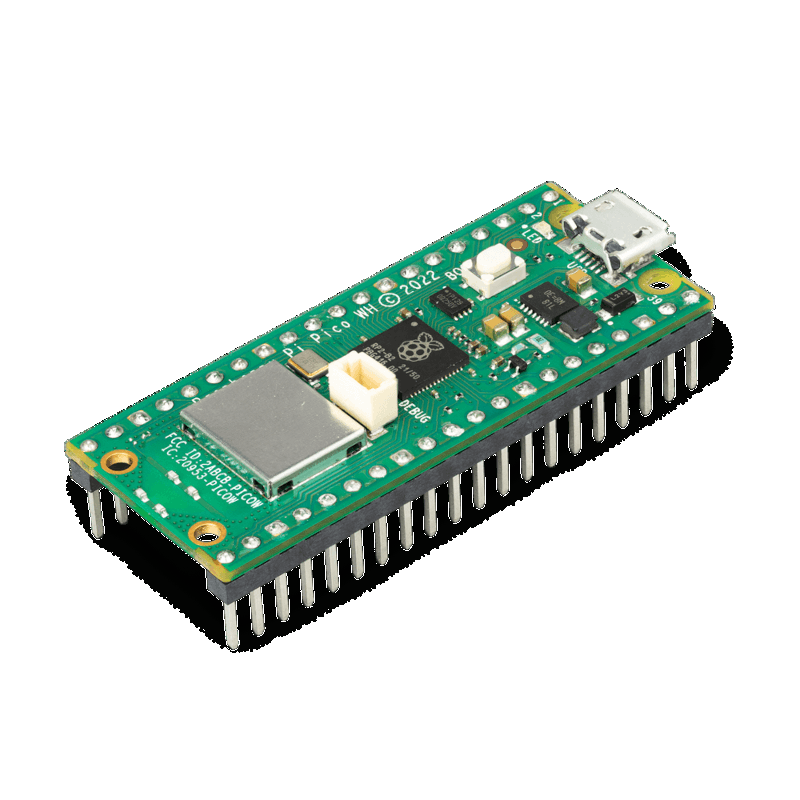
My next line of exploration was searching for microcontrollers that could indeed provide these response times. The answer was also from the Raspberry Foundation: the RP2040 microcontroller found in the Raspberry Pi Pico and Pi Pico W. They possess a feature making them perfect for emulating RAMs and ROMs connected to microprocessor and microcontroller buses, due to their operating speed and the very light load on the microcontroller cores: The Programmable Input/Output or PIO blocks.
The RP2040 includes 2 PIO blocks. Each PIO block is akin to a small processor running code independently from the main CPU (Cortex-M0+). Thus, the PIOs manage I/O in a deterministic manner, ensuring precise timing regardless of the CPU’s load. Exactly what I was looking for to emulate the ROMs.
To connect a Raspberry Pi Pico W board through the cartridge port, it’s first necessary to implement two voltage translation levels. These “level shifters” ensure that both the RP2040, operating at 3.3 volts, and the Atari ST, operating at 5 volts, can connect without damaging either’s circuits.
Eureka!
As one might guess, this entire setup was a real jumble of wires. Once I ensured everything was properly connected, developing the very first prototype version was relatively straightforward. Here, I’ve attached a video capturing that “Eureka” moment when I was able to load a ROM from the microcontroller.
In the coming posts I will explain in detail the technical aspects of the project, but for now, I’ll leave you with a video of the first version of the SidecarTridge Multi-device in action. Stay tuned!